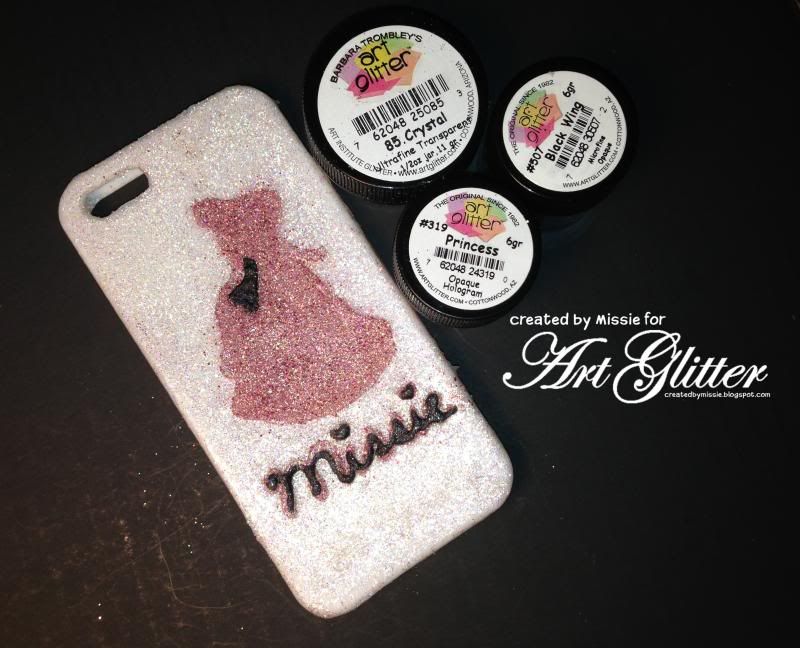
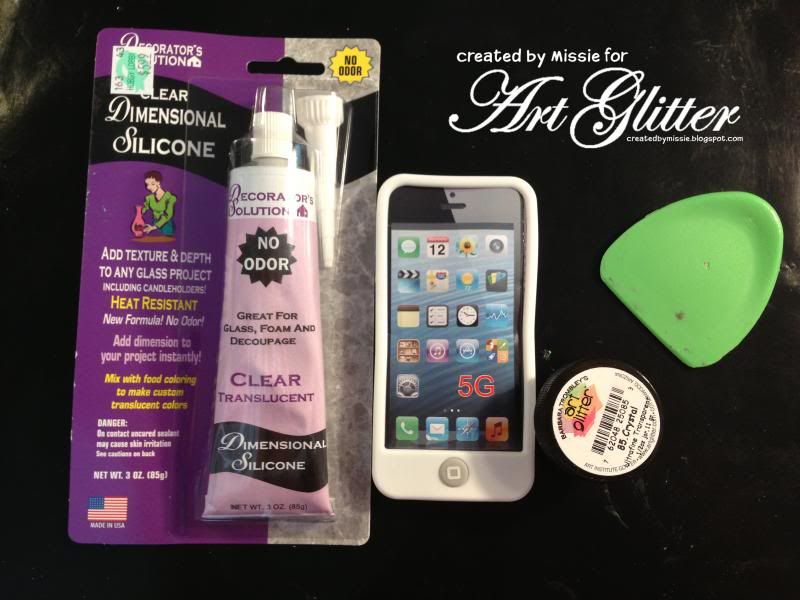
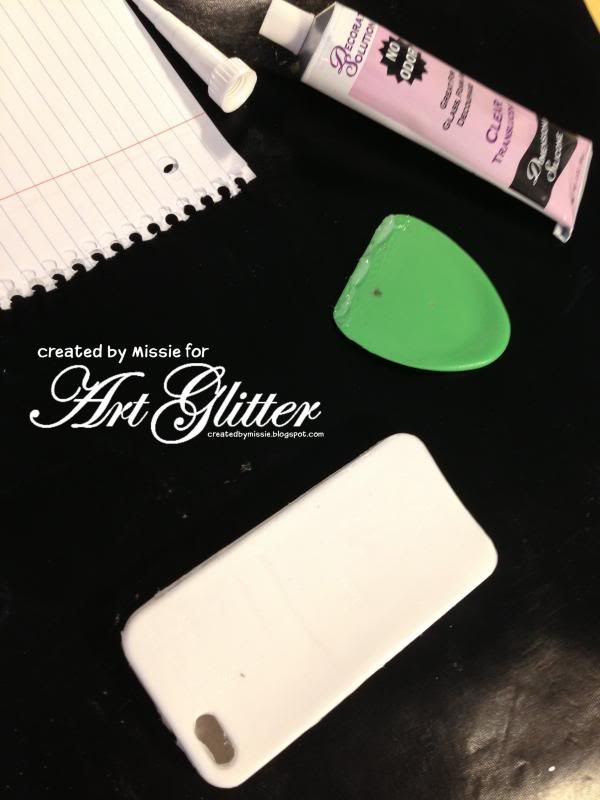
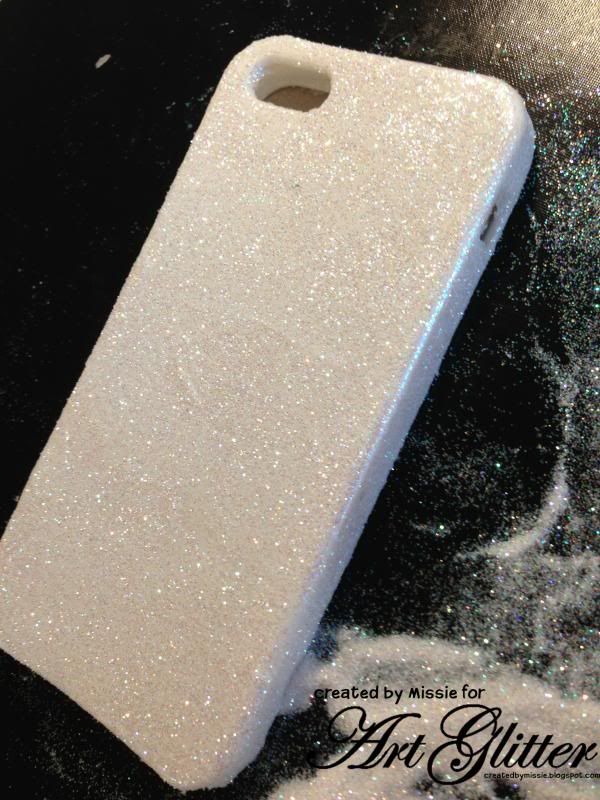
Friday, May 31, 2013

Glittering Mixed Media Frame

  Heather here and today I would like to share with you a frame that I created using a lot of fabulous Glitter from Art Glitter!

Supplies

Directions
Step One
Using a large old brush, apply the Designer dries clear glue to the frame front.
Step Two
Print out Digital Music Paper and place it on top of frame front and apply pressure, making sure the paper is sticking to the glue.  Flip  the frame over, and use a craft knife to remove all excess paper from frame.  Don't worry if the edges are not perfect, we will be adding glitter to cover later.
Step Three
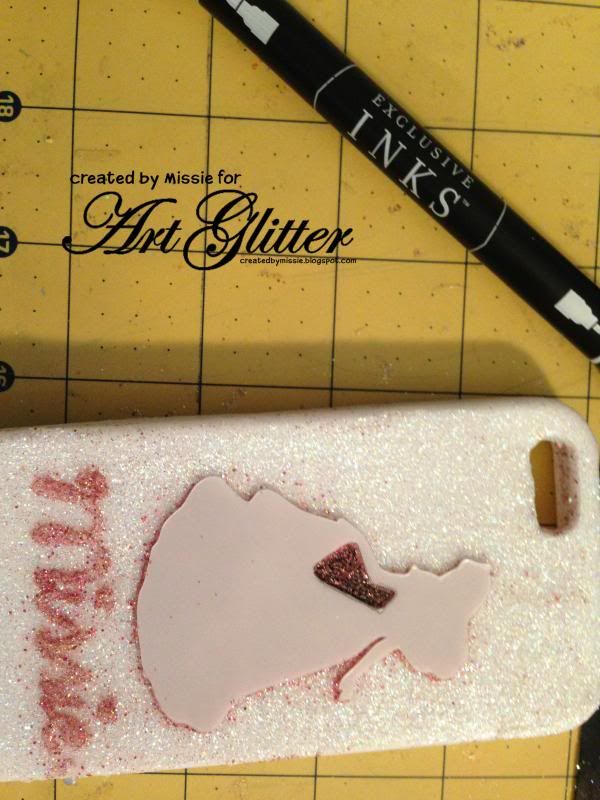
Ink the edges of the frame with Ranger's Vintage Photo Distress ink.  Use the fine tip applicator, apply Designer Glue dries clear to the edges of center of frame.  Then use your finger to spread it out, so you don't just have a straight line of glitter.  Apply Camel glitter.
Step Four
Use your old brush to add Designer Glue dries clear to the edges of the entire frame, and then add Camel Glitter.
Step Five
Cut out your collage pieces, and using the flourish die cut out a couple flourishes,  ink all the edges with Ranger's Vintage Photo distress ink.
Step 6
Glue them together using the Designer dries glue (dries clear or white, doesn't matter), and apply pop dots to back.  Add a line of glue to the bottoms of the text boxes to hold on the lace.
Step Seven
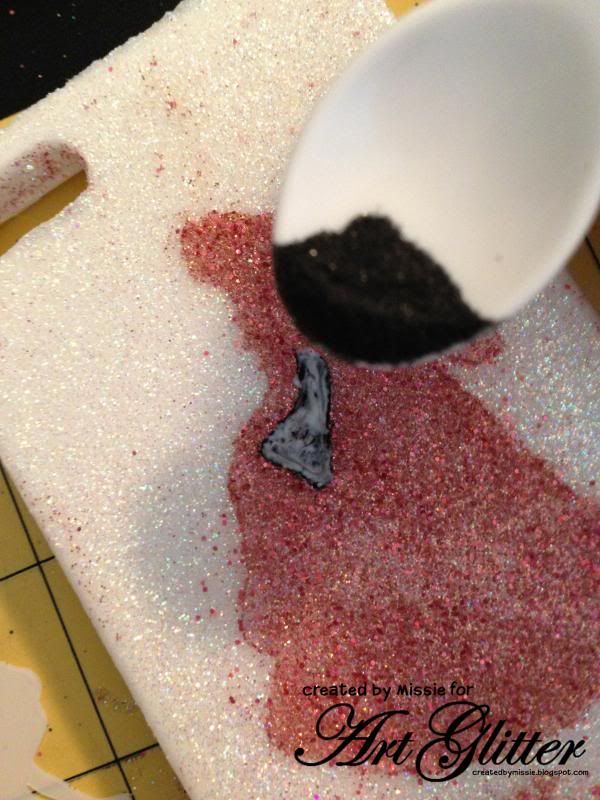
Use the fine tip applicator to add glue to the inner part of rose.  Then apply the Coral Reef Glitter.  Outline the outer petals of the rose.
Step Eight
Add the Cheeky pink glitter to rose petals, then add glue to the leaves.
Step Nine
Use the Cavalado and Ensalada glitters to cover the leaves (these two colors together look fabulous...I put the excess glitter into a new jar for a fabby green mix..love it). 
Step Ten
Use the fine tip applicator and add the designer glue to the flourishes,  just freehand some comma strokes.  Apply Clementine glitter.
Step Eleven
Use the fine tip applicator and Designer Glue dries clear to outline all your text boxes, then add glitter.  Use the clementine glitter on ivory text boxes and cheeky pink glitter on pink text boxes.  Add the glue and glitters to the rest of the leaves as shown above.
Step Twelve
 Cut the 2nd flourish into pieces, and add glue and glitter just like the other flourish above.  Use the fine tip applicator and designer glue to add your lace and pearls.  I used a piece of baker's twine to create a bow in my button, before gluing it down.
Here are a couple more close ups of the frame.
Close up of the lower left corner.
One last look at the finished piece.
I hope you enjoyed my frame tutorial, and that you are inspired to get out your glitters and play!  Please feel free to stop by my blog to see some other projects I have created using Art Glitter!
Have a great day!!


Wednesday, May 29, 2013

Glitter Phone Case


Supply List:
Silicone phone case
Silicone adhesive
Art Glitter #85 Crystal Glitter
Art Glitter #319 Princess Glitter
Art Glitter #507 Black wing
Hard plastic scraper or squeegee for adhesive application
Stencil for the design- I created my own.

Begin by gathering your supplies.  I was able to purchase the Silicone adhesive at a local craft store.  The phone case was purchased online for about $2. 

 
Use a scrapper to apply a very thin layer of silicone adhesive to the phone case.  While the adhesive is still wet cover with ART GLITTER CRYSTAL GLITTER. 
 

Of course you could stop here, but I really wanted to add a simple design to the cover.  For those of you who follow my personal blog, you know that I have a Disney obsession and am planning a trip there later this month.  So, I decided to use a princess silhouette for my phone case.

Using a die cut machine I created this stencil of a princess.  If you are planning to make something similar be sure to keep the inside design as it will be used a little later.


Place the stencil on the phone case and use the scrapper to fill in the negative space with silicone adhesive.

Add ART GLITTER PRINCESS glitter to the case.

Allow to dry overnight before moving on.  When it is completely dry use a stiff paint brush to remove any excess glitter. 

When the pink layer is dry, use the inside cut from the princess and a black marker to draw in the blackout areas.  Then use adhesive and black glitter to add dimension to the silhouette.  I also added more adhesive over the letters in my name to create a more bold look - leaving the pink in place as a shadow effect. 


Thanks for stopping by to see my creations.
Missie Todd
createdbymissie.blogspot.com


Sunday, May 26, 2013

Love Story That Sparkles

Today, I have a blog post that was suggested to me by my lovely niece.  She wanted some wall art, as inspired by Pinterest.  She also wanted the lyrics to one of her favorite songs--Taylor Swift's "Love Story".  This is the glittering creation that I came up with:


Of course, you wouldn't have to use a Taylor Swift song.  You can have any words and images that you would like.  Here is how to do it:

MATERIALS:
Art Glitter Ultrafine Transparent 198 Green Briar
Art Glitter Ultrafine Transparent 284 French Lilac
Art Glitter Ultrafine Transparent 303 Volare
Art Glitter Ultrafine Transparent 168 Black Light
Art Institute Designer Dries Clear Adhesive
Gallery Wrap (wrapped around the edge for easy hanging) 16 x 20 Canvas
Digital Die Cut Machine (I used the Silhouette)
Vinyl for Digital Die Cut Machine, any color
Transfer Tape for the Vinyl
Small Flat Tool to Help With Transferring Vinyl
Tape
Ruler
Small and Medium Large Brushes
Acrylic Paint in Light Green, Dark Green, Purple and White
Sponge Tipped Pouncing Tool
Scissors
Craft Knife
An Empty Jar (you will use the jar for water and the lid as a palette)
Old Newspapers

DIRECTIONS:
1)  Use your die cut machine to cut your saying out.  Use whatever fonts you like.  In the Silhouette Studio Program, I created a file that was 8 x 10 (one quarter of the canvas size).  Then, I laid out the words to fit the 8 x 10 size.  Once it was exactly the way I liked it, I doubled the size of the words.  That way, something that fit well within the 10 inch horizontal now fit perfectly on a 20 inch side.

2)  Use the craft knife or the picking tool if you have it, to remove the vinyl from the background of all of the words.

3)  Lay out the words on the canvas and lightly tape them in place to ensure that they are positioned well.
4)  Remove one set of words and place them upside down on the transfer tape and burnish with a flat plastic tool.


5)  Flip over and burnish again before very carefully removing the original vinyl backing.
6)  Line the ruler up with the side of the canvas and use it as a guide to align the words.
7)  Burnish down and then carefully remove the tape.  You may need your fingers to rub down the letters as you do this.
8)  Repeat steps 4-7 until all the words are on the canvas.
9)  Flip over the canvas on a flat, hard surface.  Burnish hard so that the letters will stick well.
10)  Make sure that you are now working on newspapers.  Using the lid of your jar as a palette, squeeze out the lightest green and apply all over the center of the canvas.  Paint right over the words.  Leave some space around the edges of the canvas.
11)  Add the darker green to your makeshift palette.  Dip your brush into both colors and paint from the outside of the canvas into the center.  This step creates the blended, shadowed effect.  Be sure to paint the side of the canvas, too!  Let dry.

12)  Working in sections around the outside of the image only, add another layer of paint immediately followed with a sprinkling of Green Briar Glitter.  Be sure and add it ONLY to the outside of the canvas.  You don't want to have to paint the heart over glitter.


13)  When the paint is dry and the palette and brush clean, add purple to the palette and paint on the heart.  Paint right over the green paint and the words.  Let dry.
 14)  When the paint is completely dry, the heart is very dark and non dimensional, as you see here.  We will be creating dimension with the transparent glitter.
15)  Squeeze some of the Designer Dries Clear into the palette.  (The Fine Tip you see in the picture is not necessary, but mine ALWAYS stays on my glue.)  Add a little water.
16)  Dip the sponge tool into the glue.
17)  Starting with the top of the heart, "pounce" the glue over sections of the heart that you would like lighter.  Pinch on some French Lilac Glitter.

18)  Continue working around the outside of the heart and pour on the Volare Glitter.  You will use the most of this intermediate color.
19)  Finish off the center portion, which will look roughly like a heart itself, and cover with the Black Light Glitter.  Let it all dry completely.

20)  Use the craft knife to remove the vinyl.

21)  Touch up any parts where the color may have leaked under the vinyl with white paint.  While you are at it, you can completely paint the letters for a finished effect.


See the sparkle?  Notice the dimension in the heart and the light glitter around the edges?  That is a great way to use the transparent glitter to create something that truly fits your style and personality!  This painting will be adorning a wall in East Lansing soon.
Thanks for stopping by.  Feel free to visit my blog at www.rememberinglifesmoments.blogspot.com anytime!  I hope you enjoyed the tutorial.