I am so ready for Summer. I can't wait to visit the beach and I want my feet to look their best. This year I am planning on glamming them up with
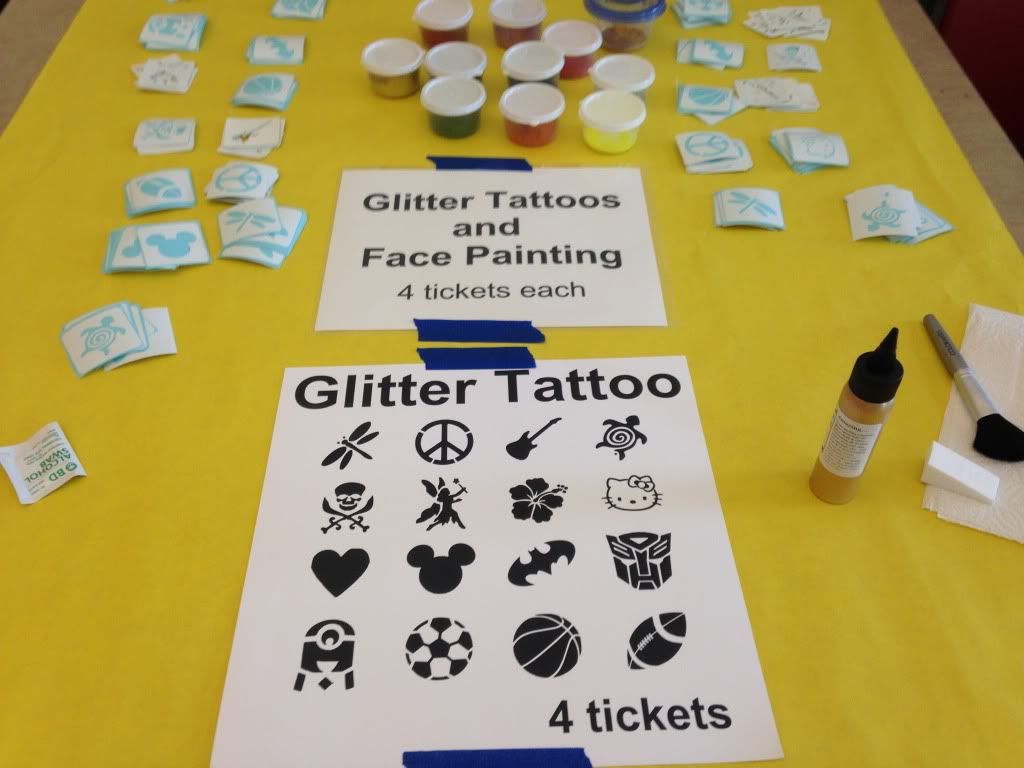
Art Glitter, my Cricut and Cameo to make glitter tattoos for a great price! Today I am sharing my first attempt at my own glitter tattoo. And don't worry if you don't have a digital cutter, Art Glitter has ready made stencils for the perfect tattoos!
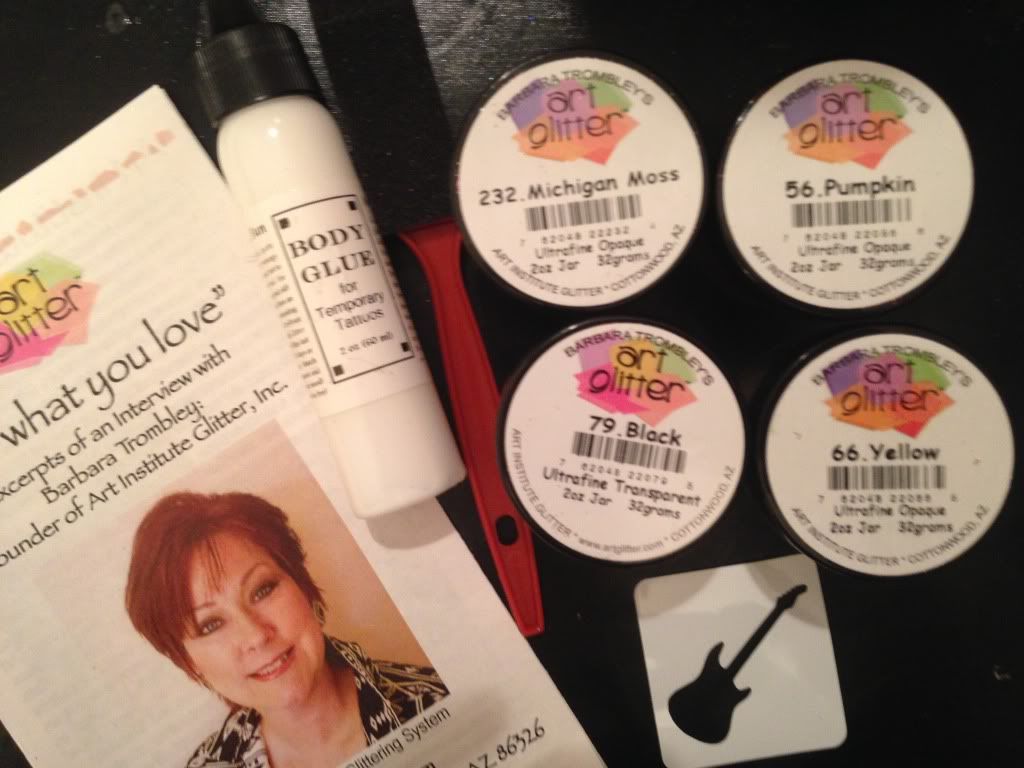
Supplies
Art Glitter Sticky Paper
Art Glitter Body Glue
Art Glitter 175 Retro Red Ultrafine Pearescent Glitter
Art Glitter 278 Poppy Ultrafine Opaque Glitter
A
rt Glitter 47 Vine Ultrafine Opaque Glitter
280 Lime Rind Ultrafine Opaque Glitter
Press n' Seal cling wrap
Cricut or Silhouette Machine or other digital cutter
Instructions
1. Chose a design. I chose a shape from the Cricut Elegant Cakes Cartridge that looked like a sandal shape to me (triangular).
2. Place the Art Glitter Sticky paper on the cutting mat with the peel away backing on top and the sticky portion on the bottom of the mat.
3. Cut your image using a deep cut housing blade, on high pressure on the Cricut. You can also use a regular blade with a high pressure and a multi cut of two. I just like to cut once! My Silhouette blade just needs a high pressure setting, no heavy duty blade needed.
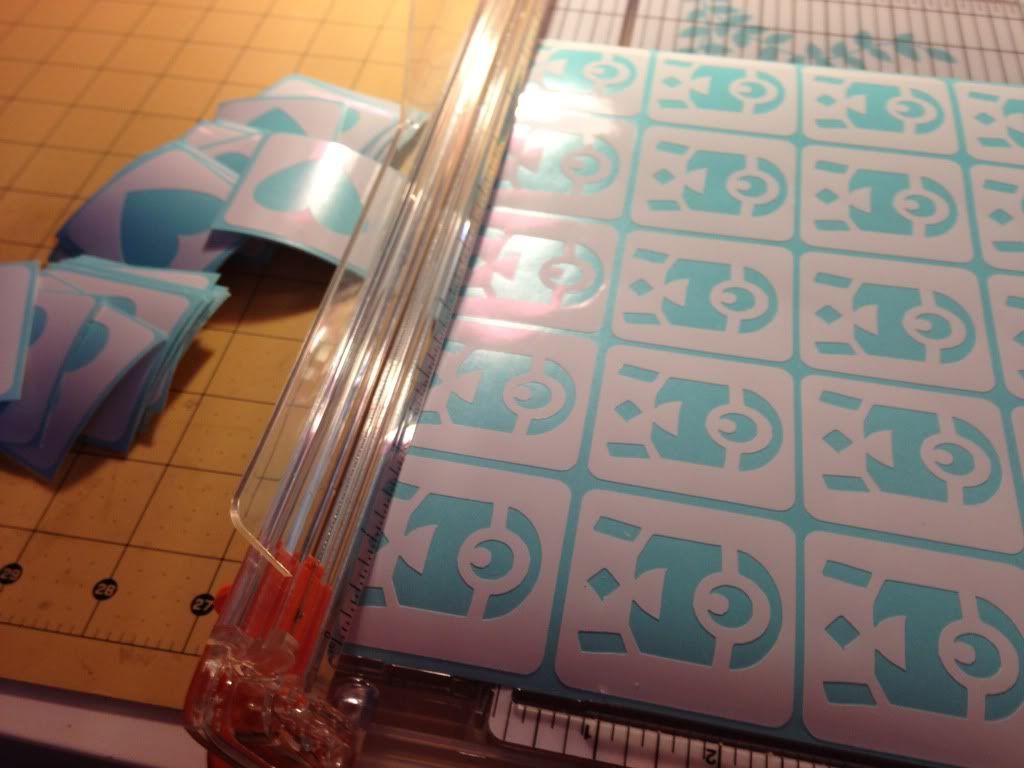
4. Remove the portions of the design that will be glittered from the mat, leaving any center detail items on the mat. See photo above
5. Place the Press n' Seal cling wrap over the image rubbing it over the design being sure to adhere it to all of the inner pieces of the design. You only need this step if your design has floating pieces in the center of the image.
6. Carefully remove the design and inner pieces from the mat by pulling the Sticky paper and Press n' Seal together. Your finished piece should look like the photo below.
7. Clean your foot or other area of skin for body glue with rubbing alcohol and allow to dry.
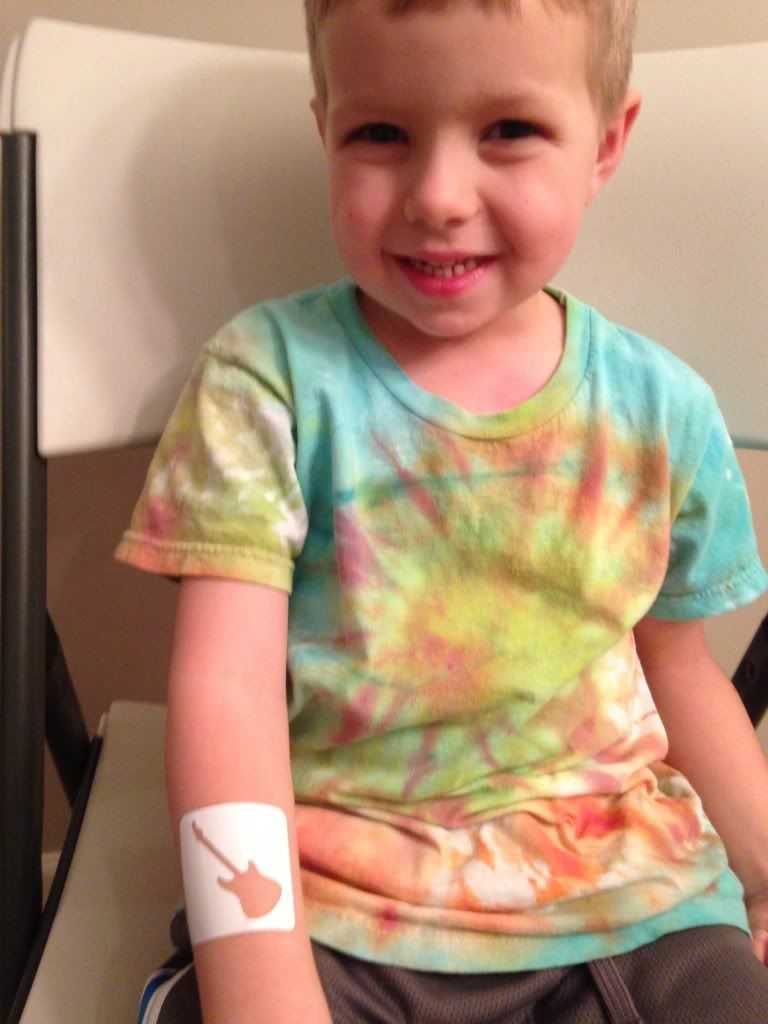
7. Trim your design so that there is a 1/2" border around the image and it will stick to your body curves easily. Remove the peel away backing from the Art Glitter sticky paper, use a paper piercer for the smaller portions of the design.
8. Adhere it to your foot. I recommend you try on any shoes or sandals you want to wear while using your tattoo while you place this, so none of your design is covered by the sandal or shoe.
9. Apply the
Art Glitter Body Glue and spread glue across your custom stencil and allow to dry for 30 seconds. Less is more, and your glue should be clear when dry.
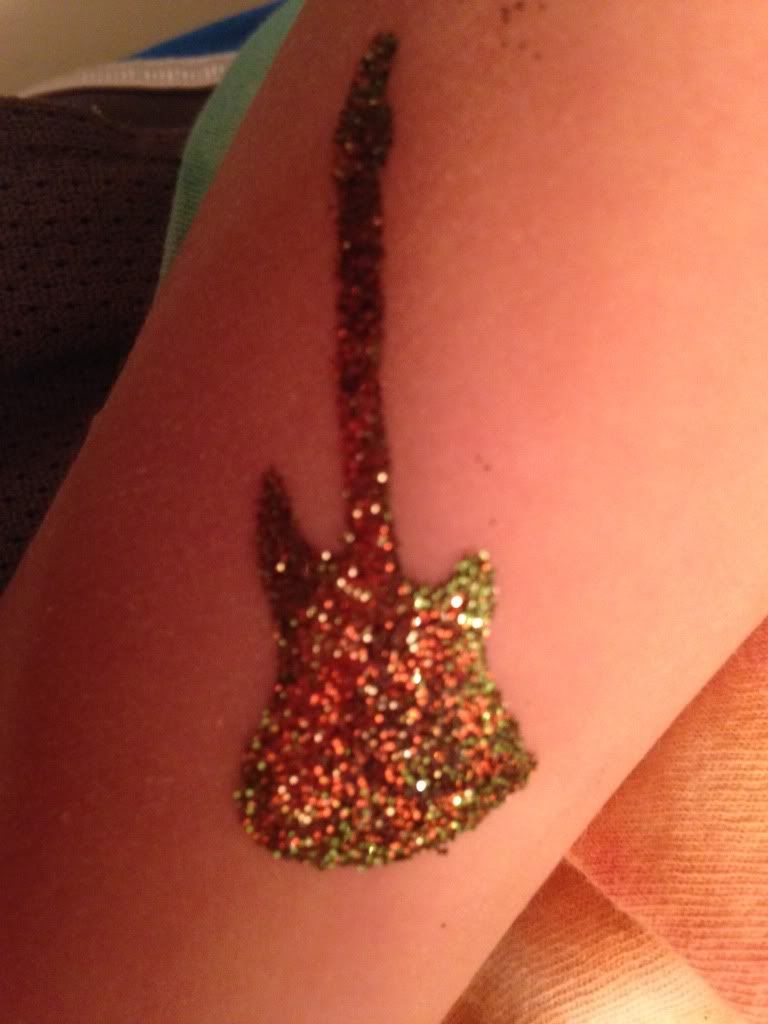
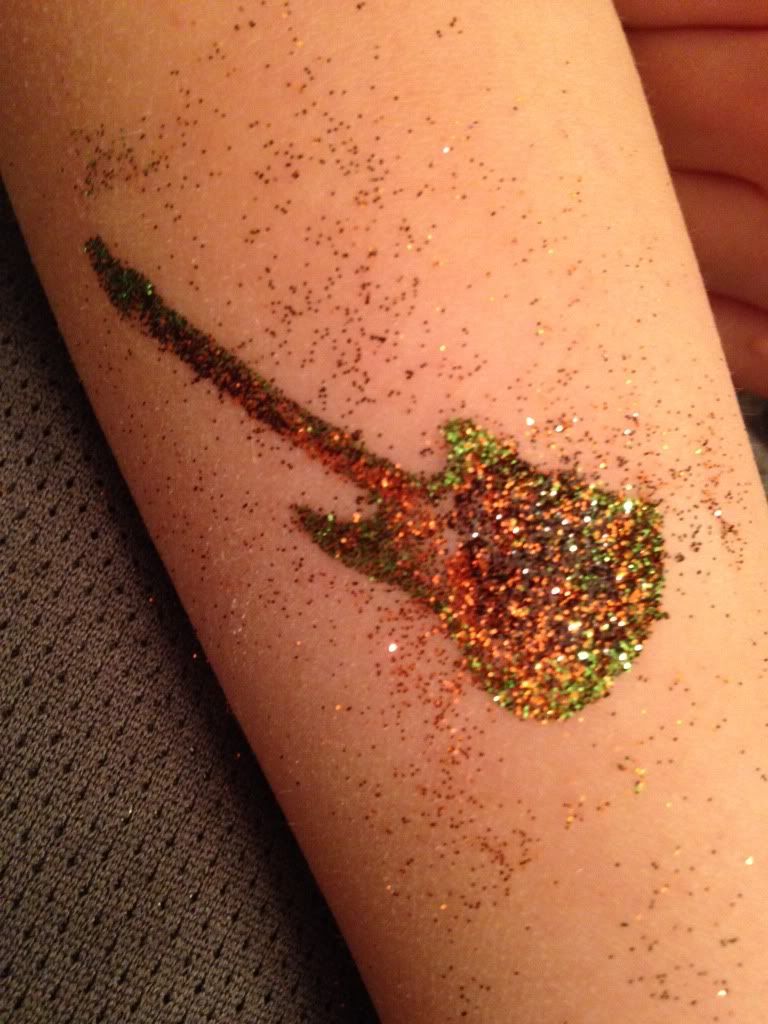
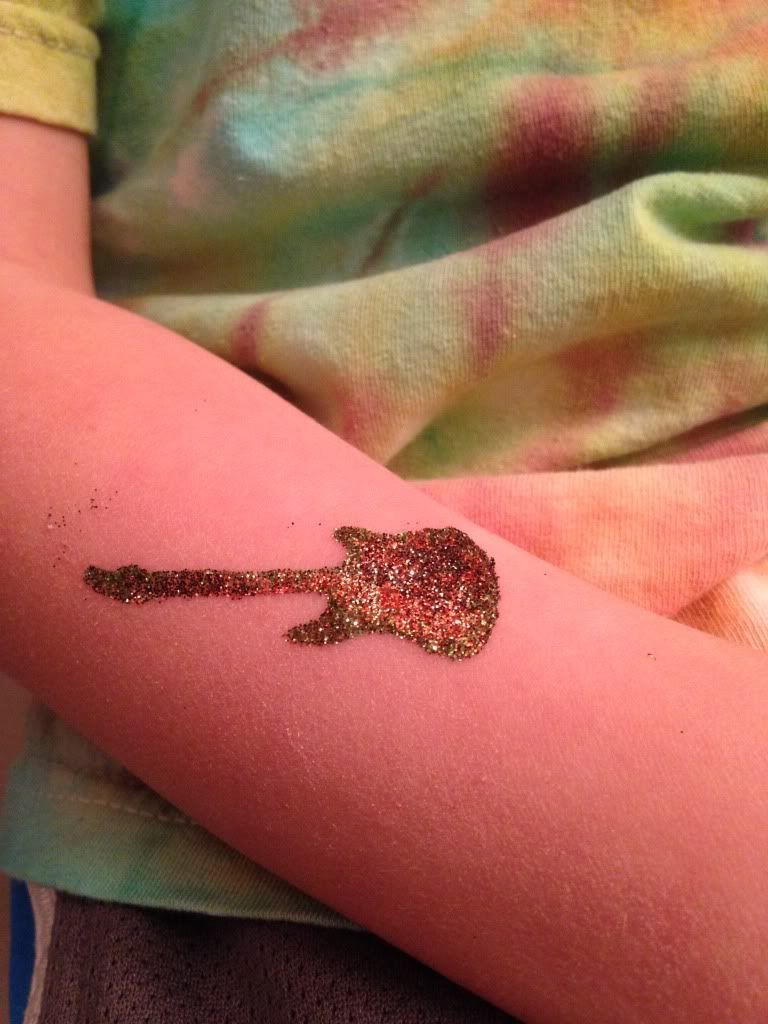
10. Using a soft brush, rub glitter across the image. Painting with the colors to get the look you want. I wanted my flowers red and my vines and leaves green. I started with the darker glitters and then moved to the lighter colors. DO NOT use any of the glass glitters for this project!
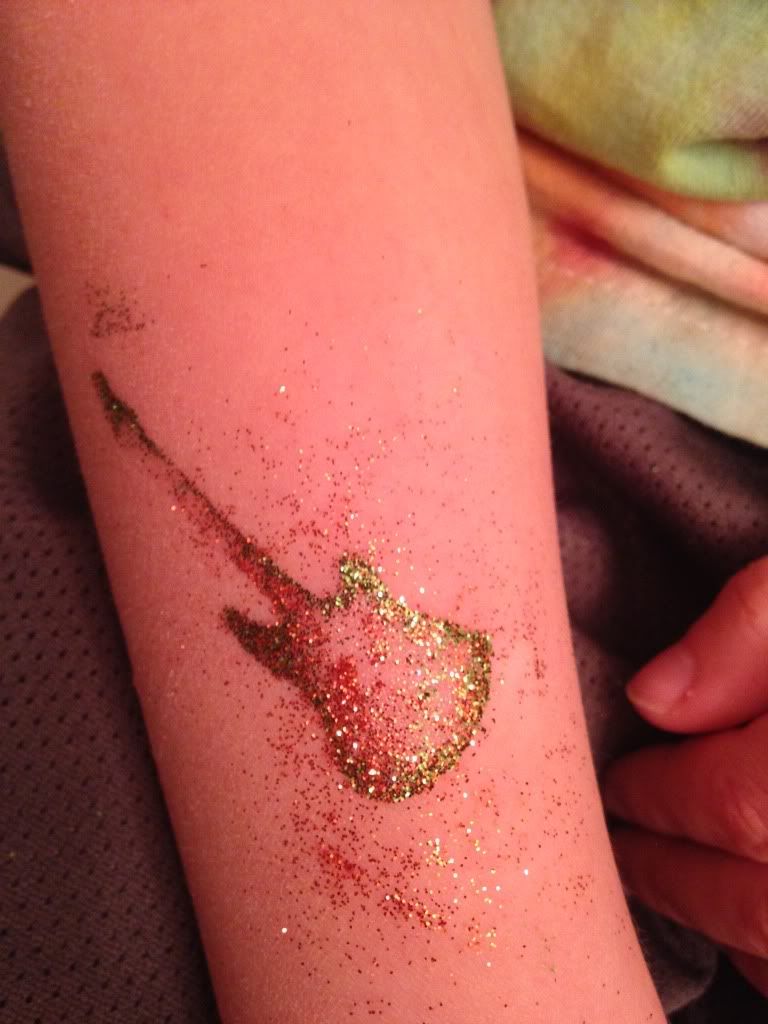
11. Peel away custom stencil and brush off excess glitter.
For more directions on using the Art Glitter Body glue, go
HERE. Art Glitter has stencils for those who don't have digital cutters.
You can find more of my work at my blog
HERE.