Showing posts with label Missie Todd. Show all posts

Friday, March 21, 2014

Art Glitter Tattos with Missie

Glitter Tattoos


This year I am the Co Chair for the spring Funfair at my boys school.  They attend a K-8 school with over 900 students.  The event is four hours long and features food, games, activities, raffles, and silent auction and is the biggest fund raiser of the year for the school.  As I love ART GLITTER I thought that adding glitter tattoos this year would be a fun thing for the kids, and boy did they love it.  Here is a full list of supplies that I ordered before the event:

SUPPLIES:
2 oz Body Adhesive (x2)
2 oz Pumpkin Glitter #56
2 oz Yellow Glitter # 66
2 oz Black Glitter #79
2 oz Shiney Glitter #84
2 oz Leather Glitter #139
2 oz Michigan Moss Glitter # 232
2 oz Berry Glitter #4
2 oz Baltic Glitter # 296
2 oz Heather Glitter # 115
2 oz Pink Diamond Glitter 3351
1 oz Electric Light #222
* this was more than ample supply for the event, 1 oz jars would have worked well. 

Brushes to apply glitter and adhesive
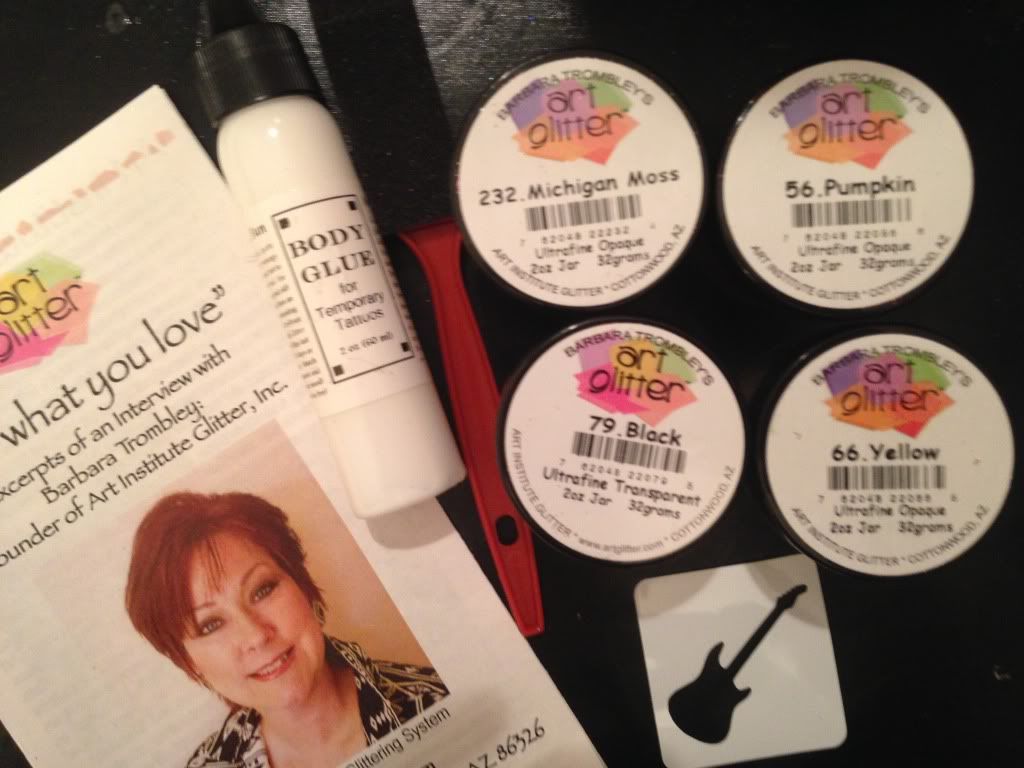

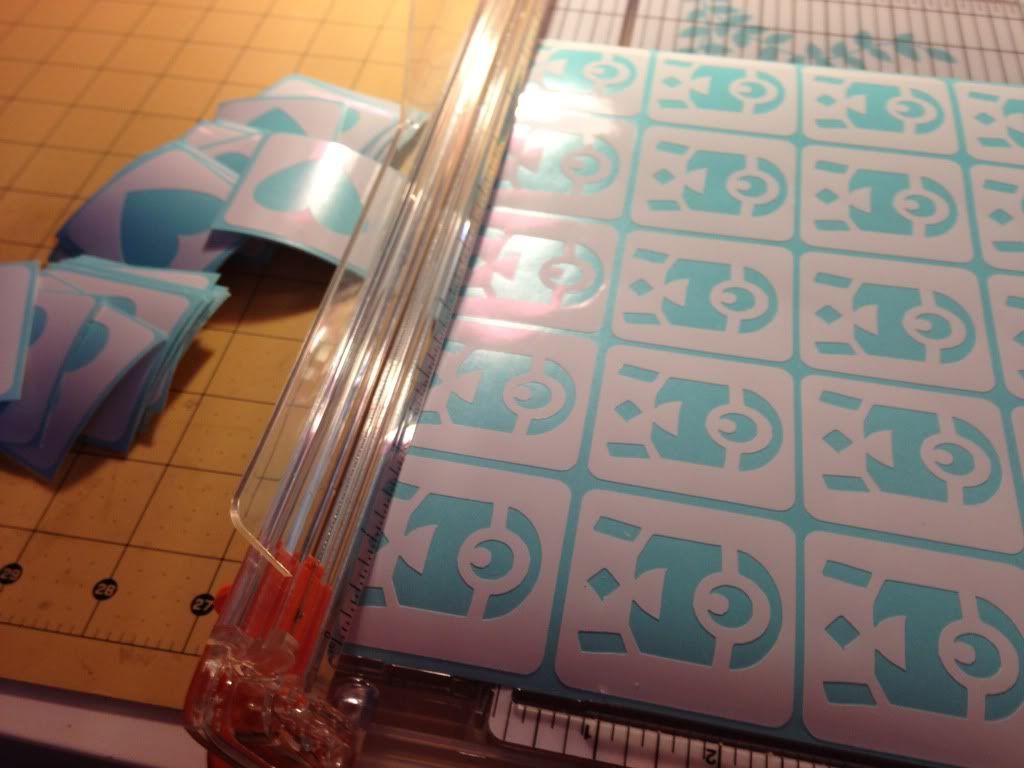
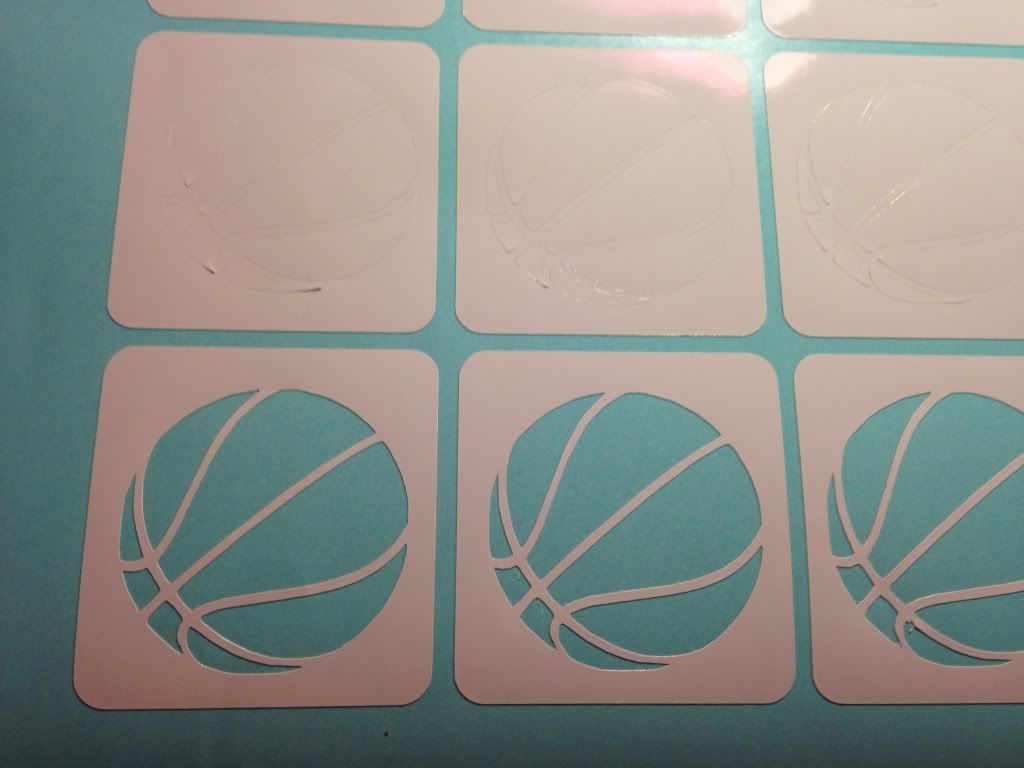
Begin by placing a stencil.  I created the stencils for this event myself using my Cameo and Orcal Vinyl, however a selection of stencils are available for purchase from Art glitter.  After applying the stencil apply a thin layer of Body adhesive using a foam brush of makeup applicator.


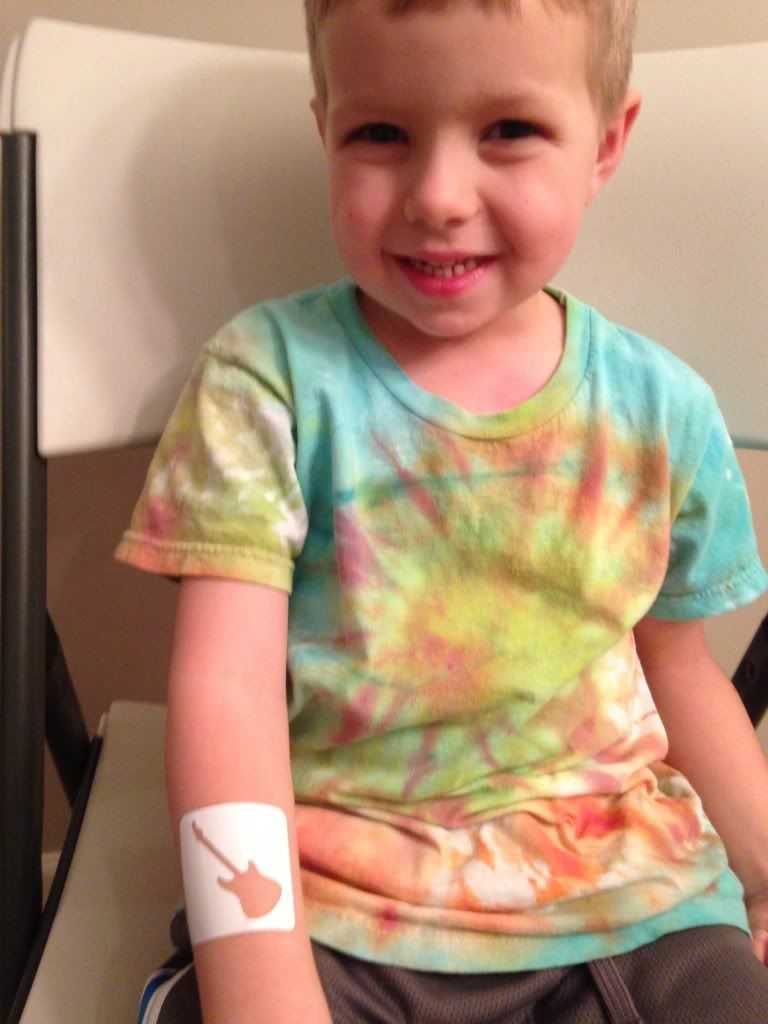
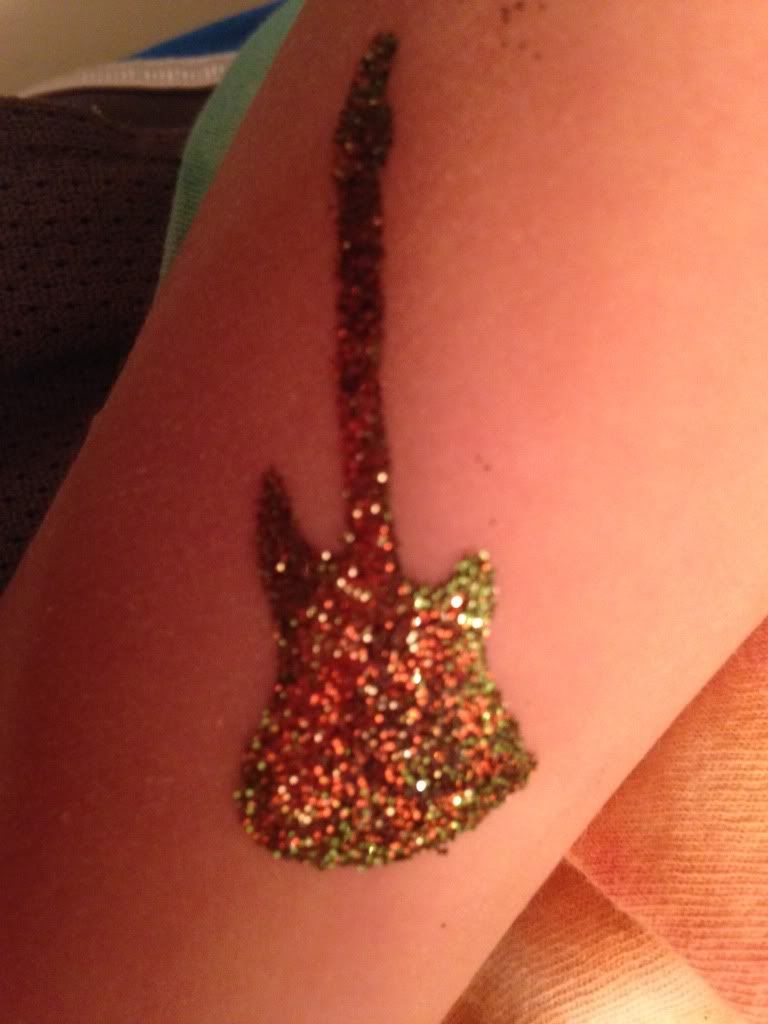
You can apply the glitter all over or use multiple colors like I did here.  This little guy (my son Ian) wanted the guitar to match his tie die shirt, so we started with green on the outside, then added orange, yellow, and black.
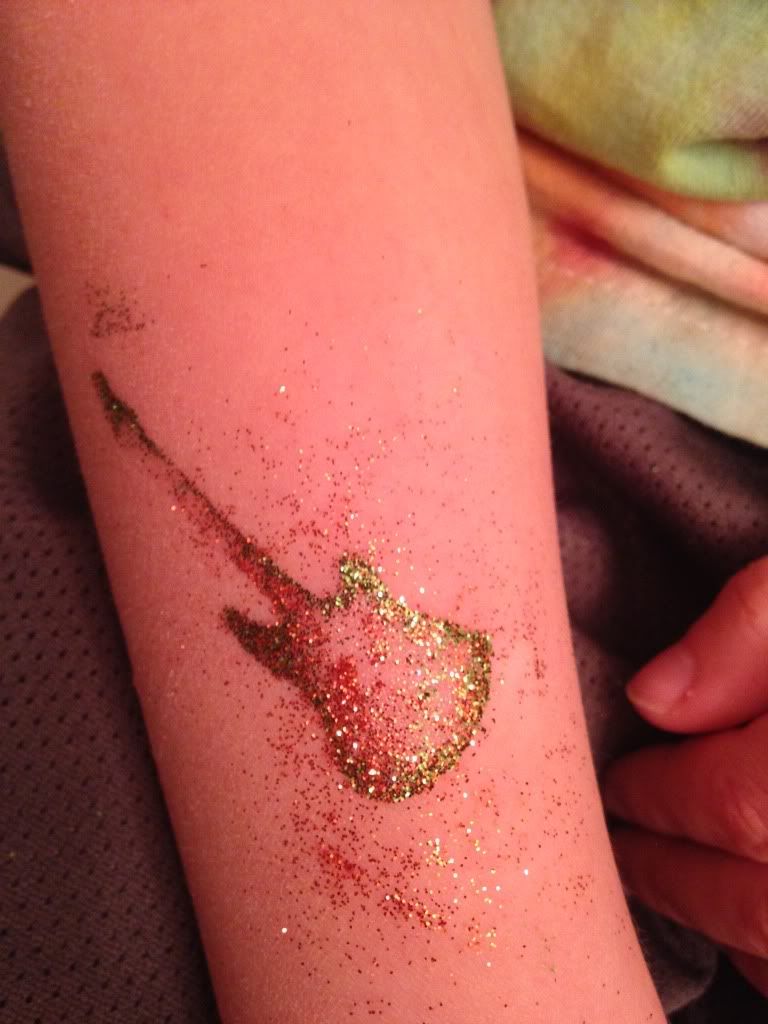
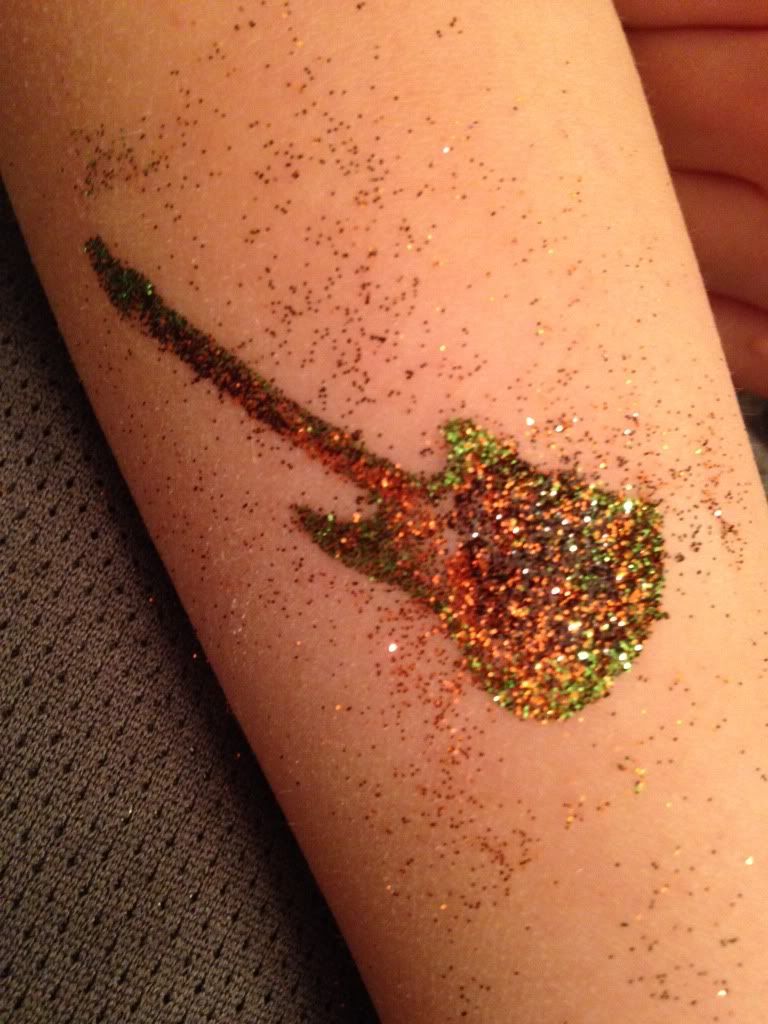
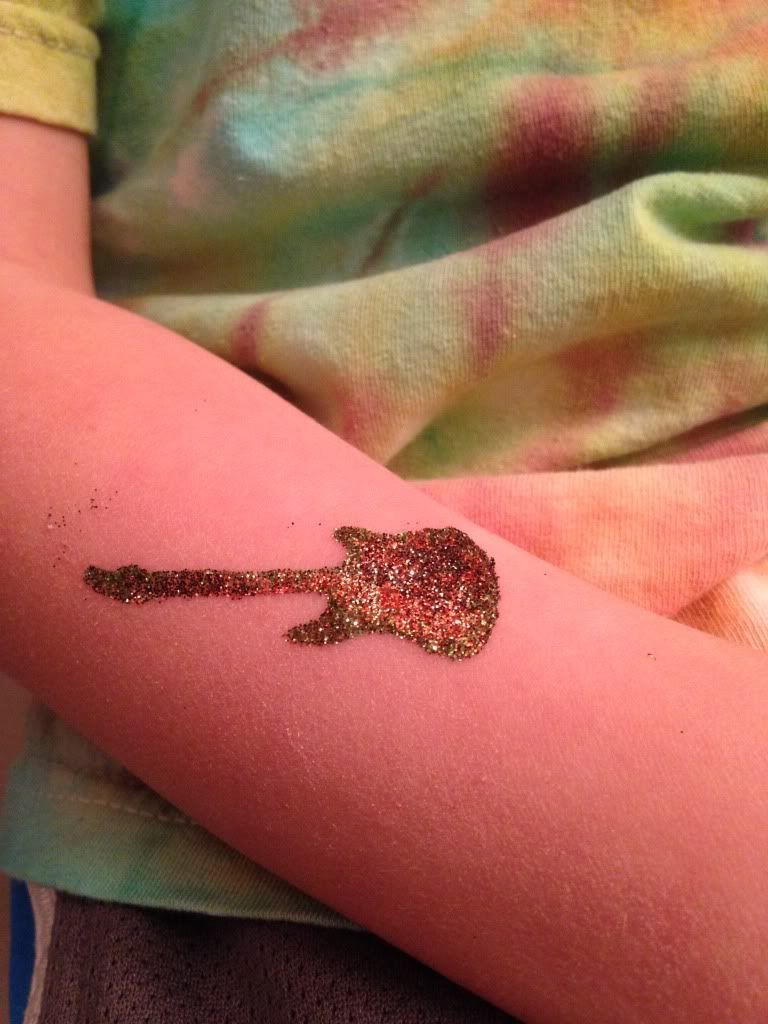

When you have finished adding glitter, simply brush off the excess.  The glitter tattoos will last for up to a week with normal wear.  If you want to remove the tattoo simply use rubbing alcohol. 


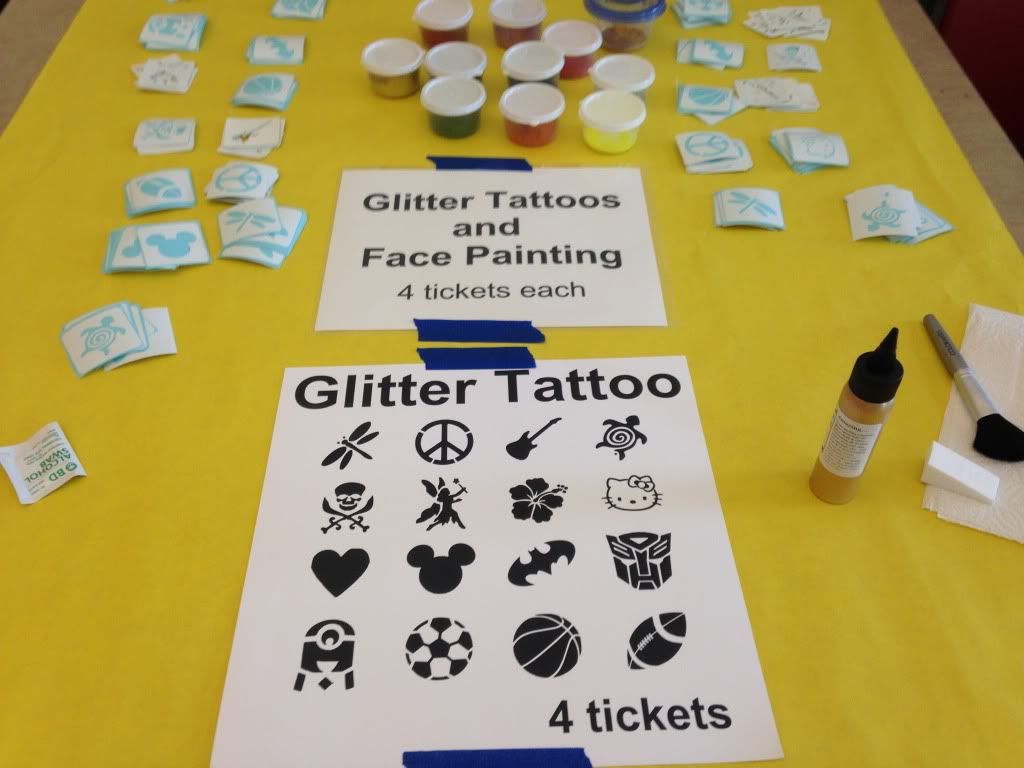
Here are a few photos of the glitter tattoo booth at the fun fair and making the stencils


Thanks for stopping by to see my creations.
Missie Todd
createdbymissie.blogspot.com



Thursday, March 13, 2014

Art Glitter


Spring Break with Art Glitter


Supplies:
Journaling Cards

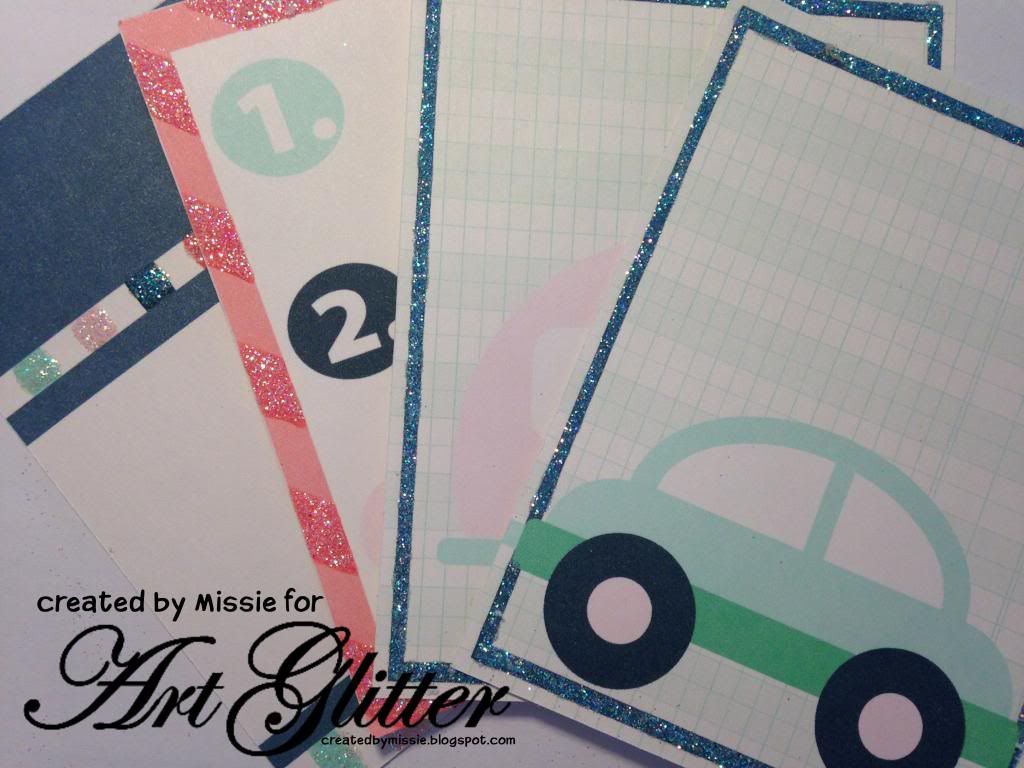
This year I am striving to expand my scrapbooking from traditional pages and add the project life style of pages to my skill list.  So, today, I want to share a fun project life style layout I created for spring break.  The graphics for this page are from Lettering Delights.  They offer a variety of SVG, graphic, and font files.  For this project I used the Spring Break Graphic set.  As you can see a few of the journaling cards above are strait from the graphic set. I then created a few unique journal cards to coordinate with the set (I created the car and camper cards, the cards that have just a background and frame, and the 2014 card.  The images were sized to 4x6 and 3x4, and printed on my home computer using white cardstock.


Here you can see the printed cards just waiting for glitter!


Art Glitter Dries Clear adhesive is selectively applied to the journal cards and then Art Glitter Crystal Glitter is added.

 Beautiful Glittered Journal Cards


Thanks for stopping by to see my creations.
Missie Todd
createdbymissie.blogspot.com


Tuesday, February 25, 2014

St. Patrick's Day With Art Glitter


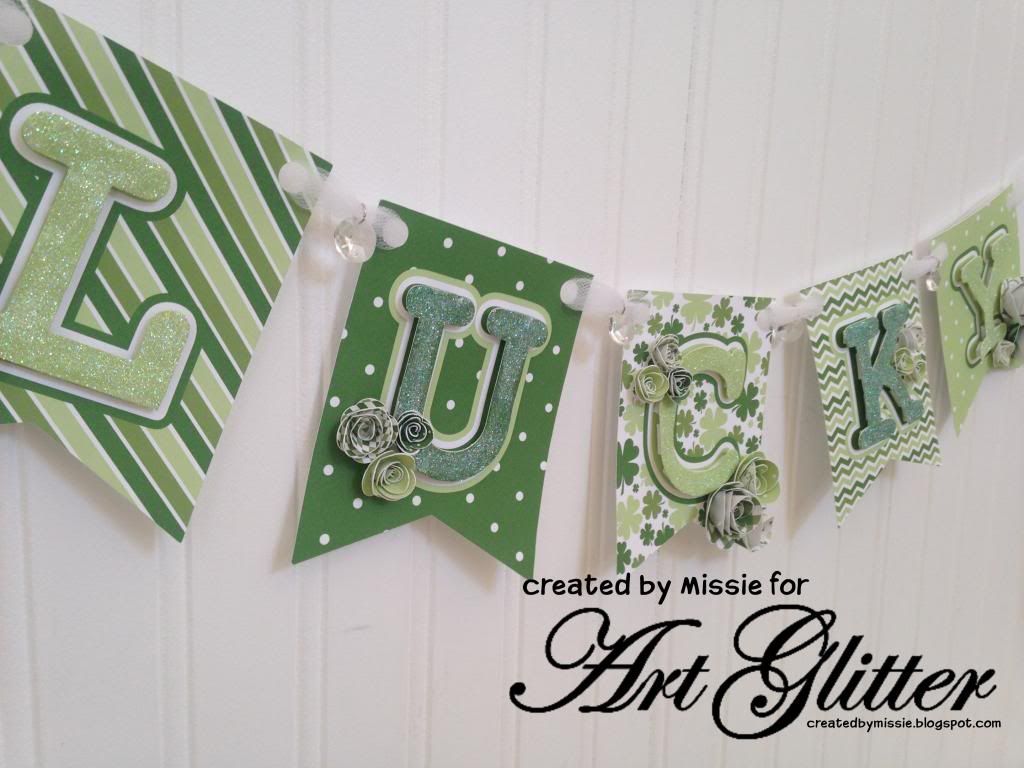
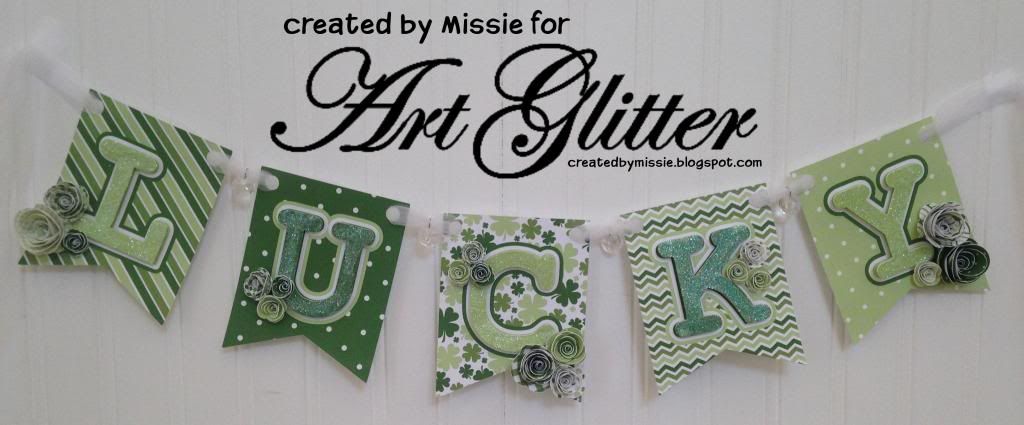
Lucky banner for Art Glitter
Supplies: 
St Patrick's day theme papers- these were digital printables found HERE
foam adhesive
Die Cut Banner, letters, and flowers


To begin the project Missie used Silhouette Studio to create a printable banner complete with layers and quilled flowers.  The pieces were then cut using the silhouette cameo. 


Cover the letters completely with Art Glitter dries clear adhesive and crystal glitter.


Quill the flowers and use hot glue to keep them in the perfect shape.


Use pop dots to layer the letters onto the banner and attach quilled flowers with hot glue.


Use tulle to string the individual pieces into a banner and adorn the banner with Connie Crystal Crystals.


Want to recreate this banner for yourself?  Missie has provided the Silhouette files for you to download.  Simply use the links below to get them, and be sure to leave a comment here letting Missie know that you will be creating a banner for yourself!

Thanks for stopping by to see my creations.
Missie Todd
createdbymissie.blogspot.com


Sunday, February 9, 2014

Kiss Me Whether I'm Irish or not- Canvas


Supplies:
8 x 10 Canvas
Acrylic Paint
Vinyl cut with St Pattie's day word art
Art Glitter Dries clear Adhesive
Art Glitter Inca Gold Glitter
Paint Brush


Begin by painting an 8 x 10 canvas green with acrylic paint.

This is the vinyl word art I used for the canvas.  I purchased the file in the SIL store, and adjusted the size to fit the canvas.  It was cut using my silhouette cameo.
Apply the vinyl to the canvas.
Apply Art Glitter dies clear adhesive to select elements on the canvas.  I added dots and glittered the heart and the word "gold" 

Apply the glitter while the adhesive is still wet.  Please note that the adhesive will take longer to dry on the vinyl than it does on paper or the canvas.  You may want to let it set overnight before brushing off excess glitter.
Shake off excess glitter.  I like to use a soft brush (make up brush) to gently brush off the excess after removing the vast majority.
Thanks for stopping by to see my creations.
Missie Todd


Tuesday, January 28, 2014

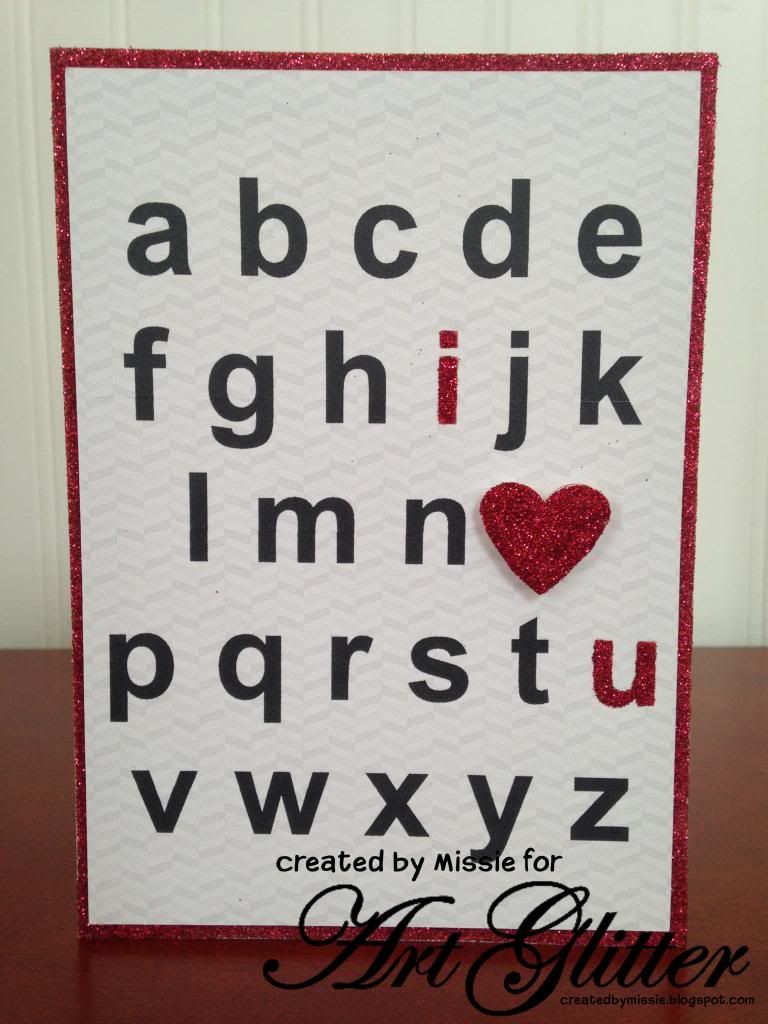
I "Heart" You

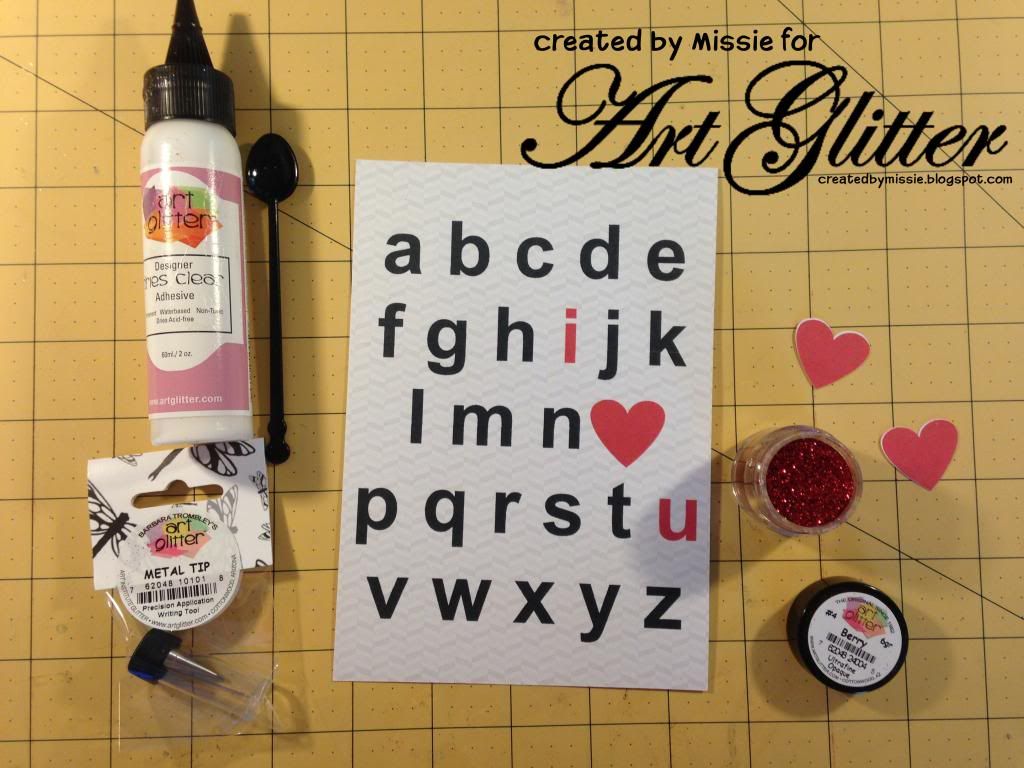
Supplies:
4.75*6.75 printed alphabet with a heart replacing the "O"
5*7 white cardstock card base
Art Glitter #4 Berry Glitter
Art Glitter dries clear adhesive
Double sided tape

I created this printed alphabet using the Silhouette studio software, but this could be easily created using a word program and hand cutting if you do not have a Cameo.  The hearts were also printed and cut from silhouette studio, but a punch could be substituted. 

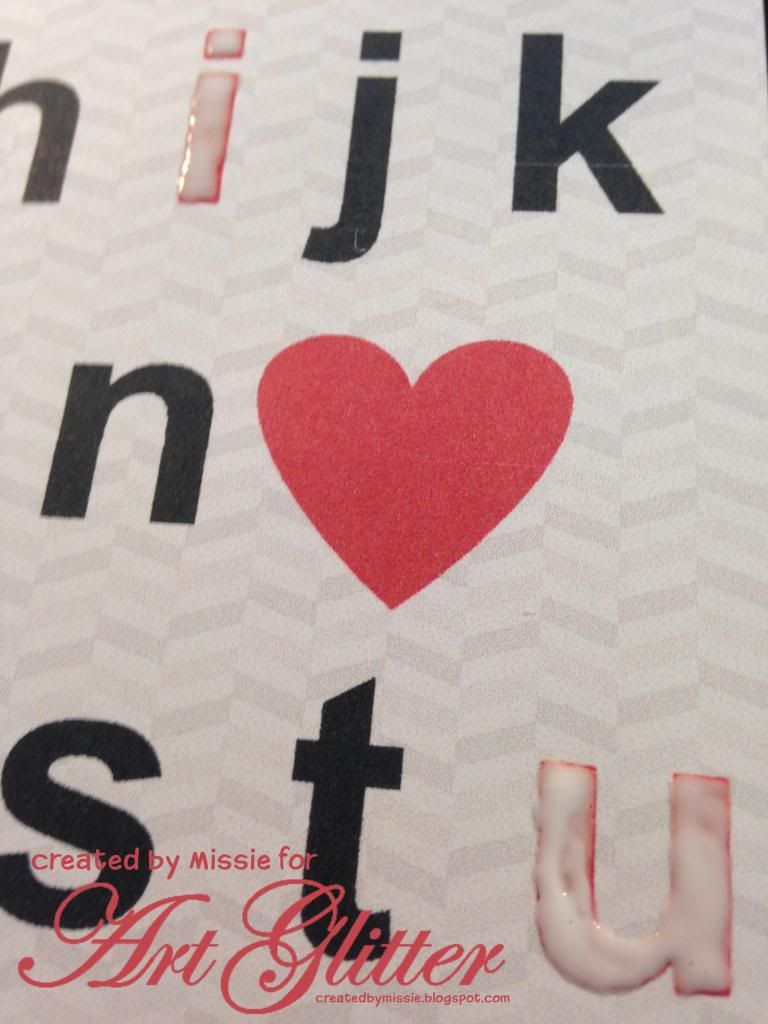
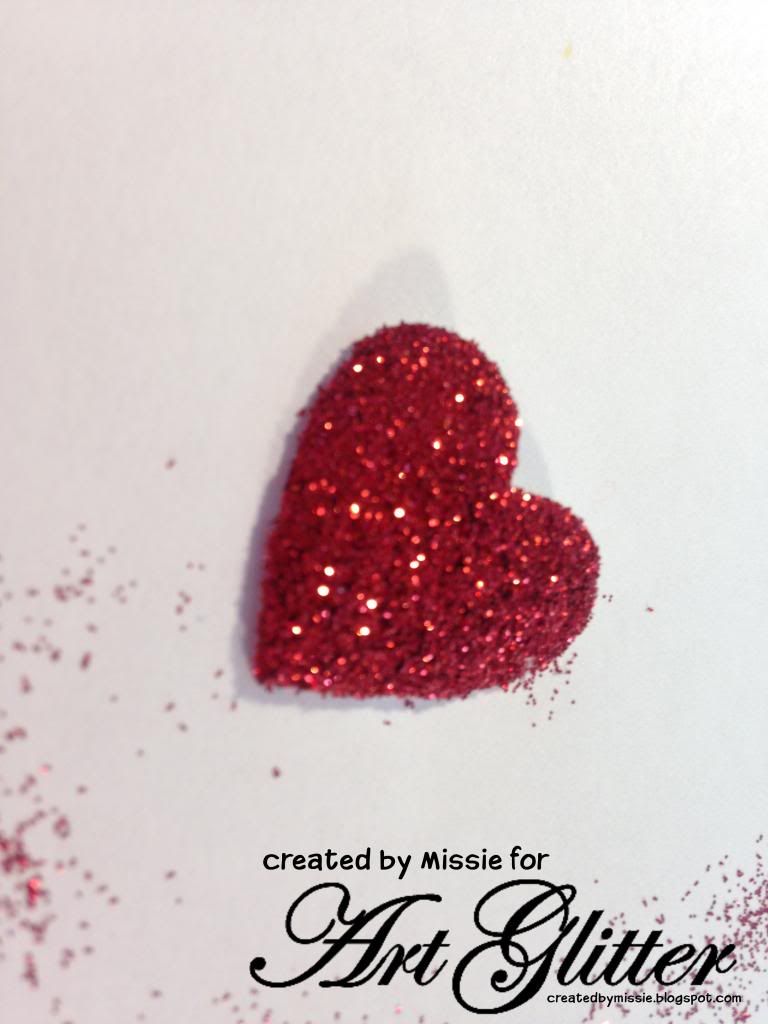
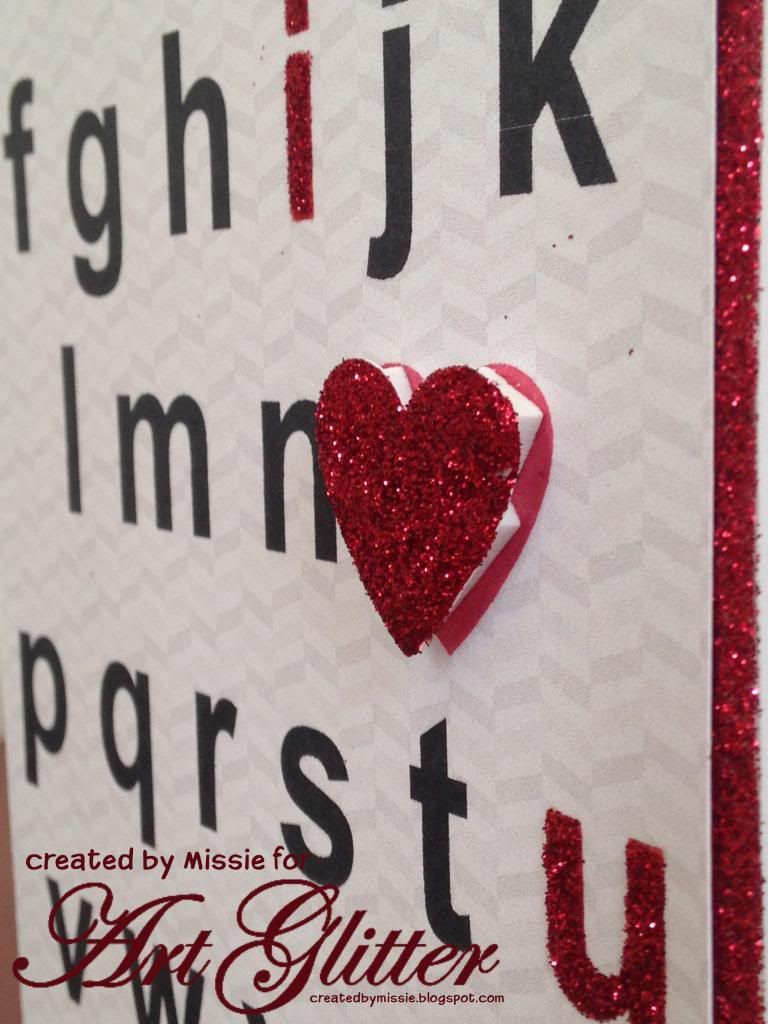
Use Art Glitter dries clear adhesive on the I and U and then apply Berry Glitter.  For the heart I glittered a separate cut out then layered it on with foam adhesive to add dimension.


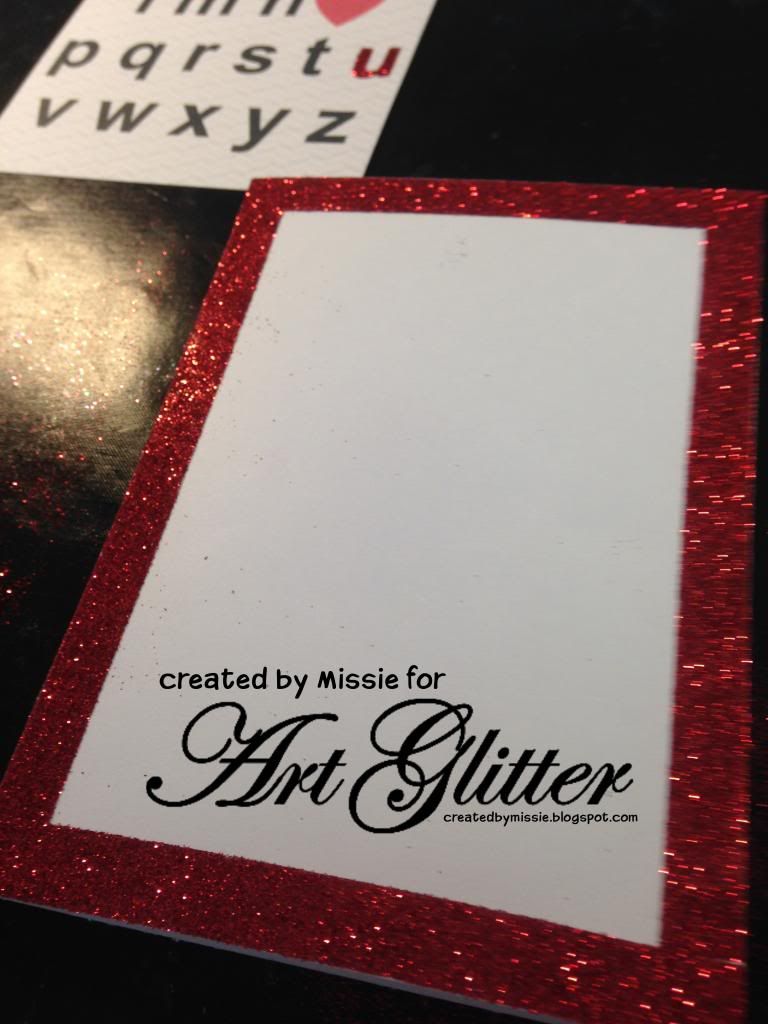
Apply 1/2 inch wide double sided tape to the edges of the card base then apply Berry glitter to the card base. Then layer the printed alphabet and popped up heart to the card base!


The finished product is an easy to recreate, yet very lovely card for someone in your life.  This could be used for valentines day or other occasions such as anniversaries. 


Missie Todd
createdbymissie.blogspot.com


Wednesday, January 8, 2014

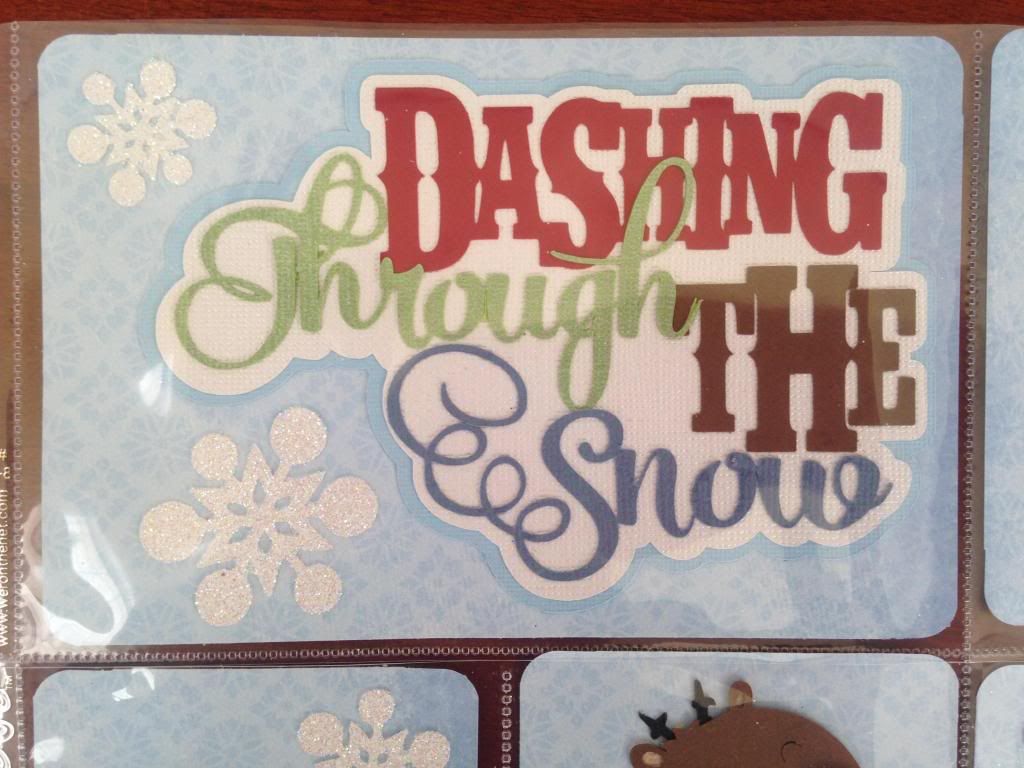
Dashing Through The Snow


Supplies:
Assorted Scrapbook Paper
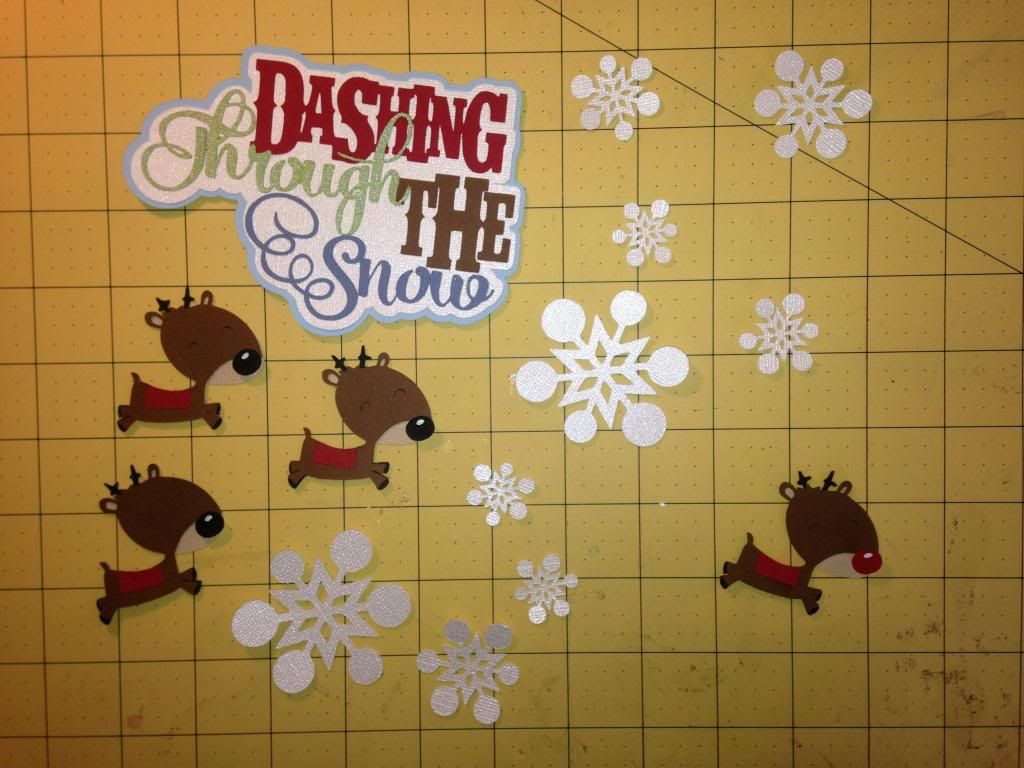
Die Cut title, reindeer, and snowflakes- these are from MissKateCuttables.com
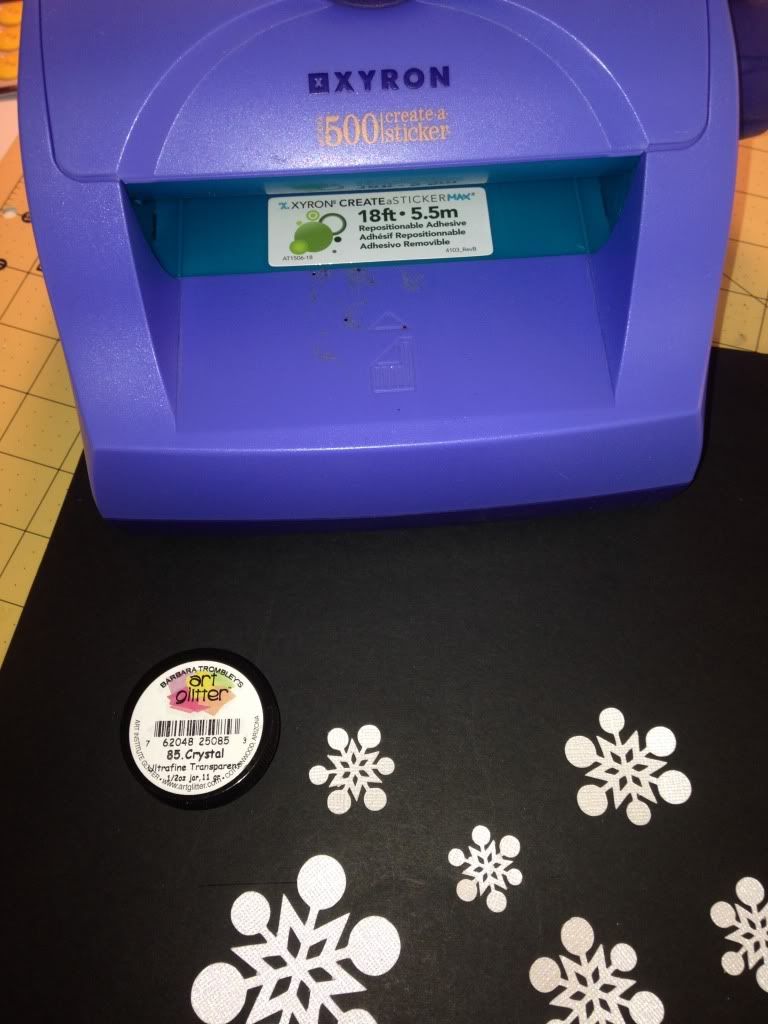
Art Glitter Crystal Glitter  #85

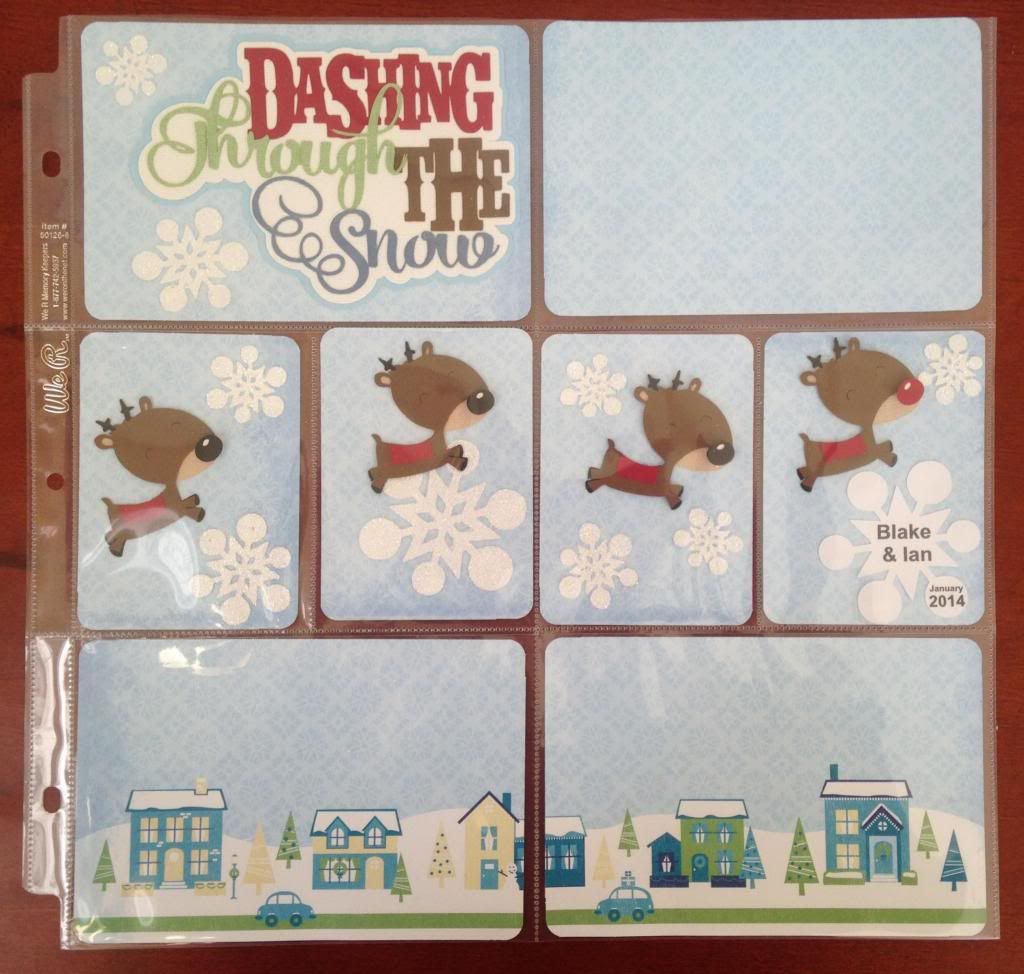
Starting out the new year by getting organized? This year it is my hope to begin using the "project life" style of scrapbooking for at least some of my photos. While I don't plan to give up traditional scrapbooking, I'm finally ready to give this a try. I have over 3000 photos living in my iPhone and I want to do a better job of getting the photos of my kids into albums.  This layout is my very first attempt at a project life layout and I have to say- I am quite pleased.


Begin by cutting patterned scrapbook paper into 3x4 and 4x6 inch pieces.  For this layout one sheet of scrapbook paper was used for the entire background.


Using the SVG cut files "Dashing through the Snow" from misskatecuttables.com make snowflakes, a title and reindeer for the layout.
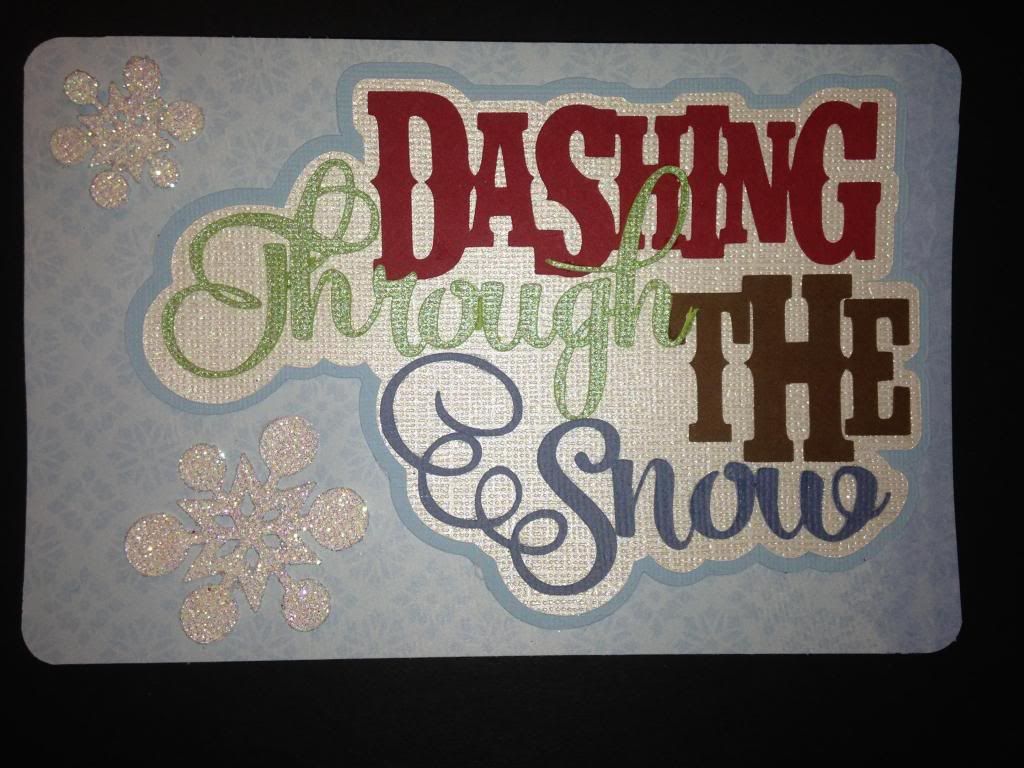

Add double sided adhesive to the snowflakes (this was done using a xyron sticker maker) then add Art Glitter Crystal Glitter to the snowflakes. 


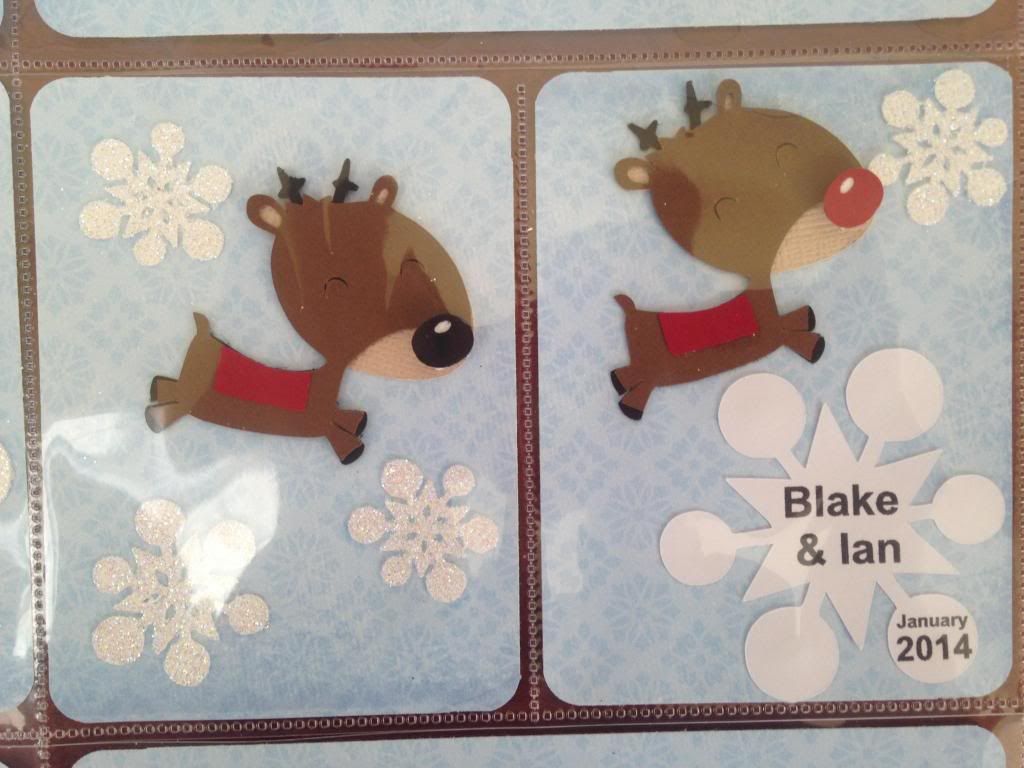
Add the die cut pieces to the journal cards to begin assembling the layout.

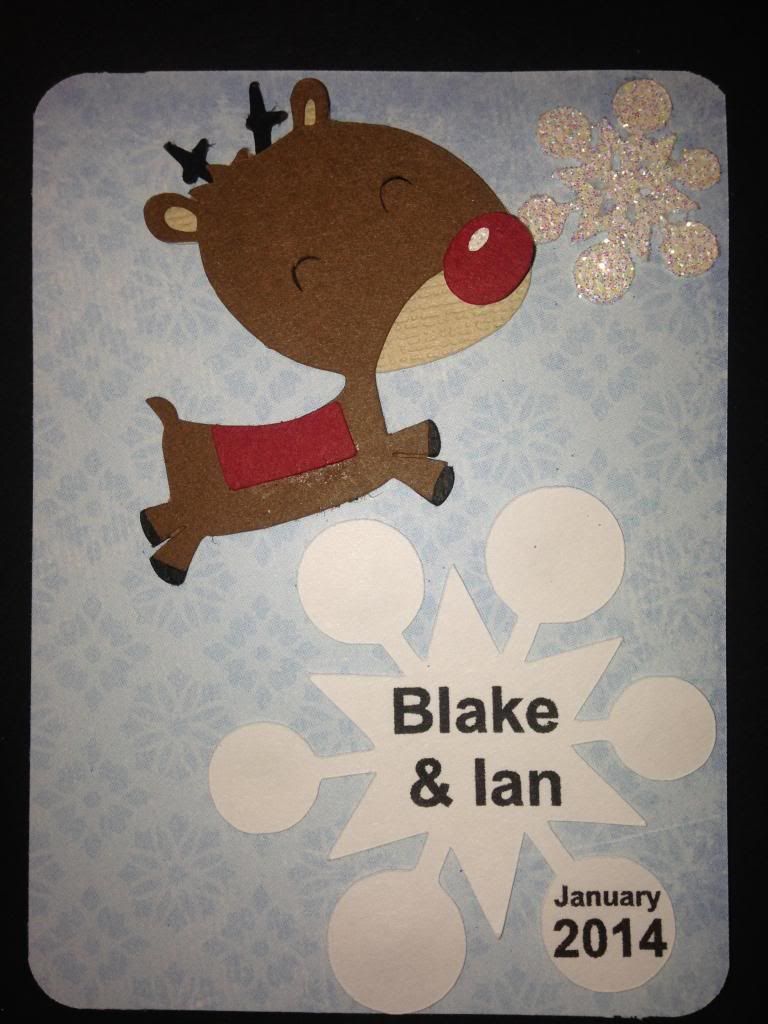
You can use the Silhouette Cameo's print and cut feature to add names and dates to a snowflake shape to be used as a journaling card.

Here are some close ups of the finished layout.


Thanks for stopping by to see my creations.
Missie Todd
createdbymissie.blogspot.com