Showing posts with label children's craft project. Show all posts

Thursday, February 7, 2013

Fun with Double Glitter Lace Technique

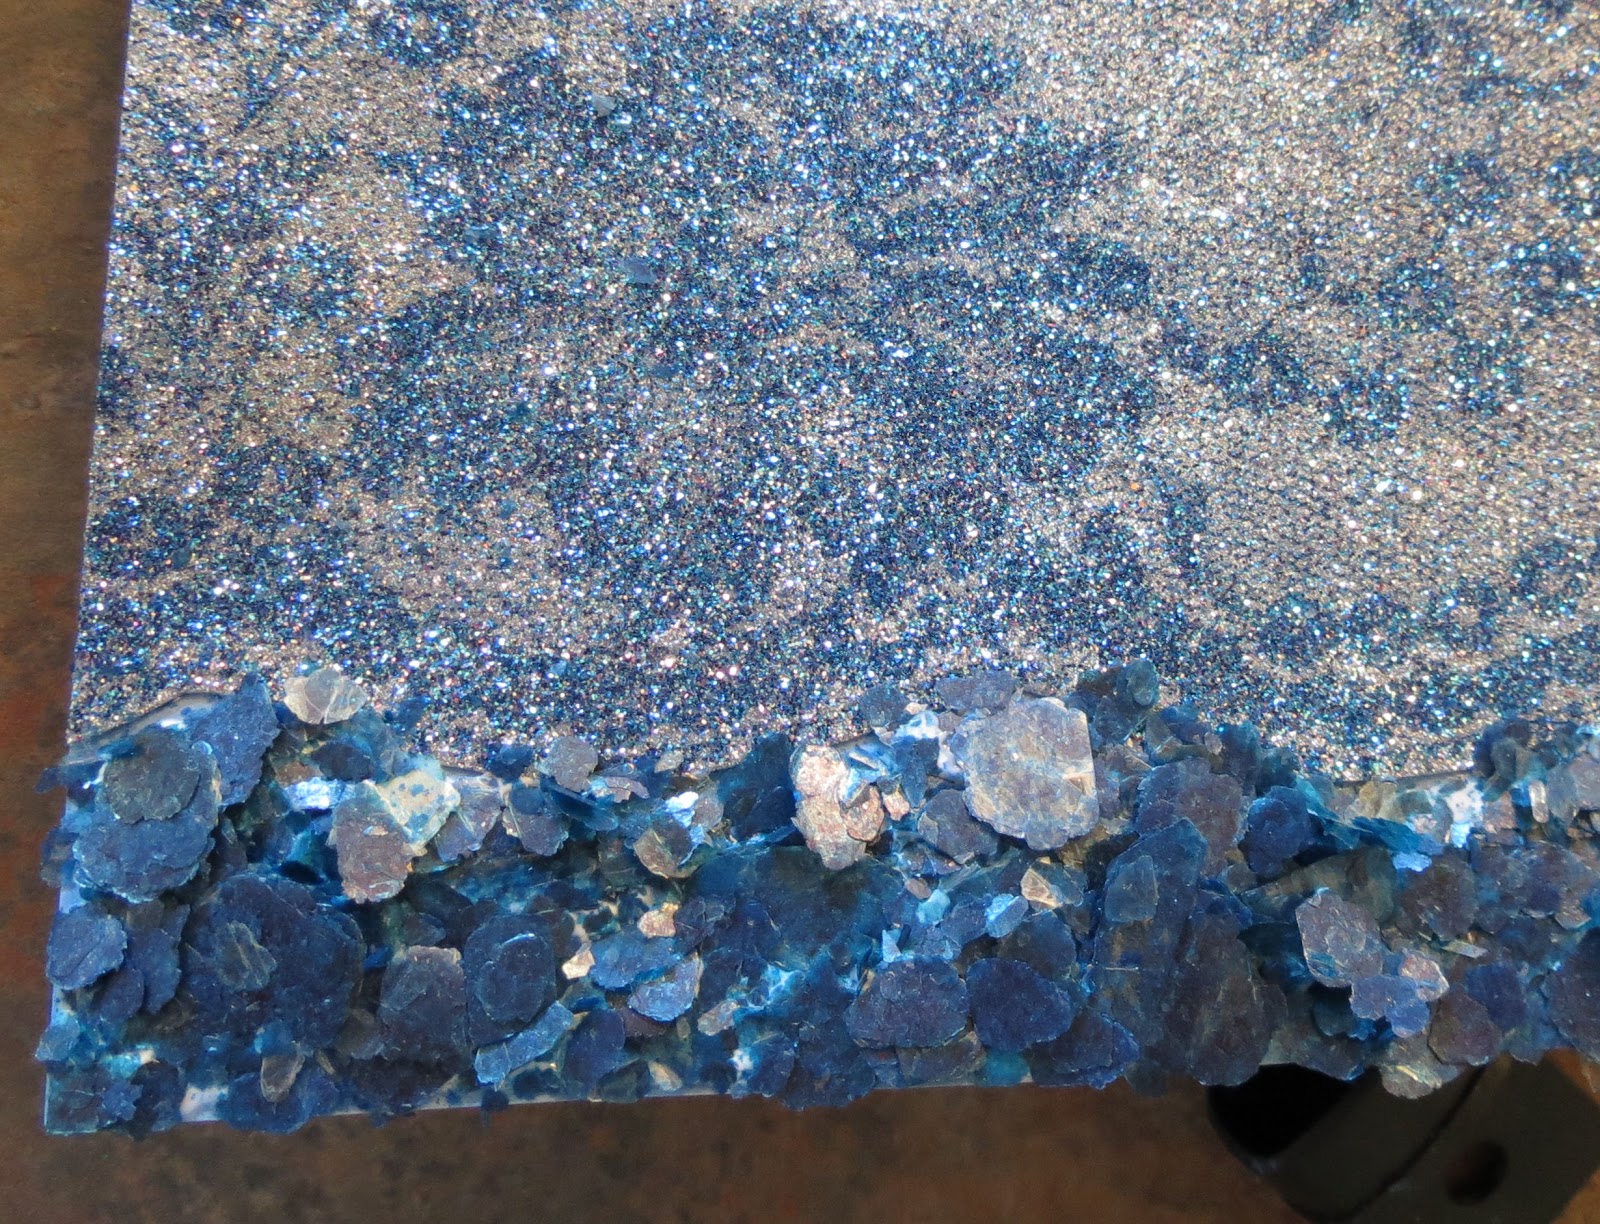
I was playing with my Art Glitter and first I thought I would do the double glitter with my stencil. But then I had this pretty piece of lace ad had to do a double glitter lace technique with #508 Silver Moon Microfine Opaque and# 80 Galaxy Ultrafine Opaque Glitter.

I then trimmed it out and placed it on the card front then added the fun Mica Flakes.  I used Designer Dries Clear Glue for applying the flakes and double sided tape for the double glitter technique. I then added the stencil to the card front using the Pearlescent Embossing Paste and NEWER LG 743 Stylized dahlia
LG 743 Stylized dahlia


So this is how it went....
lay lace on double stick tape and press down firmly

Sprinkle with first color of glitter

Shake of Excess

Remove Lace

One color of glitter only

Second color added

oooooooooo aaaaaaaaahhhhhhhhhhhhhhhh

Add the Mica

This is with the stencil added!


Hope you enjoyed. Happy Creating
Kristi

Thursday, December 20, 2012

Art Glitter and 52 Kids!

I had the joyous pleasure of teaching the K-8th graders at the United Christian School in Camp Verde down the road from us this week. They know all about glitter now! Truly a craft worth cultivating for well rounded students! 

Here's the card the Kindergarten class made. It's a snowman made from recycled white lids at Art Glitter and Faux Snow! The face and buttons are  #850 Model T Grande Beads, and we used Sticky Tape to attach the lids to the cards so they could work on them without waiting for them to dry. And of course we used Designer Dries Clear Adhesive for all the projects. We could have used our Dries White Adhesive to make the snow whiter, but I don't use it with children so they don't ruin their clothing.


They were so focused! I love using Faux Snow with the little guys because they can get their hand in it and not get TOO messy. Really turned out great!


The 1st and 2nd graders made some fabric ornaments, which I sadly did not get any photos of, but they had a few more minutes afterward and we glittered some pine cones. I always bring pine cones in case I need something quick and easy to fill in some time and the kids just love them.


We used all Opaque Ultrafine Art Glitter. It is a little more forgiving for kids to use. Meaning, it doesn't cross pollute as much as Transparent.


You can see my friend Miss Kathy in the purple with the 1st graders above. She's so wonderful. I have bling strands or sometimes referred to as shimmers in my hair... she told the kids that I had been working at Art Glitter for such a long time that I had started to grow glitter in my hair! A few fell for it, but most thought it through and called her on it!


We didn't even attempt the glitter hair story with the 5th-8th graders. Of course they've seen the shimmers before! So many boys (one girl above) working diligently on their butterflies! This is a larger version of Barbara's Butterfly image printed on our Transparencies.


Always a big hit we used all Ultrafine Transparent colors here. The girls were in heaven! When it dries you cut the butterfly out and add ribbon so you can hang it in a window or on the tree.

The 3rd and 4th graders made Bling Bells. It's a recycled tin can glittered to the max with a pipe cleaner and bell for hanging and ringing.

Again we used a rainbow of Ultrafine Opaque Art Glitter colors and some Hexi Dazzlers. They were so creative, it's great to see the diversity of designs they come up with.

If you make this project, start at the top and work your way down. Don't worry about the glitter that clings to the walls while you are moving along. You can brush all that off when it is dry. Much fun!


Thank you United Christian School for sharing your talented and well behaved students. And thank you Art Glitter fans for joining along. If you ever need any advice or ideas on creating glitter classes for students of any age, give us a call!  - GlitterEmm........

DON'T FORGET TO TAKE ADVANTAGE OF OUR 25% OFF SALE THROUGH DEC. 25TH Details here...

HAPPY HOLIDAYS!

Sunday, May 27, 2012

Glitter Creativity “On The Edge” by Sherri Reehil-Welser

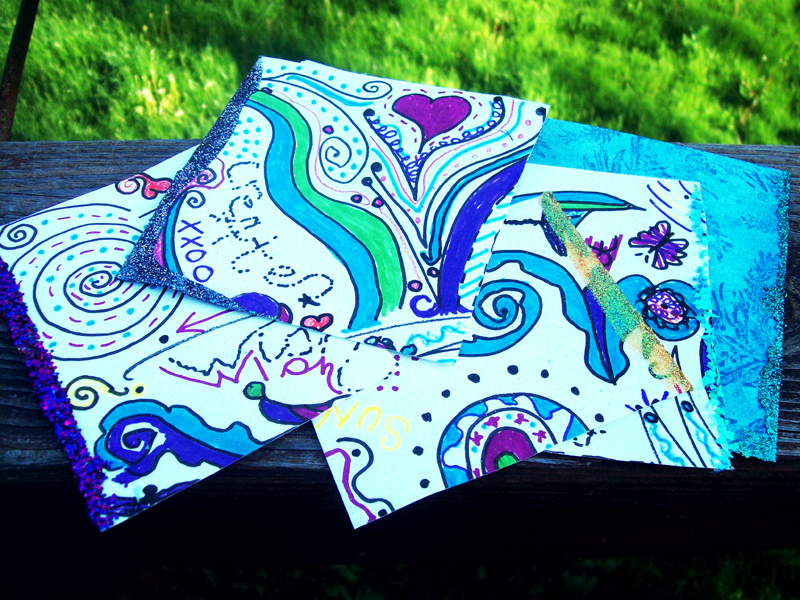
I love to embellish anything and everything with beautiful glitter and then I decided I would embellish paper edges with the simple and pretty touch of glitter! The way the light dances off the glitter creates such a special look and adding it to the edges of my journal/doodle pages was a very interesting way to add some glam to the pages!


I started this fun project with Art Glitter, Designer Dries Clear Adhesive and some of my doodle pages! You can also do this on art journal pages, handmade cards, gift tags and even business cards that you want to add a special touch to. There are endless ways to add that special touch of sparkle onto your paper projects!


After you have gathered your items, pour a line of Designer Dries Clear adhesive and a line of Art Glitter on a scrap piece of paper. This is for dipping the edges of the paper into


Once you have dipped them in the Designer Dries Clear adhesive (try dipping on an angle for a geometric design too) then dip the edges into the Art Glitter. Set on a flat area to dry when finished.


If using a fine glitter, multiple layers can be dipped over each other at angles, creating pretty colored layer effects.


This is a simple but beautiful way to add a bit of sparkle to any paper art project.


Wednesday, March 14, 2012

Sparkling Treasures by Sherri Reehil-Welser


Creating with children is a beautiful journey… their hearts are filled with so much creative energy  that it’s contagious to everyone around them! For this particular project with the children we decided we would have no boundaries or topics just pure creative bliss.

We began with a piece of white paper ( 11x14 ) where we just splattered, dropped or strategically placed many different colors of fabric paint. Fabric paint has a more translucent appearance and works well with showing off the glitter in the design. After applying the fabric paint we then folded the paper in half to transform the identical image on the other side of the paper. The fun aspect of this process is when the paint mixture blends and creates wonderful designs and colors… it is just like Christmas- You  never know what you will get as a “gift” for all  your creative energy!

While the picture is still wet we applied Art Glitter colors in- Monochromatic Orange Shades, Ultrafine Transparent #212 Blue Whale and Ultrafine Opaque Hologram #248 Nebula. The children are just drawn to all things colorful and glittery and Loved working with the Art Glitter and realizing all the different colors of glitter available from Art Glitter.com! One child even described the Nebula glitter as “Diamonds in the Dark”.


Some of the beautiful pictures created!


This is a colorful butterfly!


Here is a “Queen” smiling!