Showing posts with label Spring. Show all posts

Saturday, March 15, 2014

Art Glitter Spring Time Card


Spring Time Card

Heather decided she would like to share with you a bit of spring!!  
You will need the following:

Step One
Heather Started out with cutting out her images, and inking all of her pieces with Ranger's Frayed Burlap.  She tied a nice seam binding bow at the top of her card using her bow it all tool.  

She used her Designer dries clear glue with a brush, and she applied glue to the whole doily, then applied Fauna Glitter.
She applied more glue to her focal image, and then used the brush to spread it around.
She then applied Fauna glitter to this piece as well.
Next she added some dots of glue to the green stamp image.  
Heather used Celery green glitter.  Next she used her fine tip applicator to outline the banner and added cheeky pink glitter.
Heather added some glue to her foam brush, then used it to brush some glue onto the edges of a mulberry rose.  She did the same thing with the two smaller pink roses.
Fauna glitter was used on all of the roses.
Heather used her fine tip applicator to add dots of glue to the outer edge of her card, and lines of glue added to the blue flag piece.  Cheeky pink and Ice glitters were used.
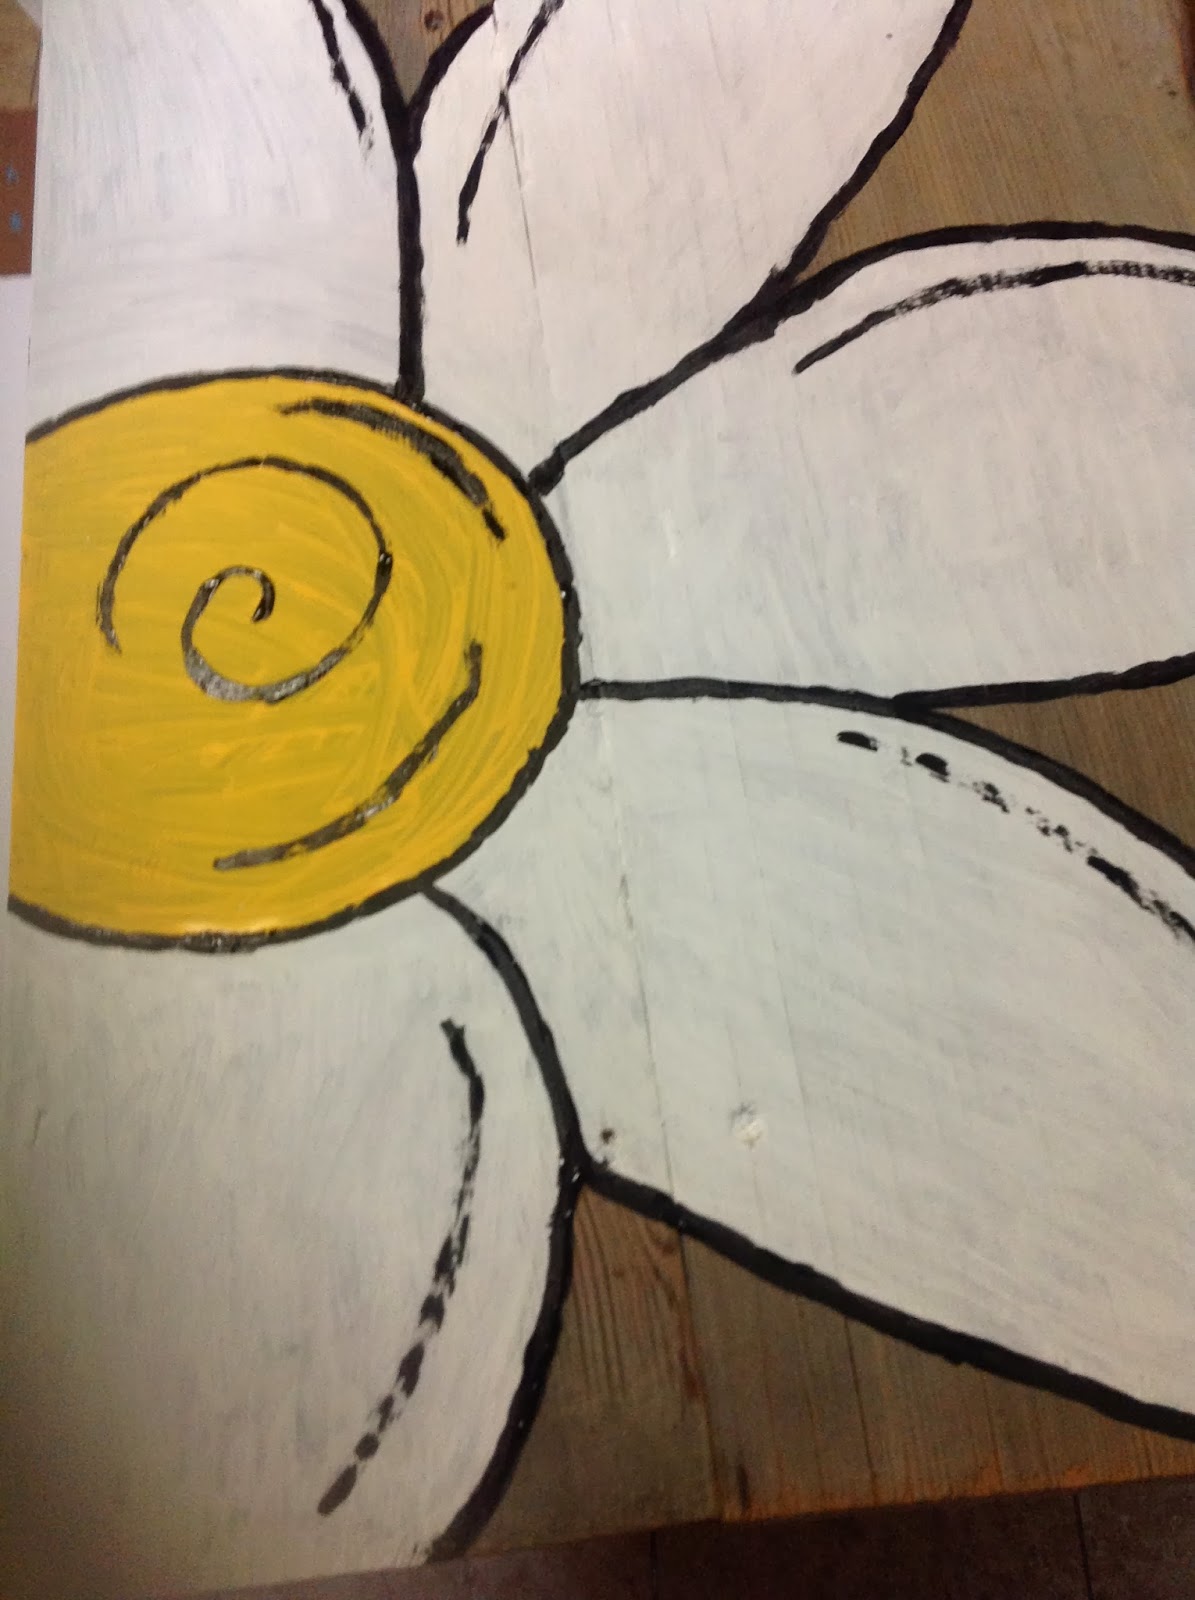
Here are a few close ups of her card below.
Heather loves the springy feel of her card.  Here is a close up of her roses below.
One last look at Heather's card.

Heather hopes you enjoyed her tutorial, and hopes it reminds you of a lovely spring day!
Feel free to stop by and see Heather's other projects and Tutorials using Art Glitter on her blog.
and her 


Thursday, February 27, 2014

Spring Sparkles


Heather decided she would like to share with you a bit of spring!!  Yes it is still snowing and freezing cold in Michigan, and Heather is already eager for spring!!  So if you live in her neck of the woods or are lucky enough to live somewhere that you don't know the meaning of "snirt"  (the yucky mix of slushy snow and dirt), hopefully you will enjoy her "Spring Sparkles with Beauty" card.
You will need the following:

Here is a close up
Heather has done a youtube tutorial for you to enjoy.

Heather hopes you enjoyed her tutorial, and hopes it adds a little Sparkle to your day!


Feel free to stop by and see Heather's other projects and Tutorials using Art Glitter on her blog.
and her 


Wednesday, December 11, 2013

Something To Warm You - Think Spring

Daisy Wood Art


I did the project back in the early spring I absolutely love how it turned out.
I would not call my self an artist, however I did paint draw and paint this free hand.

Supplies:
Paint
Wood
Pencil

Step One: Choose an old slab of wood and free hand your design with a pencil
 Step two: paint your area
 Step three: use black paint to add your details
 Ste four: add glitter to sparkle
  a closer look

I hung this outside on my deck.


My Blog: zippity-do-dah-tabitha.blogspot.com
 

Saturday, March 23, 2013

Bunny Fun

Spring is just around the corner, and when I saw these bunnies, I think they were just telling me to glitter them. 


Supplies Used:
Designer Dries Clear Adhesive
Art Glitter in #12 Lush Pink Ultrafine Opaque, #23 Periwinkle Ultrafine Opaque, #103 Jonquil Ultrafine Transparent
Paintbrush
Ceramic bunnies

I started with the smaller of the two bunnies. I brushed on Designer Dries Clear Adhesive in patches and added the glitter as i went along. I covered the entire bunny, but left the center of the ears.


I then used the Jonquil glitter in the ears. 


 Once I finished the first one, I glittered the larger bunny in a different color. I wanted them to remind me spring was coming (even though it feels like summer every day here in Hawaii).


 They make a perfect pair! These would even look super cute in a babies room!


I hope you enjoyed these cute little bunnies. Be sure to stop by my blog, one.heart.scrapper. for another glittery project. 


Thursday, March 14, 2013

Fluttering Into Spring


I just felt the need to create something with a little Spring feel about it and just kept playing around until I came up with this design. Spring is in the air today here in Michigan. Birds are singing and sun is shining. Before you know it the butterflies will be fluttering around the garden.

I just received new colors of Transparent Microfine glitter from Art Glitter and wanted to use them on this project. So here's how I started.

Supplies:


I began by inking my tag so the butterflies would have some background color. Then I sprinkled some water onto the inked tag and waited about 20 seconds then heat set.


I originally had intended to cut the butterflies and use disconnected from the background tag, but once the images had been cut into the tag I liked the way they look and they could be propped up a bit.


To create texture and dimension on the tag I inked the large background stamp from Papillon CMS106 from Stamper's Anonymous and folded the butterflies forward (this way, they were not stamped) then stamped the tag background. I inked several different butterfly stamps and stamped onto the butterfly images. I used Coffee Archival Ink for this part so the lines would show slightly beneath the glitter when it is applied.


Then I used my paintbrush technique to paint the DDC onto each butterfly wing - one at a time - and then sprinkled with the glitter. The DDC dries very quickly when applied in this manner so work in small areas at a time.

I alternated the glitter colors among the butterflies and used Rose Bud Fine Vintage Glass Glitter on the butterfly bodies in the center of each.


It seemed a bit flat to me when I finished so decided to add a pop of gold. I used the Gold Metal Leaf for this. I squeezed a very small amount of DDC onto my non-stick craft sheet and smudged it on my finger and then smudged it onto the tag. I pressed the Gold Metal Leaf into the smudged DDC and let it set for a minute to dry, then brushed away any loose particles.

To finish it off I added the stamped sentiment and a pretty ribbon.

Linda Neff
linda-neff.com


Visit my blog to catch a look at another Art Glitter project I worked on recently.

Saturday, February 23, 2013

Pretty In Pink Birdhouse

Hello, Kristi again!  I did a cool birdhouse a couple of days ago and since I had everything out I did another one.  This time instead of colors from nature I used Pink and Purple!

I covered the roof in sections with Designer Dries Clear Adhesive.  I then applied  # 7 Red Rose Ultafine Opaque glitter to the roof of the house. 

 I covered the base, the perch and the trim under the roof with #115 Heather Ultrafine Opaque Glitter! Of all of the purples I just love this color.  As of this photo I was getting ready to adhere #616 Primrose Fine Glass Glitter.  It is heavier than Ultrafine but it is so pretty!

I let it all dry then took it outside to see how it looked in the tree! 

Thanks for checking this out and hope you enjoyed and are inspired to make a nice fun sparkling spring project.  Sparkle On! 
Come on over to my blog and see what else I am up to!
Kristi