Showing posts with label home decor. Show all posts

Sunday, February 9, 2014

Kiss Me Whether I'm Irish or not- Canvas


Supplies:
8 x 10 Canvas
Acrylic Paint
Vinyl cut with St Pattie's day word art
Art Glitter Dries clear Adhesive
Art Glitter Inca Gold Glitter
Paint Brush


Begin by painting an 8 x 10 canvas green with acrylic paint.

This is the vinyl word art I used for the canvas.  I purchased the file in the SIL store, and adjusted the size to fit the canvas.  It was cut using my silhouette cameo.
Apply the vinyl to the canvas.
Apply Art Glitter dies clear adhesive to select elements on the canvas.  I added dots and glittered the heart and the word "gold" 

Apply the glitter while the adhesive is still wet.  Please note that the adhesive will take longer to dry on the vinyl than it does on paper or the canvas.  You may want to let it set overnight before brushing off excess glitter.
Shake off excess glitter.  I like to use a soft brush (make up brush) to gently brush off the excess after removing the vast majority.
Thanks for stopping by to see my creations.
Missie Todd


Wednesday, February 5, 2014

Kiss Me I'm Irish

Supply List

Art Glitter Ultrafine Metal Tip
Art Glitter D40 Green Vibe Dazzlers
Art Glitter D42 Sherwood Dazzlers
Cricut Paper Lace Cartridge
Cricut Pretty Penants Cartridge
Silhouette Harp
Kelly green card stock
Lime green card stock
Yellow card stock
Brown Card Stock
Lime green glitter polka dot card stock
Black card stock
Embossing folder
Ribbon


After Clare's children had been in school a few years, they insisted on wearing green on St. Patrick's day.  Turns out, when they didn't wear green on that day, they were pinched.  Not wanting this holiday to have such a negative association, Clare decided it was time to use another St. Patrick's Day tradition at home and made a St. Patrick's Day Banner.

Clare started by creating a Celtic inspired banner using Cricut Pretty Pennants and Paper Lace cartridges.  She welded the two images in Cricut Craft Room software and cut them in green card stock.  
She covered some chipboard letters with Art Glitter Dries Clear Adhesive and used Green Gala Glitz for the letter "K" and "S".  For the letters "i" and "M" Clare used Green Vibe Dazzlers.  She also used Sherwood Dazzlers for the "s" in the rectangle.  For the harp below, Clare used a Silhouette file.


To see more of Clare's work, please visit her blog Cricut Crafty Clare.  


Friday, December 27, 2013

Joy Ornament

Joy Ornament

 
I had fun this month playing with some new glitters that I got and I think the
colors are simply elegant.
 

Supplies:
pattern paper
twine
 
 
Step one select chipboard background and letters. Add pattern paper of your choice to background

 
Next add the gorgeous glitter to your letters
adhere to background add twine and your done.
 
 
I love the little jingle bells and I think that #136 Chromosphere is my new favorite!


Be sure to check out all the other ART Glitter designers and
have a very Merry Christmas and Happy New Year!


My Blog: zippity-do-dah-tabitha.blogspot.com


Thursday, December 19, 2013

Sleigh Ride

Supplies
Art Glitter 346 Chunky Transparent Winter White Glitter
Art Glitter D63 Nuts Slices
Art Glitter Dries Clear Glue
Floral Picks Michaels
Steel Heart Sled or sled with runners
Scarf
Skates
Ribbon
Basket
Plastic Ornaments Walmart
This year Clare really wanted a touch of nostalgia for her holiday curb appeal and she added some sparkle and shine with Art Glitter.  Clare thinks that Art Glitter is a great way to add sparkle and shine to outdoor decorations that have limited light on a dark winters night!   She started with an old pair of skates, picked up for cheap shopping garage sales over the summer.
To add some sparkle to the skate blades, Clare used Art Glitter D63 Nuts Slices.  Clare thinks the Slices are a perfect way to mimic the way ice forms on the window panes (see image below found here).

 The sled was found at a local craft sale, but you could use an old sled with runners!  Clare then embellished some plain pine and berry floral picks from Michaels.   She used Art Glitter 346 Chunky Transparent Warm White Glitter on the pine cones and the berries.  

To fill in the sled, Clare filled an old basket with shatter proof plastic ornaments, an old scarf and a Christmas garland wrapped around the bottom of the floral picks.  A bow on the front and Clare finished the sled.  A quick and beautiful project.  

Clare loves to use a  project like this is to cover her cords from the view from the street.  

You can find more of Clare's work at her blog Cricutcraftyclare.blogspot.com.


Wednesday, December 11, 2013

Something To Warm You - Think Spring

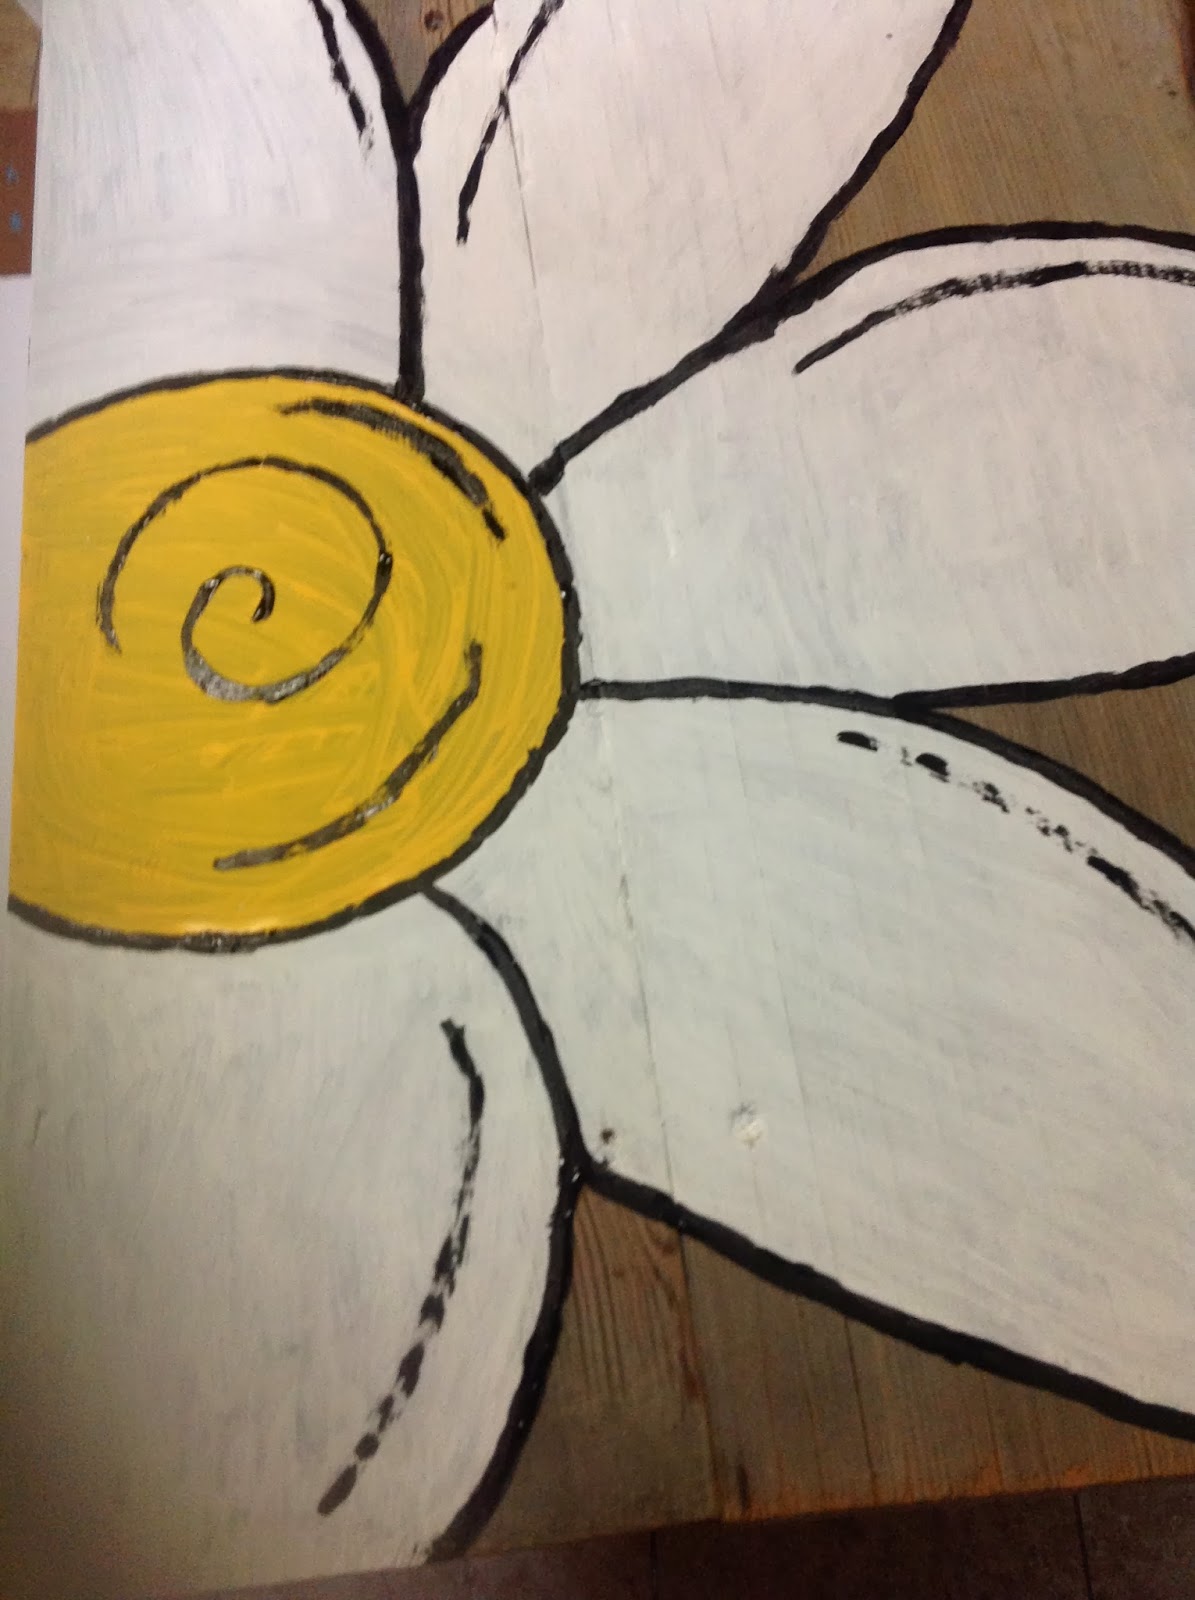
Daisy Wood Art


I did the project back in the early spring I absolutely love how it turned out.
I would not call my self an artist, however I did paint draw and paint this free hand.

Supplies:
Paint
Wood
Pencil

Step One: Choose an old slab of wood and free hand your design with a pencil
 Step two: paint your area
 Step three: use black paint to add your details
 Ste four: add glitter to sparkle
  a closer look

I hung this outside on my deck.


My Blog: zippity-do-dah-tabitha.blogspot.com
 

Tuesday, December 3, 2013

Fantasy Fiber Snowflake


Supplies
Art Glitter Fantasy Fiber
Dimensions Needle Felting Kit (Clare found this at Michael's for $3.99 retail before coupon)
Old wool garment or scrap fabric
Pillow form
Sewing Machine
Iron
Snowflake template (Clare used Home Accents Cricut Cartridge)
Tailors chalk or white fabric marking pen

If you know Clare, you may know she is always trying to work in some fabric or textiles crafts with Art Glitter products.  This years she was so excited to try an old technique with a new product:  Needle felting with Art Glitter Fantasy Fiber.  And Clare found a way to try this technique on the cheap too!
Clare started by taking apart an older wool dress.  She used a garment that was at least 80 % Wool tomake felted wool.   She washed and dried it at the hottest temperature and then ironed it.  She cut it to fit her pillow form, leaving an opening in the back so that she could swap out the pillow cover after the winter season.

Clare cut a snowflake template using the Cricut Home Accents cartridge.  She then traced it onto the right side of the pillow front using tailors chalk.  Using the Dimensions needle felting kit and the Art Glitter Fantasy Fiber, Clare filled in the snowflake design.  And the Fantasy fiber worked wonderful for this!  It did NOT break!   Clare is sharing a video HERE she made on how to needle felt with Art Glitter Fantasy film here.  Here is how the pillow looks half way done.
Once the design was filled, Clare used an iron to heat set the snow flake design.  Place a piece of parchment paper on top of the design and then, set using a medium setting for 3 to 10 seconds.  Or just leave it without ironing for a faux fur look!

Find more of Clare's work at her blog:  http://www.cricutcraftyclare.blogspot.com/


Friday, June 28, 2013

Old Glory

The month of June Art Glitter is partnering with Authentique Papers. The papers are so pretty and the addition of Art Glitter Makes them POP! Use the code AQ20 on your order at www.artglitter.com to save 20% on your order of $25 or more! Happy Shopping and hope you enjoy the month of Art Glitter with Authentique!

This time, we have created with the gorgeous Freedom Collection.  I made two creations.  The first is a card.  


MATERIALS:
Art Glitter Microfine Pearlescent 533 Mini Pearl
Authentique Pride Collection Papers
Authentique Pride Collection Sticker Sheet
White Card Stock
Dreamweaver Stencil LL 359 Flag
Dreamweaver Double Sided Mounting Paper
Dreamweaver Handmade Hawaiian Coconut Soap
Dreamweaver Large Stencil Brush
Pencil
Craft Knife
Adhesive

DIRECTIONS:
1)  Center the flag on top of the Double Sided Adhesive Paper, being sure to leave a border around the stencil, and trace the blue area with a pencil.

 2)  Very gently use the craft knife to cut through the protective layer of paper around the tracing and remove.
3)  Rub the bar of soap across the back of the stencil to create a light, cloudy, layer.
4)  Use the stencil brush to remove any of the soap "crumblies" that cling to the edges of the openings on the stencil.
5)  Place the stencil, soap side down, so that the stars are on the opening in the paper.
6)  Pour a little Art Glitter 533 Mini Pearl over the stars and rub in with your finger.  This is the perfect glitter for this because the small grind allows it to get into all of the detail, and the pearlescent effect makes the stars more opaque.
7)  Brush off excess glitter with the stencil brush.
8)  Carefully remove the stencil.
9)  Remove the remaining paper from the adhesive and place the stencil, soap side down, so that the blue square surrounds the stars.
10)  Pour a little Gold Tone onto the pole and the edges and rub in with your finger.
11)  Pour the Ruby Red onto the stripes and carefully rub in with your finger.  Avoid the square.
12)  Pour a little Terra Nova into the square, right over the stars, and rub in with your finger.
13)  Brush off any excess glitter with your stencil brush.
14)  Place the whole thing face down on a flat surface and carefully remove the adhesive paper from the stencil.  Make sure the stencil stays flat on the surface the entire time.
 15)  Brush off the excess with your stencil brush.
16)  Assemble the card.

Now for the bonus project!  A cute, little patriotic birdhouse.


MATERIALS:
Art Glitter Vintage Glass Glitter 611 Antique Silver
Authentique Pride Collection Papers
Authentique Pride Freedom Collection Sticker Sheet
Authentique Pride Collection Alphabet Sticker Sheet
Authentique Pride Freedom Collection Word Sticker Sheet
Small Birdhouse
Blue Acrylic Paint
Cotton Swab or Paintbrush
Ruler
Big Bite
Craft Knife

I won't go through an entire tutorial on this one.  Suffice to say, first you paint the edges.  I used a cotton swab, but you can use a paintbrush.  Then, you measure and cut the panels from your choice of paper.  I pressed the front onto the birdhouse to determine where the perch was, and then used the Big Bite to punch the hole there.  
When you adhere your papers, don't forget to use a little Designer Dries Clear.
Finally, you add the stickers and beautiful glitter.  I chose the colors I did because they had a vintage feel.  When applying the stripes and edges, I used the Sticky Tape so that I did not have to worry about the edges being crooked.  I simply peeled off one side, adhered it to the house, and then peeled the other side and poured the glitter on.
Here is a quick peek at the back of the house.
Thanks for stopping by today.  Come visit my blog some time at www.rememberinglifesmoments.blogspot.com.  
Until next time, glitter on!


Remember, for the entire month of June any order you place at http://artglitter.com/ of $25 or more you can use the coupon code of AQ20 for a 20% discount! You can also be entered in a prize drawing at the end of the month by commenting on this blog all month long! One comment per person per post! Also, every Wednesday for the month of June Authentique Paper will be featuring Art Glitter on there blog with a prize package offered also.  Check them out at http://blog.authentiquepaper.com/