Saturday, August 17, 2013

Robot Acrylic Album with Art glitter and Want2Scrap


Supplies:
Art Glitter #85 Crystal Glitter
Att Glitter #82 Cool Mist Glitter
Art Glitter Designer Dries Clear Adhesive
Want2Scrap 8x8 Decorative Design Album
Want2Scrap Shifting Gears Large Silhouette Shapes
Assorted ribbon
Printable graphics (these were found on Etsy)
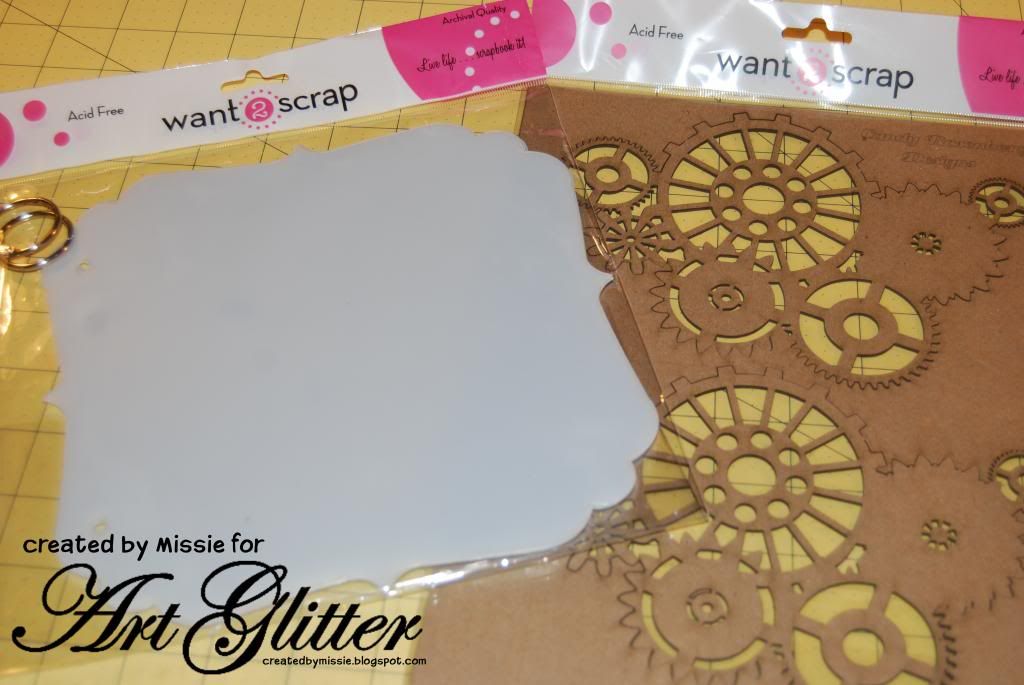


Begin by selecting digital graphics that you would like to use.  For this album I choose robot graphics that I purchased on Etsy as part of a digital scrapbook kit.  These images can be used as printables, print and cut, or you could use similar images with your die cutting machines.    Select your images and print them.  Because this album is Acrylic you may want to print the images, and then print them in mirror image (reverse the image) for the back of the pages. 
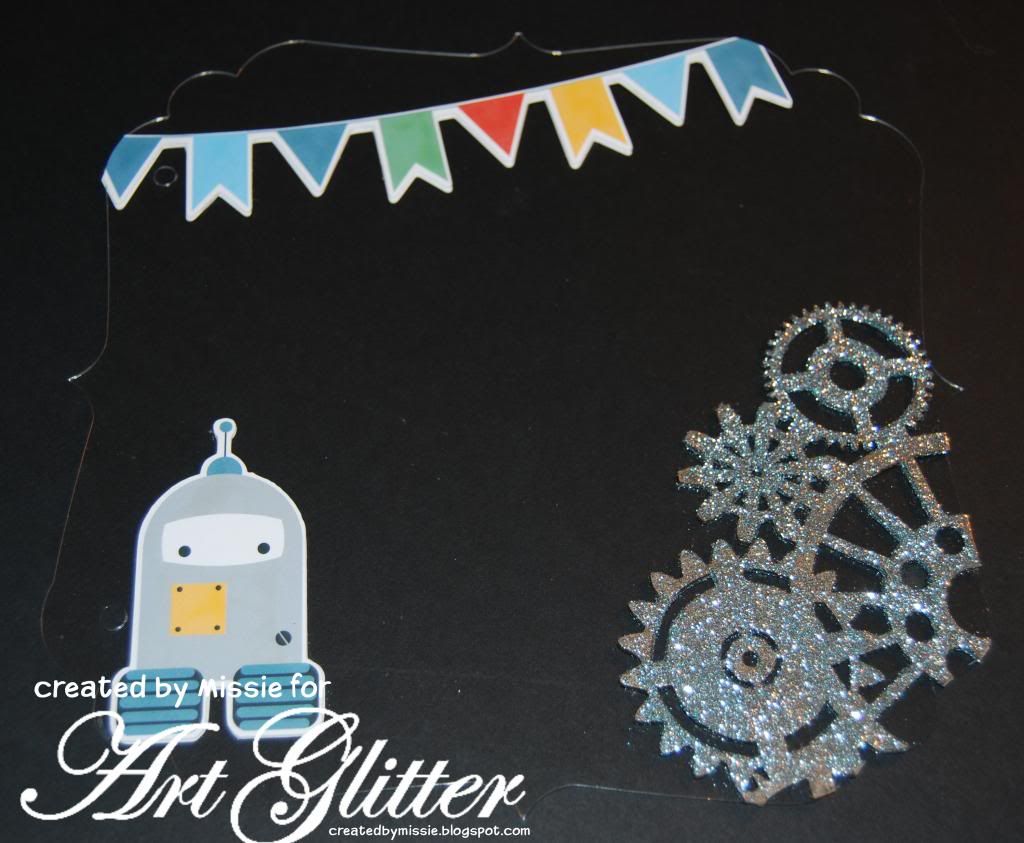
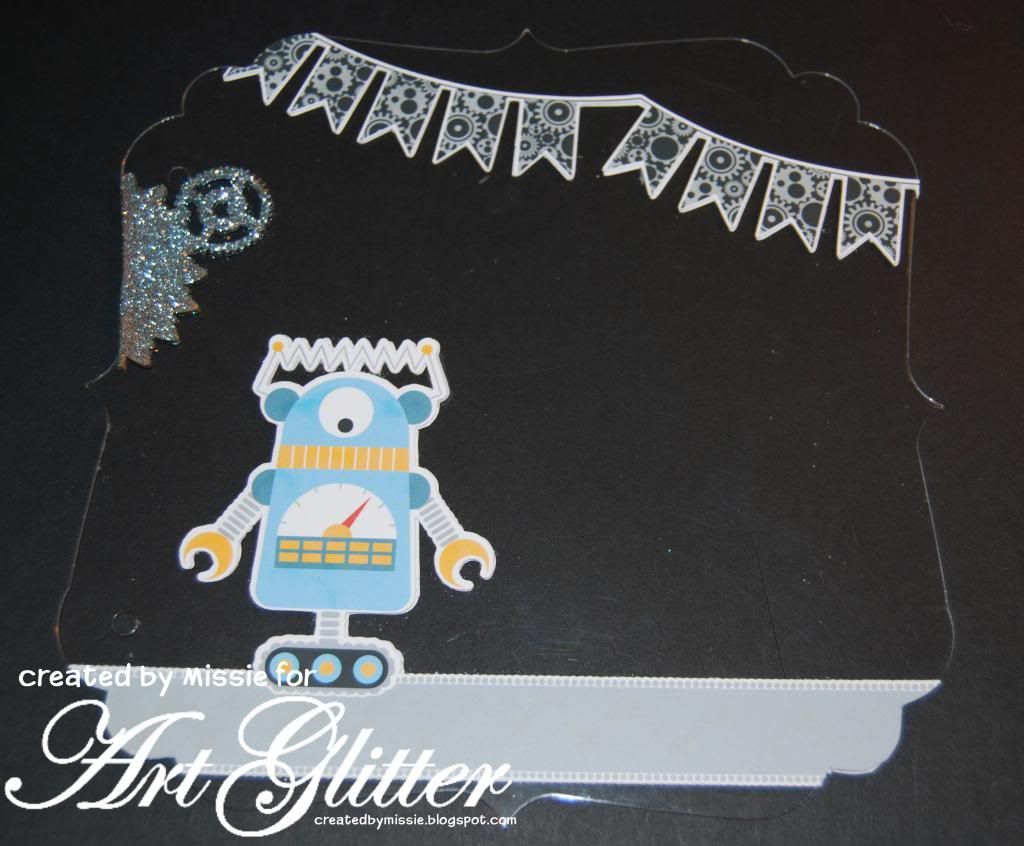
Add the shapes to the front cover of the album.  In this case a banner and robot and gears were added to page one.  The gears were glittered using Art glitter Cool Mist glitter and designer dries clear adhesive before attaching the gears to the album.  For each of the printable images I applied a mirror image copy to the back side of the album page to make it finished on both sides of each page.

 
For the second page repeat the process using gears and printable images. 
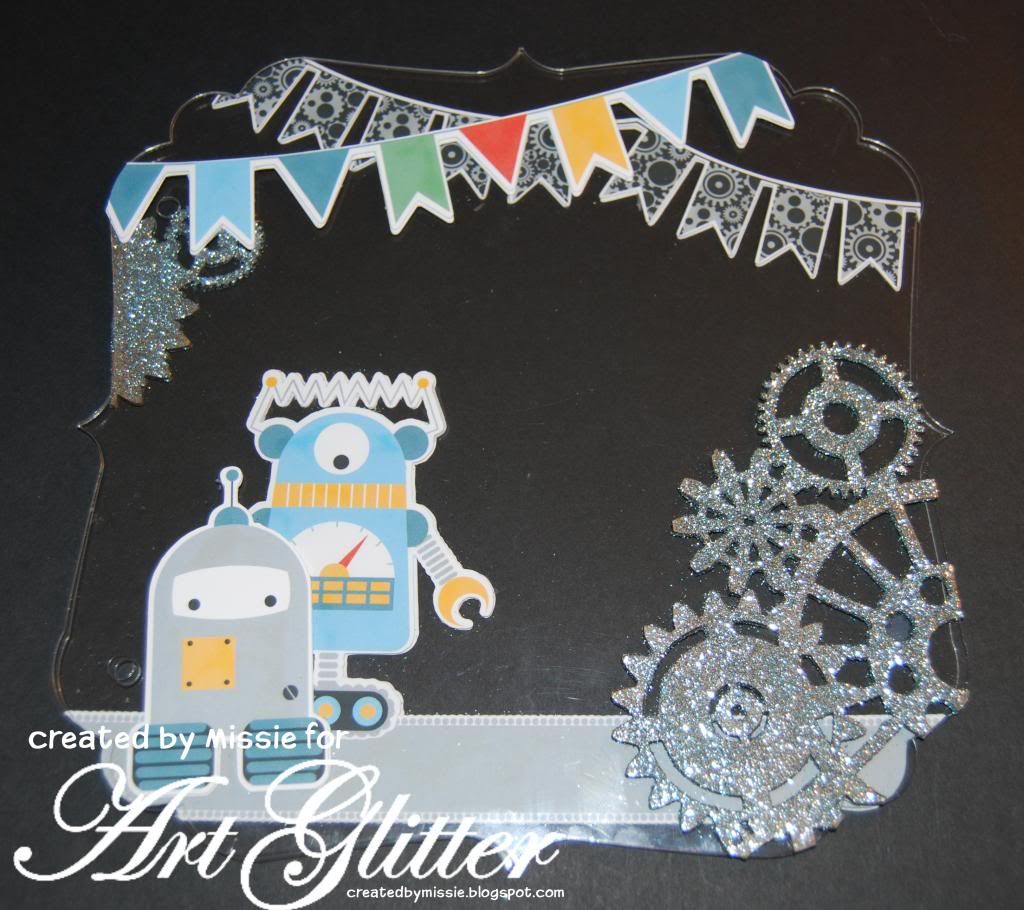
 
 
As you layout your images you want to be aware of how they will "stack" together.  As the album pages are clear you will be able to build a layered project with each page you add.  Here you can see the first two pages "stacked" together.
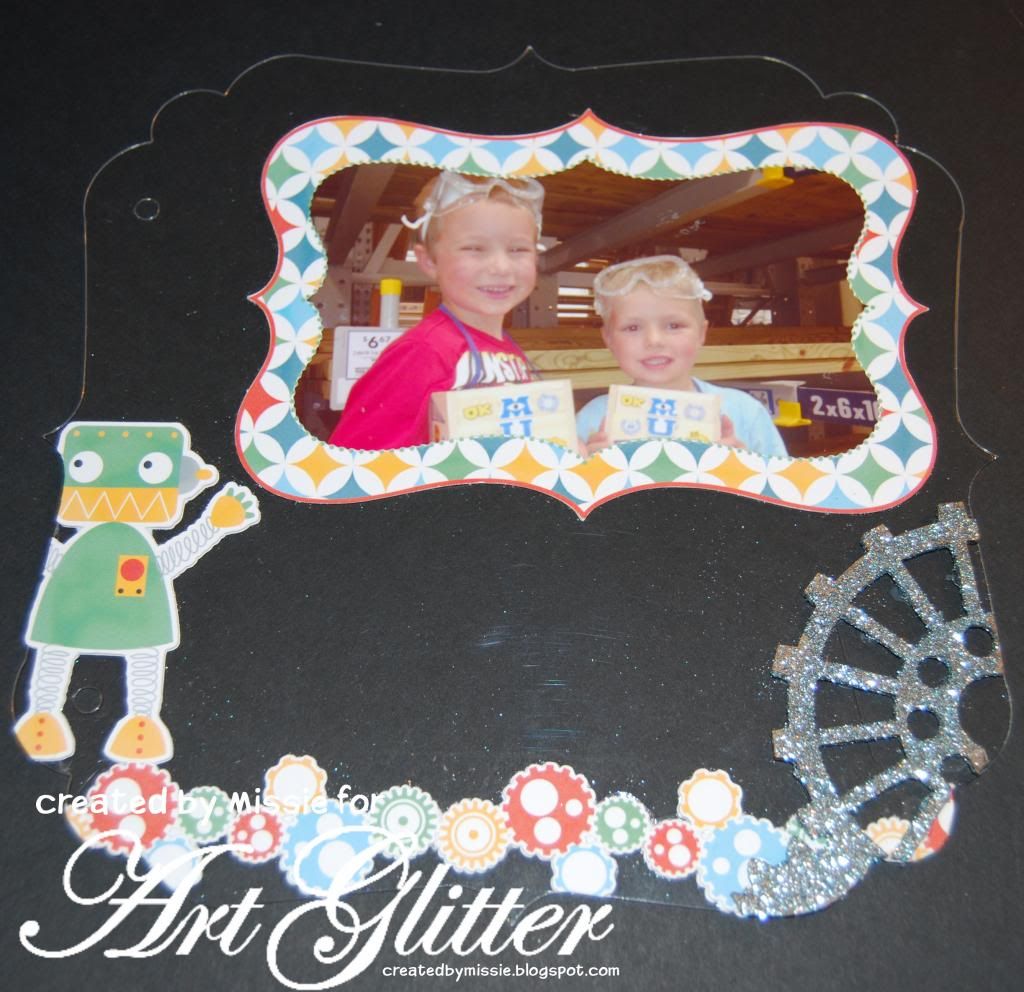
 
 
Page three- On this page a photo mat was added.  Again the same was added on the back of this page so that another photo can be placed on the back of the page.
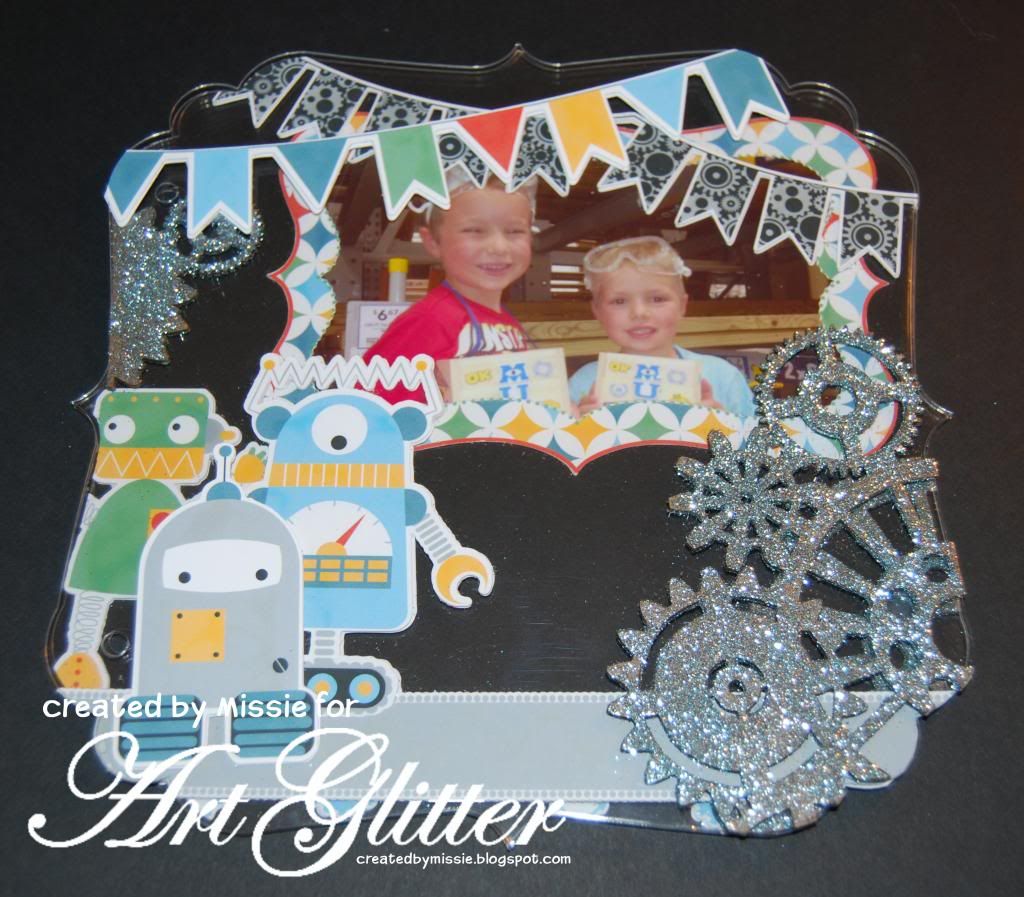
 
 
Pages 1-3 stacked together.
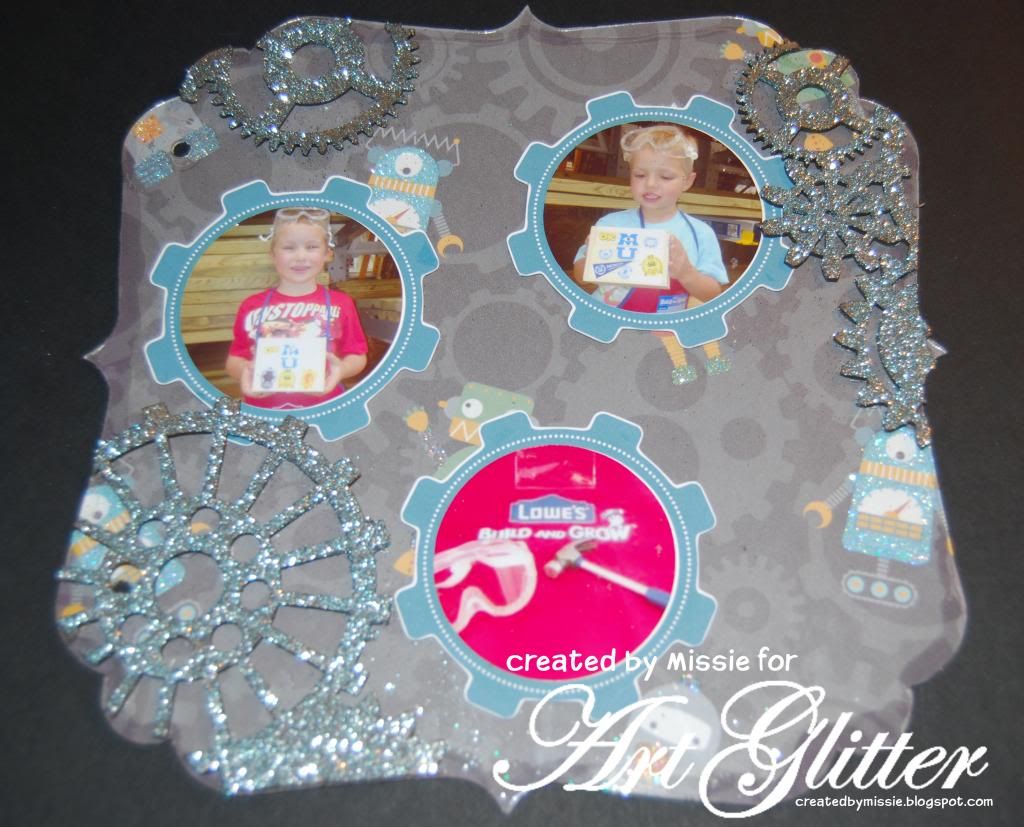
 
 
On the last pages of the album, small gears were placed with circular photos and additional glittered gears.  Pattern paper was cut to the size of the acrylic album using an exacto knife and applied to the back of the album using designer dries clear adhesive. 
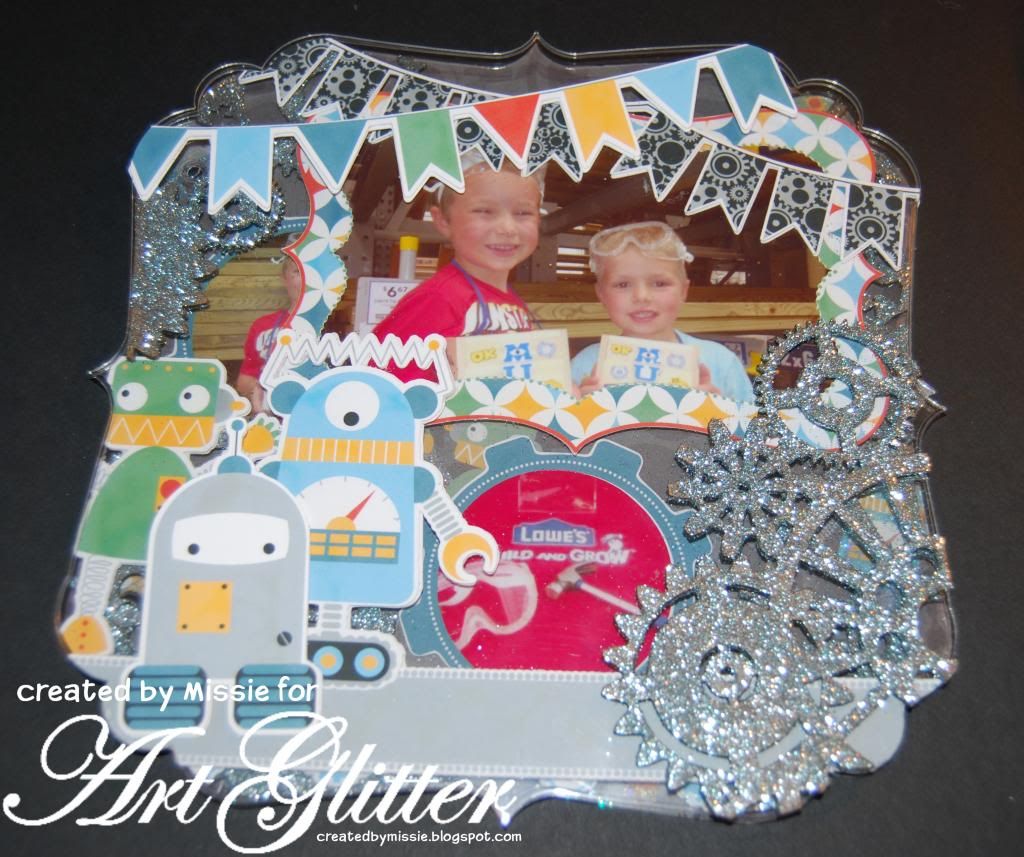
 
 
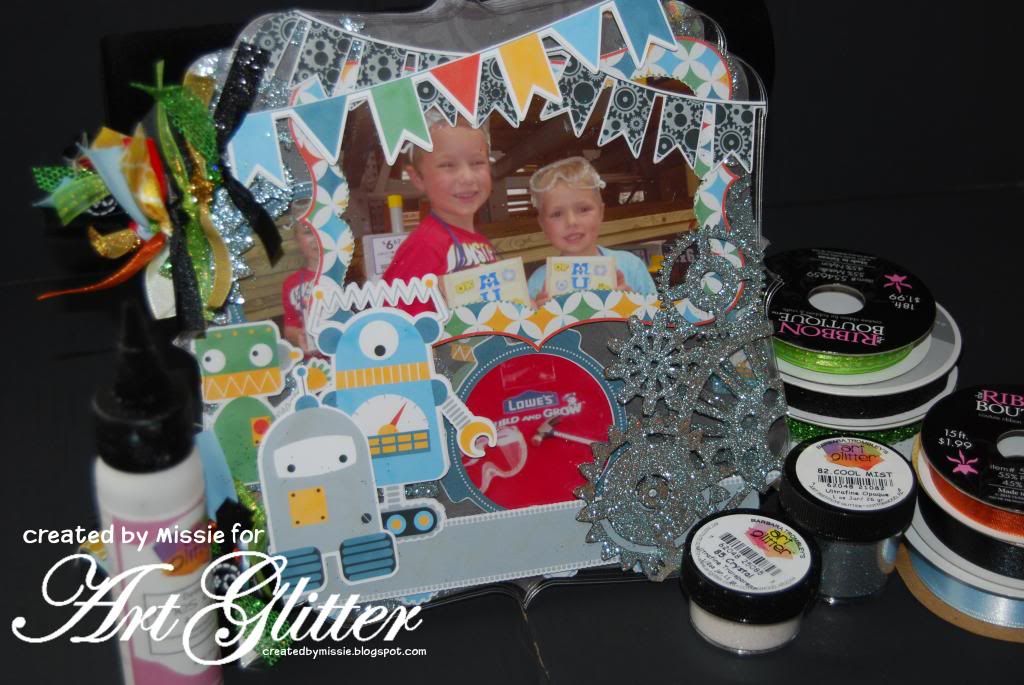
The completed album stacked together. 
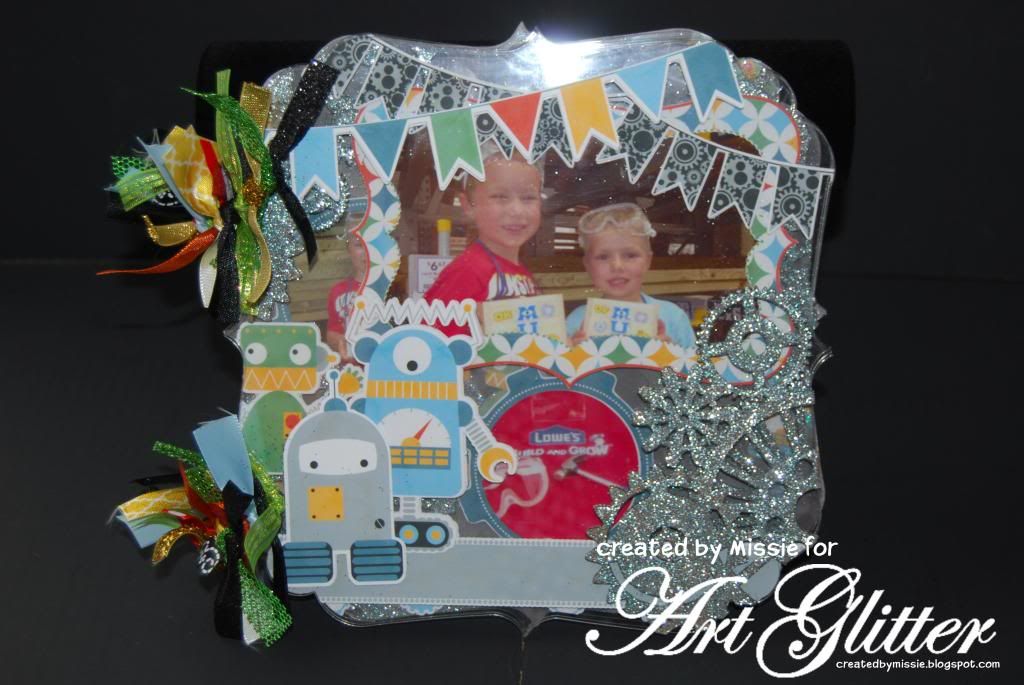
 
 
Binder rings were added to the album for binding and coordinating ribbons were added for additional embellishments. 
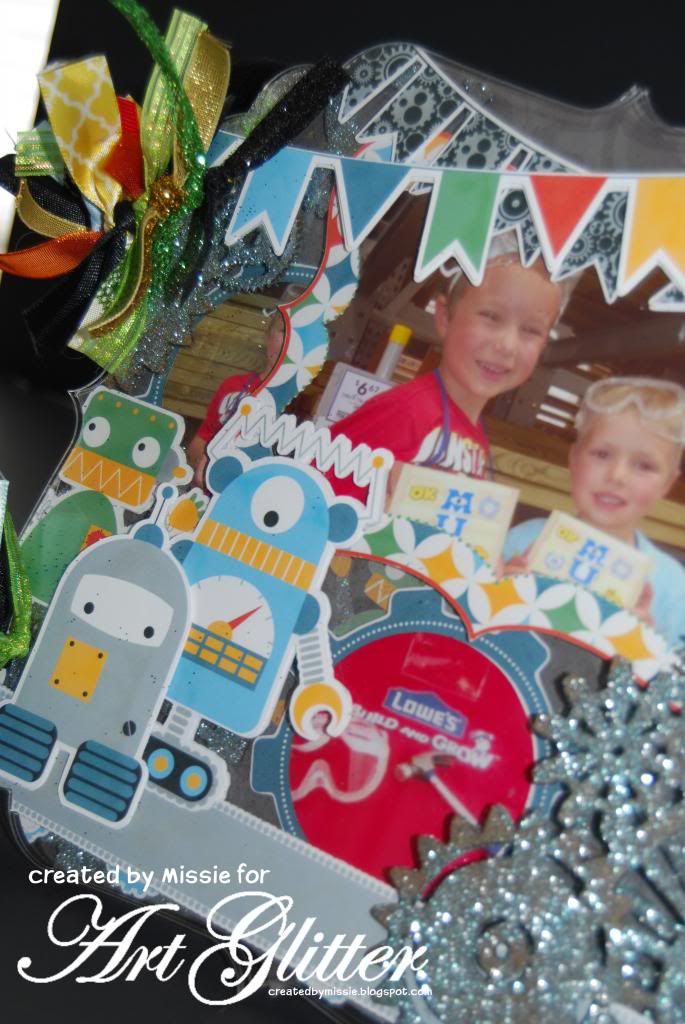


Love these projects and want to some  Art Glitter for your own projects?  During the month of August 2013 save 20% on orders of $25 or more using the promo code W2S20 at artglitter.com
 
 
Thanks for stopping by to see my creations. 
Missie Todd
createdbymissie.blogspot.com

Wednesday, August 14, 2013

Card and Frame in One

 
Art Glitter is partnering with Want to Scrap for the month of August.  For this post, I was inspired by their beautiful frame set.  I made two different functional, glittering frames.  It was simple, cheap, and fun.


For the blue frame, here are the materials:

Art Glitter Designer Dries Clear with the ultrafine metal tip
Art Glitter Ultrafine Opaque 233 Blue Hawaii
Art Glitter Ultrafine Opaque 113 Sky
Art Glitter Ultrafine Pearlescent 188 Black Vinyl
Art Glitter Sticky Paper
Art Glitter Sticky Tape
Want 2 Scrap Vintage Fancy Frames
Want 2 Scrap Clear Rhinestone Jewels
3.5 x 5 Plain Plastic Frame
Ultrafine Point Sharpie Pen
Craft Knife
Sponge Paint Brush
Picture
Adhesive
Paper Trimmer

DIRECTIONS:
1)  Use the Sharpie to trace around the inside of the frame on the sticky paper and the photograph.
 2)  Use the craft knife to cut a little bit in from the tracing on the paper.
 3)  Use the paper trimmer to cut a little around the outside of the photo.  (The tracing and cutting are unnecessary if you have a picture that fits well in the frame without cutting it down).
4)  Use the sponge brush to cover the top of the frame with Designer Dries Clear.
5)  Cover the frame with Blue Hawaii and let dry.
 6)  Peel the adhesive off of the paper and attach the frame.

 7)  Pour the Black Vinyl glitter over the whole thing and shake or brush off the excess.
 8)  Use the Designer Dries Clear with the fine metal tip to add the rhinestones and details with the Sky glitter.  Let dry.
 9)  Use the adhesive to position the photograph on the background paper that came with the frame.
10)  Use the sticky tape to adhere the frame.
 This is what it looks like done!
For the purple frame, most of the techniques are the same, but I added a couple of things.

MATERIALS:
Art Glitter Designer Dries Clear with the ultrafine metal tip
Art Glitter Ultrafine Pearlescent 186 Purple Polkadot
Art Glitter Ultrafine Transparent 151 Butterfly
Art Glitter Ultrafine Transparent 85 Crystal
Art Glitter Fantasy Film Strawberry
Art Glitter Sticky Paper
Art Glitter Sticky Tape
Polyester Lace
Want 2 Scrap Vintage Fancy Frames
Want 2 Scrap Wonderful Wings Bling
3.5 x 5 Plain Plastic Frame (this one had a magnet)
Ultrafine Point Sharpie Pen
Craft Knife
Sponge Paint Brush
Picture
Adhesive
Paper Trimmer

DIRECTIONS:
1)  Follow the previous project steps 1-5, changing the color of the frame to Purple Polkadot.
2)  Decide where to place the lace.
3)  Peel off the paper, exposing the adhesive, and adhere the lace.
4)  Cover the area with Butterfly.
 5)  Rub the glitter in with your finger and brush off the excess.
 6)  Peel off the lace, exposing the adhesive underneath.
 7)  Pour Crystal Glitter over the top of the paper and brush off the excess.
 8)  Adhere the purple frame with sticky tape and the Designer Dries Clear.  Let dry.
 9)  Adhere the whole frame to the plastic with sticky tape and insert the photograph.
10)  Cut a butterfly from the set and "roll" off the plastic onto the Fantasy Film

11)  Cut around the butterfly.  Adhere to the frame with regular adhesive.
 Here is what it looks like completed.


Thanks for stopping by today.  I hope you enjoyed the post.  Please visit me any time at my blog www.rememberinglifesmoments.blogspot.com.

Tuesday, August 13, 2013

ATC Fun

Supply List
Art Glitter Ultrafine Opaque 234 Turquoise
Art Glitter Ultrafine Opaque 18 Purple
Art Glitter Ultrafine Pearlescent 18 Purple
Art Glitter D56 Dragonfly Dazzlers
Art Glitter Designer Dries Clear Adhesive
Art Glitter Ultrafine Tip
Art Glitter Sticky Tape
Art Glitter Transparency Sheet
Art Glitter Permanent Ink
Want2Scrap Rhinestones 72 Navy Blue
Want2Scrap Designer Embellies ATC Tags-Chipboard
Piccolo Vintage Copper Enamel Powder
Piccolo Enamel Powder Adhesive
K &Company Adison Blue Garden Swirl Paper
K &Company Chipboard letters
Book
Stampin' Up Doily Die
Inkadinkado Morphic Bugs Stamp Set
Tim Holtz Embossing folder
Chipboard letters (Joanns)


ATC?!  What is an ATC?  An ATC is an artist trading card, defined as a miniature work of art about the same size as a trading card.  Now before you disregard this craft as being something you aren't interested in, take a look at this project Clare Dempsey made to document her favorite quotes.  Clare loves books and quotes and has found ATC is a great way to document them.   And Clare loves this art form, because it is the perfect place to play with new paper crafting techniques and blending Art Glitter on a small scale before using it on a scrap book page or a card!  And if you can't throw out your samples because they are just too pretty, this is a perfect way to use them for a project you'll love!  You could use this idea for Bible verses too!
Clare started by folding the book pages in half lengthwise, (see got a book she got a the thrift store, but you could use one in your book shelf).  She then added some patterned card stock from K and Company on the inside cover of the book.  She cut two paper doilies using a Stampin' Up Die, folded them in half and added them to the side of the folded book.  Ooh, looking like a Rolodex.
Clare then covered some chipboard with Art Glitter Designer Dries Clear glue and D56 Dragonfly Dazzlers.  The teal colored letters are K &  Company, matted on blue circles.  
Once Clare had her ATC holder, she began to play with the Want2Scrap ATC Tags:  Donna Salazar Designs.  For one ATC, she ran it through the Sizzix, using a Tim Holtz embossing folder and just distressed ink one side.  She then added a quote (To have joy, one must share it. Lord Byron) and Art Glitter Designer Dries Clear Adhesive using the Ultrafine Tip in 183 Blue Angel (lighter blue of rays) and 18 Purple for the center.  The bling is Want2Scrap Navy Blue.


On the other embossed side, she added Piccolo's Vintage Copper Enamel powder and added a quote. Clare has boys and thought this was a great quote to have her boys live by!
For another card, Clare used Art Glitter's Fantasy Film.  She watched the video on YouTube you can find HERE with an Inkadinkado stamp. Don't forget to warm up your iron before you start on silk setting!  And Clare loves the Art Glitter Black Permanent ink!  If you are a serious stamper, she says to give it a try and you'll love it!
She then used the Ultrafine tip and the Designer Dries Clear adhesive to add 234 Turquoise and 183 Blue Angel glitter.  She added a vellum quote (Little by little does the trick. Aesop) and stabilized it with an Art Glitter Transparency sheet.  
And the back of the quote holder says "to live by" with more of the K & Company letters.  What a great way to make a place to play and give your family some great life lessons in quotes!


Order from Art Glitter the entire month of August  in the amount of $25 or over, use the code W2S20, and you will receive 20% off your order total!
And remember, Art Glitter is MADE IN THE USA!!!

You can find more of Clare'e work at her blog:  Cricutcraftyclare.blogspot.com. 


Friday, August 9, 2013

Blinged Out Altered Photo Frame


It always seems like we have picture frame pieces laying around because as crafters we have somehow used parts of it for a project or somehow we have knocked the frame over and have broken it and don't know what to do with the rest of the frame.  This is a great way to create your own altered frame with those leftover pieces.  The fabulous products from Art Glitter combined with the wonderful products from Want 2 Scrap can turn any piece into a frame that you'll be proud to use to show off your photos.  
 
Supplies Needed:

  From Art Glitter:
 
           Glitter- http://www.artglitter.com/retail/Rartglitter.html
              Challis Ultrafine Opaque Hologram Glitter
              Crystal Ultrafine Transparent Glitter
              Confetti Vintage Glass Glitter
              
        Also from Art Glitter:
               Sticky Tape-http://www.artglitter.com/retail/Raccessories.htm
               Spoons Man! Spoons-http://www.artglitter.com/retail/Raccessories.htm
               Designer Dries Clear Glue-http://www.artglitter.com/retail/Radhesives.htm
 
 
From Want 2 Scrap:
              Chipboard Shapes Style B
              Rhinestones-Amber
 
 
Additional Items Needed:
 
             Black Acrylic Paint, Paintbrush, Photo, Patterned Paper, Back cardboard piece of a picture frame, sea sponge or a sponge that will leave a pattern, card stock that matches your project to create a photo mat
 
Begin by trimming the pattern paper to the size of the picture frame backing and adhere them together. 
 
 Run strips of the Sticky Tape down each side of the frame and sprinkle some of the Confetti Vintage Glass Glitter down on the sides after removing the red protective covering from the tape.  Shake off excess glitter back into the bottle and lay this piece aside. 
 
 After painting the chipboard shapes and allowing them to dry, use the sponge to lightly dip it into the glue.  Dab the sponge off a little and then dab it onto the chipboard shape. 
 Sprinkle the Challis Ultrafine Opaque Hologram glitter over the wet glue and shake off the excess.  Allow all of the pieces to dry. 
 
Add a few of the amber rhinestones to the swirls on the frame.  Cut a circle from card stock that fits inside the frame.  Here the circle measured 6" around.  Adhere the circle onto the frame and then adhere the photo that you have chosen to use.  Use the sponge to add some more glue around the picture and sprinkle some Crystal Ultrafine Transparent glitter onto the wet glue.  Shake off the excess and allow it to dry. 
 
Form the frame around the picture using the chipboard pieces and the Designer Dries Clear Glue.  Add some more rhinestones to cover where the pieces meet.  Add some of the smaller rhinestones in between those pieces to finish off the frame. 


Turn any frame pieces from blah to wow! with the great products from Art Glitter and Want 2 Scrap!  Create a vintage frame like this one or a modern art one using the products you choose.  Here's a start to your new frame use the promo code August W2S20  for 20% off any $25 order or more.  
 

http://www.pegscraftingcorner.blogspot.com%3cbr/ />