Supplies
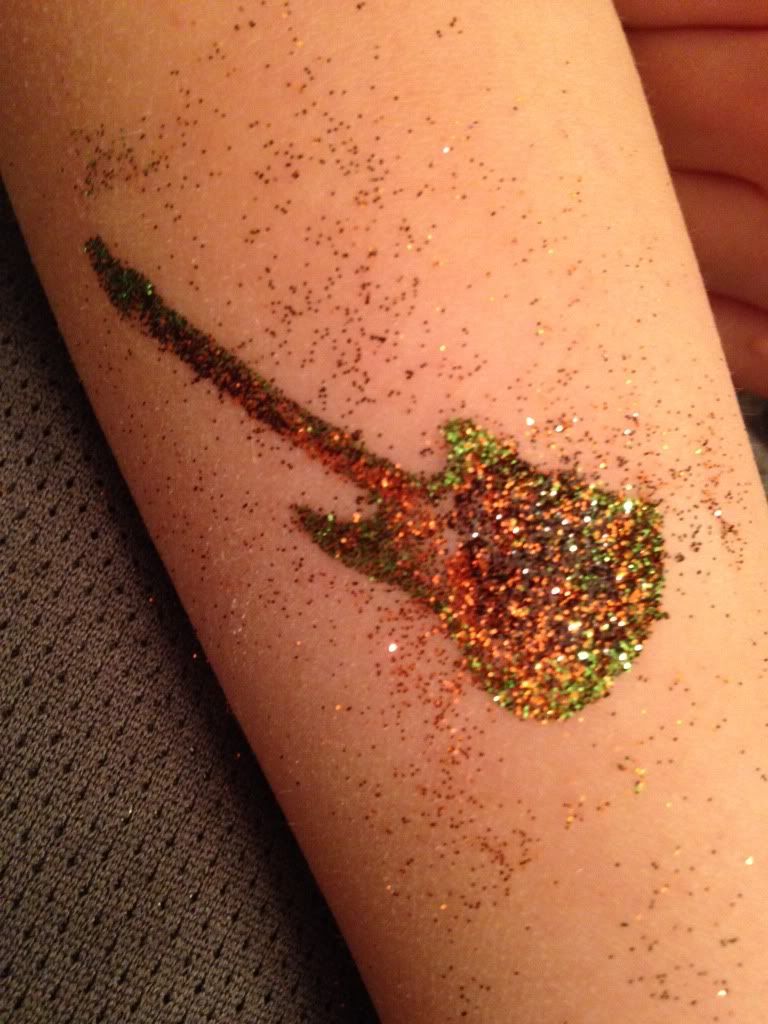
Art Glitter 278 Poppy Ultrafine Opaque
White Canvas
12 x 24 inch paper
Dreamweaver Embossing Paste
Foam Brush
Small paint brush
Tape runner
Digital Cutter (Clare used Cameo)
Clear tape
Clare has always wanted a welcome sign for her front entry. She has been inspired by a fellow Art Glitter Design Team member to use Art Glitter with her Cameo cutting machine in her projects. She also thinks is perfect project for the glitter newbie! She started by typing the word welcome using the Brush Script MT font and welding the letters.
Clare cut the word in paper to use as a stencil. Using a canvas 28 x 22 inch white canvas she got got at Michaels using a coupon, Clare applied her template using a tape runner.
She then used a foam brush to apply the Dreamweaver Embossing Paste to the canvas over the stencil openings. Clare thought the Art Glitter glue would dry too quickly on this project and before she could apply the Art Glitter, so she used an embossing paste. She also applied the paste on three letters at a time, so that it would not dry before she applied the glitter. She also applied some embossing paste free hand at either end of the word so that the word went off the side of the frame. After all the glitter was applied and before the paste dried she carefully removed her template. She allowed it to dry overnight and brushed off excess glitter with a dry paint brush. Since the canvas held some of the excess glitter after brushing, she also used some clear tape to remove lose glitter not part of the design. Clare love the simplicity and beauty of this home décor project. So get out the Art Glitter and give it a try!
You can find more of Clare's work at her blog cricutcraftyclare.BlogSpot.com.
Tuesday, March 25, 2014
Friday, March 21, 2014
Art Glitter Tattos with Missie
Glitter Tattoos
This year I am the Co Chair for the spring Funfair at my boys school. They attend a K-8 school with over 900 students. The event is four hours long and features food, games, activities, raffles, and silent auction and is the biggest fund raiser of the year for the school. As I love ART GLITTER I thought that adding glitter tattoos this year would be a fun thing for the kids, and boy did they love it. Here is a full list of supplies that I ordered before the event:
SUPPLIES:
2 oz Body Adhesive (x2)
2 oz Pumpkin Glitter #56
2 oz Yellow Glitter # 66
2 oz Black Glitter #79
2 oz Shiney Glitter #84
2 oz Leather Glitter #139
2 oz Michigan Moss Glitter # 232
2 oz Berry Glitter #4
2 oz Baltic Glitter # 296
2 oz Heather Glitter # 115
2 oz Pink Diamond Glitter 3351
1 oz Electric Light #222
* this was more than ample supply for the event, 1 oz jars would have worked well.
Brushes to apply glitter and adhesive
Begin by placing a stencil. I created the stencils for this event myself using my Cameo and Orcal Vinyl, however a selection of stencils are available for purchase from Art glitter. After applying the stencil apply a thin layer of Body adhesive using a foam brush of makeup applicator.
When you have finished adding glitter, simply brush off the excess. The glitter tattoos will last for up to a week with normal wear. If you want to remove the tattoo simply use rubbing alcohol.
Thanks for stopping by to see my creations.
Missie Todd
createdbymissie.blogspot.com
This year I am the Co Chair for the spring Funfair at my boys school. They attend a K-8 school with over 900 students. The event is four hours long and features food, games, activities, raffles, and silent auction and is the biggest fund raiser of the year for the school. As I love ART GLITTER I thought that adding glitter tattoos this year would be a fun thing for the kids, and boy did they love it. Here is a full list of supplies that I ordered before the event:
SUPPLIES:
2 oz Body Adhesive (x2)
2 oz Pumpkin Glitter #56
2 oz Yellow Glitter # 66
2 oz Black Glitter #79
2 oz Shiney Glitter #84
2 oz Leather Glitter #139
2 oz Michigan Moss Glitter # 232
2 oz Berry Glitter #4
2 oz Baltic Glitter # 296
2 oz Heather Glitter # 115
2 oz Pink Diamond Glitter 3351
1 oz Electric Light #222
* this was more than ample supply for the event, 1 oz jars would have worked well.
Brushes to apply glitter and adhesive
Begin by placing a stencil. I created the stencils for this event myself using my Cameo and Orcal Vinyl, however a selection of stencils are available for purchase from Art glitter. After applying the stencil apply a thin layer of Body adhesive using a foam brush of makeup applicator.
You can apply the glitter all over or use multiple colors like I did here. This little guy (my son Ian) wanted the guitar to match his tie die shirt, so we started with green on the outside, then added orange, yellow, and black.
When you have finished adding glitter, simply brush off the excess. The glitter tattoos will last for up to a week with normal wear. If you want to remove the tattoo simply use rubbing alcohol.
Here are a few photos of the glitter tattoo booth at the fun fair and making the stencils
Thanks for stopping by to see my creations.
Missie Todd
createdbymissie.blogspot.com
Wednesday, March 19, 2014
Art Glitter & Disney Is Magical
Ultrafine Metal Tip
Noodgers
Art Glitter Ultrafine Opaque 157 Purple Lame'
Printout of object to be glittered
Vellum
DIRECTIONS:
1) Place print out under the vellum and center.
2) Put Ultrafine Metal Tip on the Designer Dries Clear Glue.
3) Squeeze the glue through the tip and onto the area you want to color. Use the glue sparingly. You can see the print out through the vellum.
4) Use Noodger to push glue out of any unwanted area.
5) Cover with opaque glitter, pour off excess and let dry.
It is as simple as that.
Thanks for stopping by today. I hope you enjoyed my little tip post.
Saturday, March 15, 2014
Art Glitter Spring Time Card
Heather decided she would like to share with you a bit of spring!!
You will need the following:
- Art Glitter Designer dries clear Glue & Ultra fine Metal Tip
- Art Glitters: #208 Fauna, #267 Cheeky Pink, and #37 Ice
- Pink Scrapbook paper
- pink cards stock
- doily
- old brush
- flowers
- ribbon
- Gecko Galz image
- scissors
Step One
Heather Started out with cutting out her images, and inking all of her pieces with Ranger's Frayed Burlap. She tied a nice seam binding bow at the top of her card using her bow it all tool. 
She used her Designer dries clear glue with a brush, and she applied glue to the whole doily, then applied Fauna Glitter.
She applied more glue to her focal image, and then used the brush to spread it around.
She then applied Fauna glitter to this piece as well.
Next she added some dots of glue to the green stamp image.
Heather used Celery green glitter. Next she used her fine tip applicator to outline the banner and added cheeky pink glitter.
Heather added some glue to her foam brush, then used it to brush some glue onto the edges of a mulberry rose. She did the same thing with the two smaller pink roses.
Fauna glitter was used on all of the roses.
Heather used her fine tip applicator to add dots of glue to the outer edge of her card, and lines of glue added to the blue flag piece. Cheeky pink and Ice glitters were used.
Here are a few close ups of her card below.
Heather loves the springy feel of her card. Here is a close up of her roses below.
One last look at Heather's card.
Heather hopes you enjoyed her tutorial, and hopes it reminds you of a lovely spring day!
Feel free to stop by and see Heather's other projects and Tutorials using Art Glitter on her blog.
and her
Thursday, March 13, 2014
Art Glitter
Spring Break with Art Glitter
Supplies:
Journaling Cards
This year I am striving to expand my scrapbooking from traditional pages and add the project life style of pages to my skill list. So, today, I want to share a fun project life style layout I created for spring break. The graphics for this page are from Lettering Delights. They offer a variety of SVG, graphic, and font files. For this project I used the Spring Break Graphic set. As you can see a few of the journaling cards above are strait from the graphic set. I then created a few unique journal cards to coordinate with the set (I created the car and camper cards, the cards that have just a background and frame, and the 2014 card. The images were sized to 4x6 and 3x4, and printed on my home computer using white cardstock.
Here you can see the printed cards just waiting for glitter!
Art Glitter Dries Clear adhesive is selectively applied to the journal cards and then Art Glitter Crystal Glitter is added.
Beautiful Glittered Journal Cards
Missie Todd
createdbymissie.blogspot.com
Sunday, March 9, 2014
Art Glitter Baby Booties Pin Cushion
Supply List
Art Glitter 183 Blue Angel Ultrafine Pearlescent Glitter
Art Glitter Dries Clear Adhesive
Art Glitter Ultrafine Glue Tip
Ice Resin 1 oz Syringe
Rue Romantique Small Scroll Oval Oxidized Silver Finish
Ribbon
Swiss Dot Fabric
Re-embroidered lace
Thread
Polyester Stuffing
Ribbon
Mini Pom Pom Trim
Picot Ribbon
Double Stick Tape
Mon Ami Gabby Flower (teal acrylic flower with button center)
Buttons
Zva Creative rhinestone & pearl
Basic Grey Pattered paper
Queen and Co Flower
Close To My Heart Crochet flower
When Clare's first son was born, he got a pair of baby shoes with his name on one sole and his birth date on the other sole. They were just too cute for Clare to part with. So when she saw that they could be made into pin cushions, she knew what to do with them. She made them into a precious keepsake she can enjoy now and her son might enjoy in the future (or maybe his wife, LOL!). And since she is forever losing her hand sewing needles in her pin cushion, she thought one shoe could be for pins and the other for needles!
She started by making the jewelry pendant. She used some Basic Grey paper she has had forever, because she just can't throw out any Basic Grey scraps! Using the Art Glitter dries clear adhesive and Art Glitter Blue glitter she highlighted portions of the Basic Grey paper and allowed this to dry. She glued this paper into the pendent. She added a few tiny rhinestones to the paper and using Ice Resin filled the pendent. She loved that the Easy Measure package made measuring automatic! She allowed this to dry overnight. She loved how adding the resin made the Art Glitter details pop (see photo below) and even added more blue goodness in the pendants!
For the pin cushion, she cut a circle of Swiss dot calico and some re-embroidered lace to fit on top.
She used scraps of lace from her own wedding dress to make the pin cushion have extra sentimental value! She ran a basting stitch one quarter inch from the edge of the circle and stuffed the circle with some of the polyester stuffing.
She pulled the thread tight and enclosed the stuffing, and tied a knot to hold it in place.
She then stuffed the toe and heel of each shoe so the calico lace piece would sit on top.
She removed the shoelaces and cut a piece of ribbon 2 inches longer than the shoe lace.
As she threaded the organza ribbon through the holes the ribbon shredded a bit, so the extra length allowed Clare to trim up the ribbons shredded ends later. To the top back of the shoe Clare added some mini pom pom and picot ribbon. A bit of vintage inspired trim and fabric are perfect for this project!
She added a few buttons and some flowers to finish the project. For a vintage inspired project like this, Clare loves digging out the classic trims like crocheted flowers, buttons and more!
Art Glitter 183 Blue Angel Ultrafine Pearlescent Glitter
Art Glitter Dries Clear Adhesive
Art Glitter Ultrafine Glue Tip
Ice Resin 1 oz Syringe
Rue Romantique Small Scroll Oval Oxidized Silver Finish
Ribbon
Swiss Dot Fabric
Re-embroidered lace
Thread
Polyester Stuffing
Ribbon
Mini Pom Pom Trim
Picot Ribbon
Double Stick Tape
Mon Ami Gabby Flower (teal acrylic flower with button center)
Buttons
Zva Creative rhinestone & pearl
Basic Grey Pattered paper
Queen and Co Flower
Close To My Heart Crochet flower
When Clare's first son was born, he got a pair of baby shoes with his name on one sole and his birth date on the other sole. They were just too cute for Clare to part with. So when she saw that they could be made into pin cushions, she knew what to do with them. She made them into a precious keepsake she can enjoy now and her son might enjoy in the future (or maybe his wife, LOL!). And since she is forever losing her hand sewing needles in her pin cushion, she thought one shoe could be for pins and the other for needles!
She started by making the jewelry pendant. She used some Basic Grey paper she has had forever, because she just can't throw out any Basic Grey scraps! Using the Art Glitter dries clear adhesive and Art Glitter Blue glitter she highlighted portions of the Basic Grey paper and allowed this to dry. She glued this paper into the pendent. She added a few tiny rhinestones to the paper and using Ice Resin filled the pendent. She loved that the Easy Measure package made measuring automatic! She allowed this to dry overnight. She loved how adding the resin made the Art Glitter details pop (see photo below) and even added more blue goodness in the pendants!
For the pin cushion, she cut a circle of Swiss dot calico and some re-embroidered lace to fit on top.
She used scraps of lace from her own wedding dress to make the pin cushion have extra sentimental value! She ran a basting stitch one quarter inch from the edge of the circle and stuffed the circle with some of the polyester stuffing.
She pulled the thread tight and enclosed the stuffing, and tied a knot to hold it in place.
She then stuffed the toe and heel of each shoe so the calico lace piece would sit on top.
She removed the shoelaces and cut a piece of ribbon 2 inches longer than the shoe lace.
As she threaded the organza ribbon through the holes the ribbon shredded a bit, so the extra length allowed Clare to trim up the ribbons shredded ends later. To the top back of the shoe Clare added some mini pom pom and picot ribbon. A bit of vintage inspired trim and fabric are perfect for this project!
To see more of Clare's work you can visit her blog at cricutcraftyclare.BlogSpot.com.
Subscribe to:
Posts (Atom)