 I checked my stash and I did have several varieties of Art Glitter silver glitters on hand, so I grabbed my scissors and a bag and trekked outdoors to gather some pine boughs and pine cones. I added four terracotta pots to the items I gathered outdoors and this is what I started with.
 My supply list was actually quite minimal for these:
- Art Glitter No. 508 Silver Moon Microfine Opaque
- Art Glitter No. 611 Antique Silver Fine Vintage Glass Glitter
- Art Glitter D24 Hi Ho Silver Dazzlers
- Designer Dries Clear Adhesive
- 3/4-inch paint brush
 After coating the lower portion of the pot I moved along to the rim. I wanted the rim to have a chunkier look and even more sparkle than the lower portion so opted to use Art Glitter Vintage Glass Glitter No. 611 Antique Silver Fine. I love the sparkle of the Vintage Glass Glitter. I applied the Vintage Glass in the same manner as the glitter on the lower portion.
 To finish off the rim I chose to use Art Glitter D24 Hi Ho Silver Dazzlers. If you want sparkle, you can't go wrong with Dazzlers. I applied the Dazzlers with a technique I seen on Donna Salazar's blog during the 2nd Annual Handmade Holiday Blog Hop recently. You can watch her video here. I poured the DDC onto a non-stick craft sheet and twirled the rim in the glue, making sure I had a good thick coat on it.
 Then I dipped into the Dazzlers which I also poured into a disposable tub. This method really works well to totally coat the rim and it leaves a nice thick coat that reminds me of good salt on the rim of a margarita!
 While I had the glue on the non-stick craft sheet I brushed it on the very tips of the pine cones and rolled them in the Dazzlers too.

When the glittered pot was dry I added a strip of silver tinsel under the brim to cover the open space.
I added a candle to the center of the pot and stuffed the pine boughs and the glittered pine cones around them. All it needed now were the gift tags.
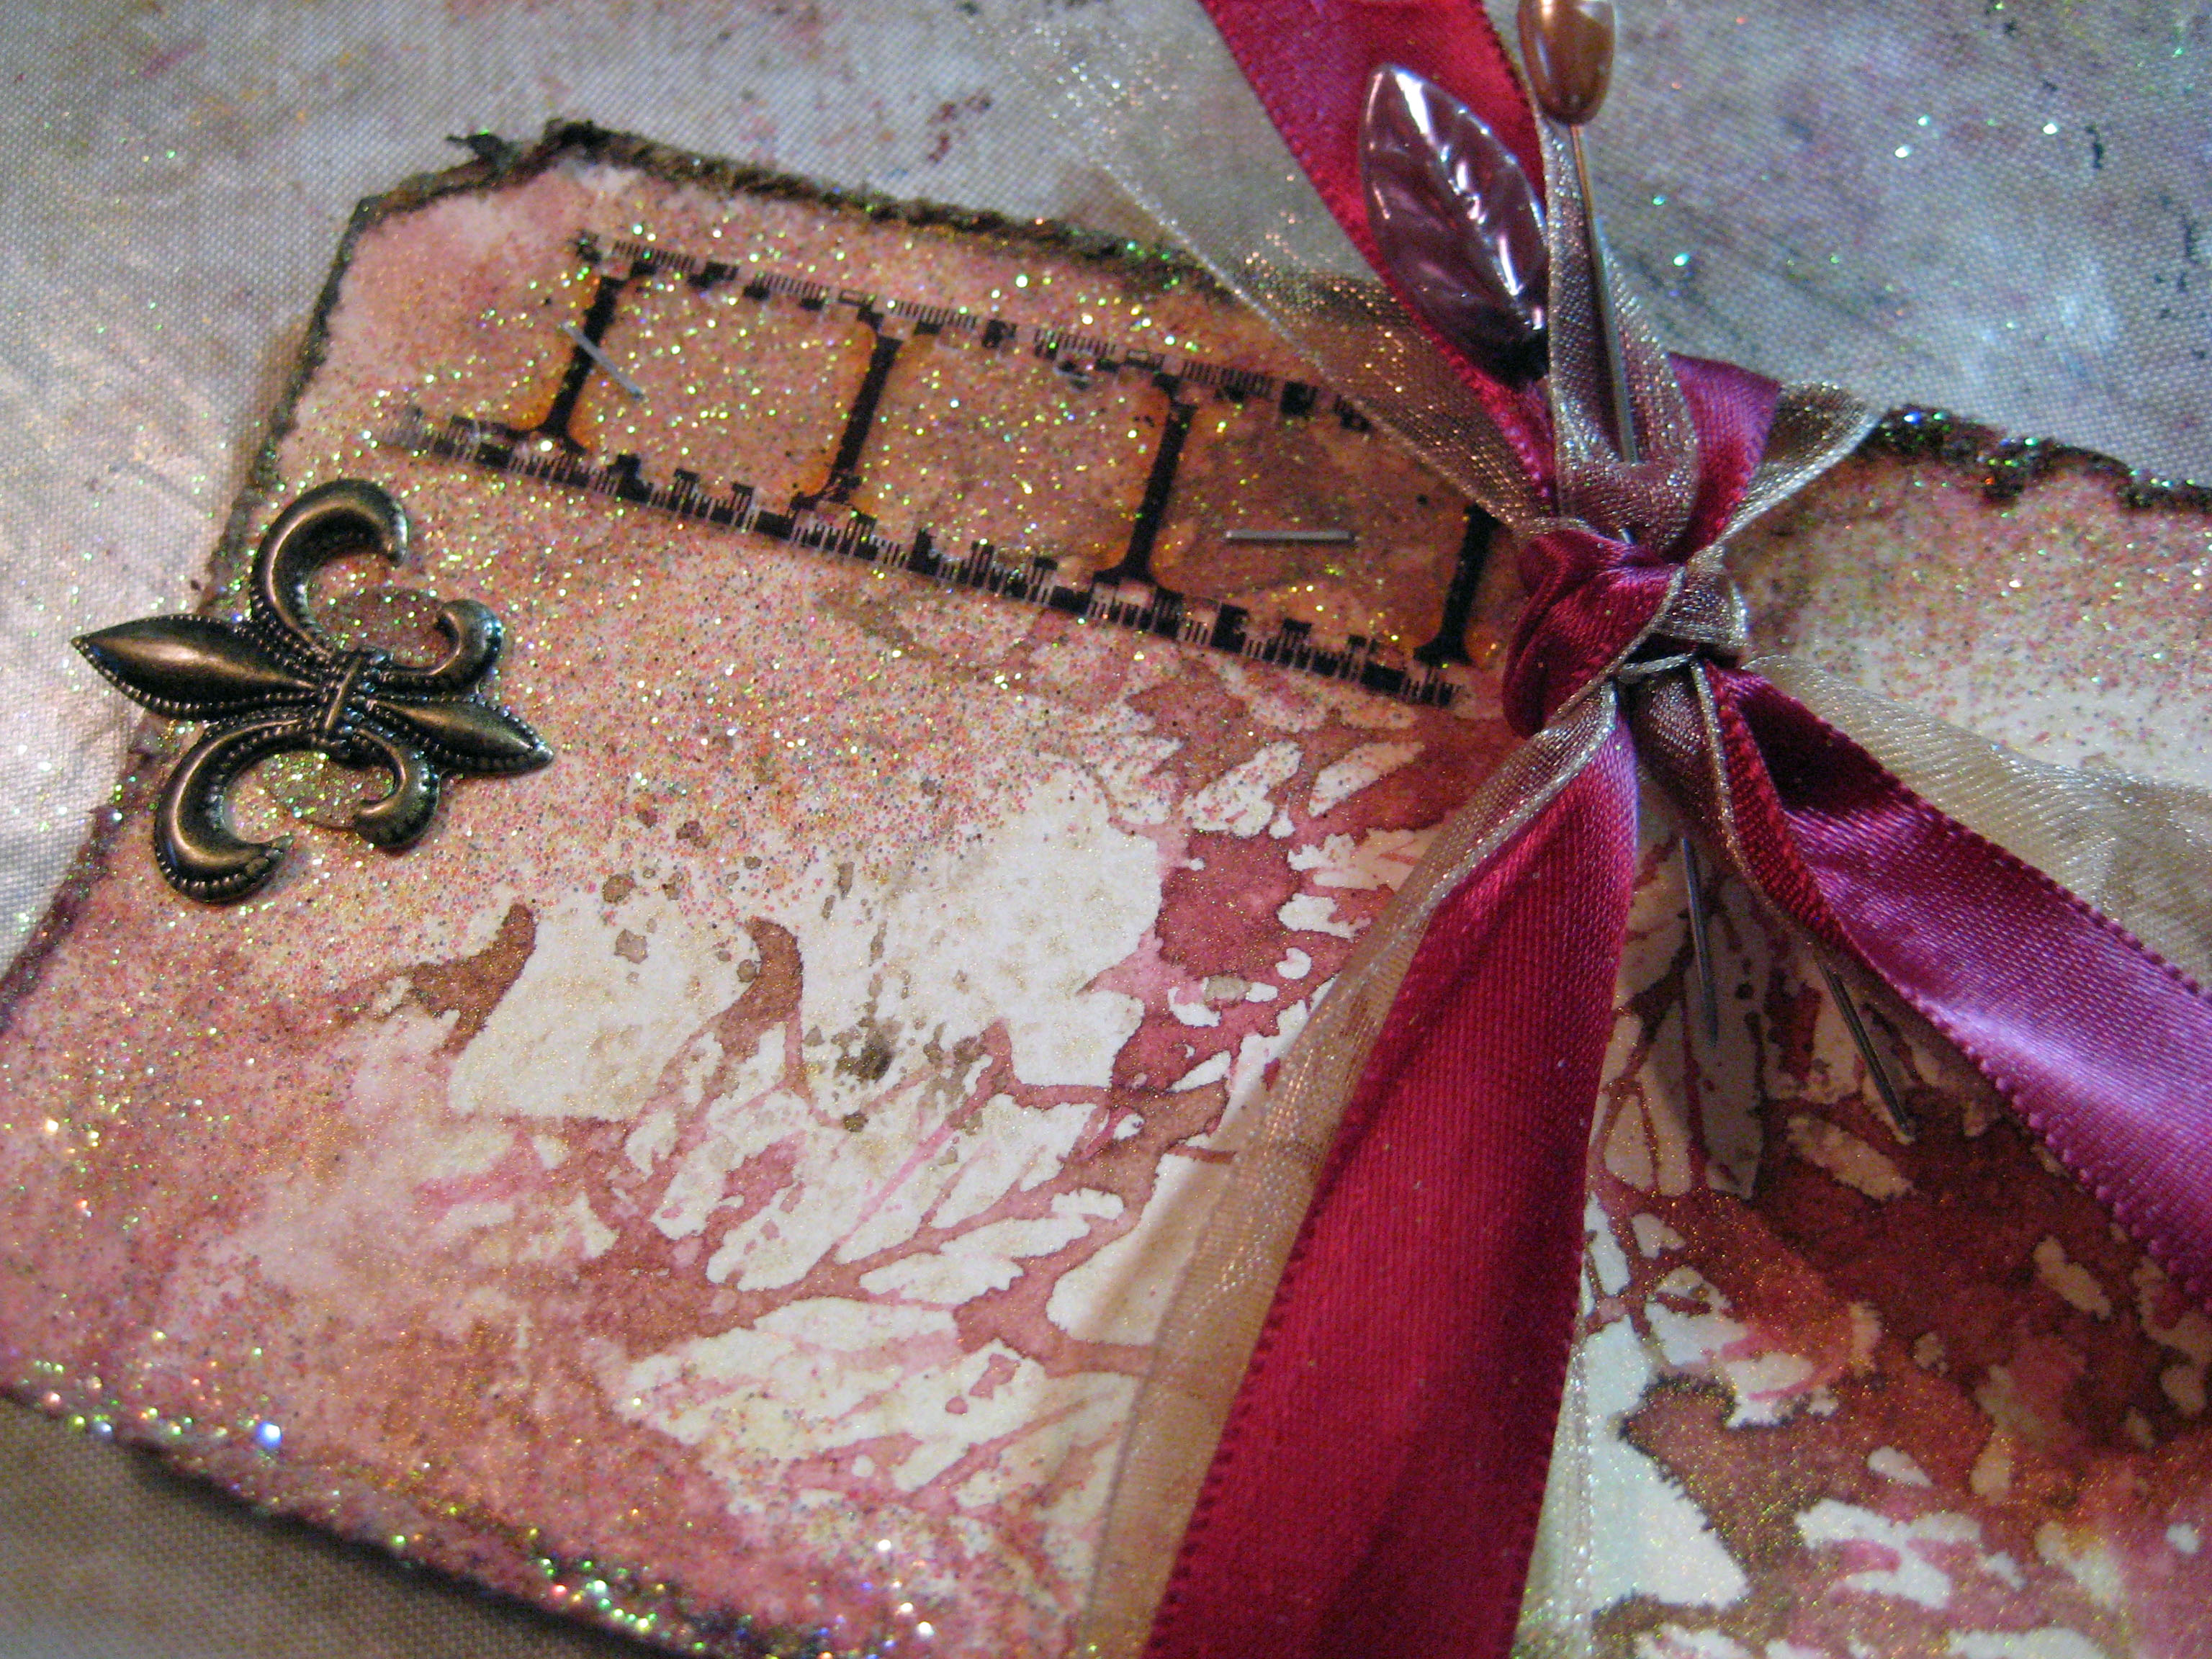
These are punched with Fiskars XXL Tag Lever Punch. They're really cute shapes and the size is perfect! To decorate them I inked my rubber stamps (Hero Arts) with Tombow Dual Brush Pens, Grunge. The tags are edged with the pens as well, then finished off with a strip of twine (The Twinery) and a bow.
These little pots can be decked out for any occasion but I just love all the silvery bliss for the Christmas season.
 Have a crafty holiday and stop by my blog for more crafty inspiration.


