Showing posts with label Opaque Chunky Hologram Glitter. Show all posts

Thursday, January 30, 2014

Valentine LOVE


Supplies
Art Glitter Dries Clear Glue
Art Glitter Ultrafine Tip
Art Glitter 332 Red Rocket Chunky Opaque Hologram Glitter
Art Glitter Small Transparency
Snap 'n Peal
Heartfelt Creations Timeless Amour Custom Die
Lattice Lace Envelope Wrap Silhouette

This Valentine's Day, Clare wanted to make an envelope as pretty as the card.  So, she found an envelope wrap at the Silhouette store that coordinated with a Heartfelt Creations die and cut it in red card stock.  She highlighted heart shapes in the pattern by adding Art Glitter Dries Clear Glue using the Ultra fine tip and Art Glitter (see photo above).
For the card, Clare cut the Heartfelt Creations Timeless Amour Custom die in the Snap 'n Peal.  She pulled off the protective layer and adhered it to the Art Glitter Small Transparency (photo above).  She removed the second protective layer and added Art Glitter Red Rocket Chunky Opaque Hologram Glitter.  She used Momenta stickers for the word LOVE.
She tied the envelope wrapper closed, much like she would tie a ribbon around a present.  She tied one side first, threading from top to bottom.  Threaded the ribbon up to the top for the opposite sides and then tied a bow.  Such a simple elegant card and envelope!
You can find more work by Clare Dempsey at her blog:  Cricutcraftyclare

Wednesday, July 24, 2013

Girls Just Want to Have Fun

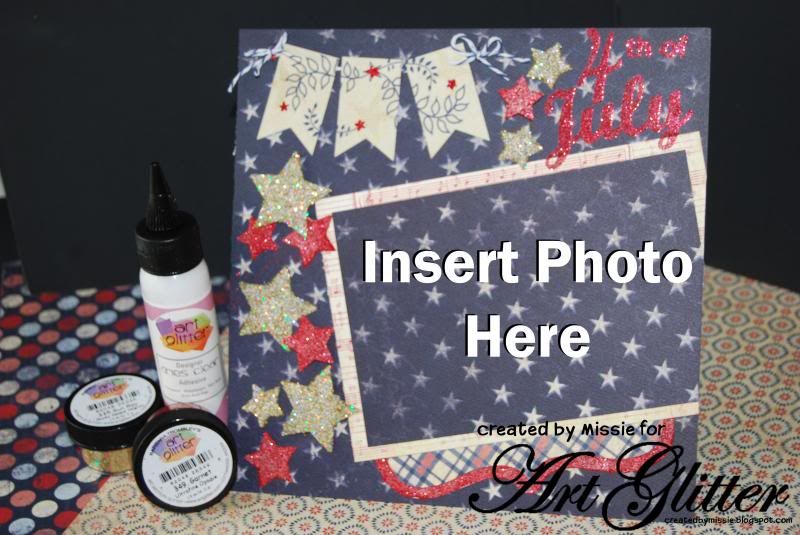
Order from Art Glitter the entire month of July in the amount of $25 or over, use the code PB20, and you will receive 20% off your order total! And remember, Art Glitter is MADE IN THE USA!!!


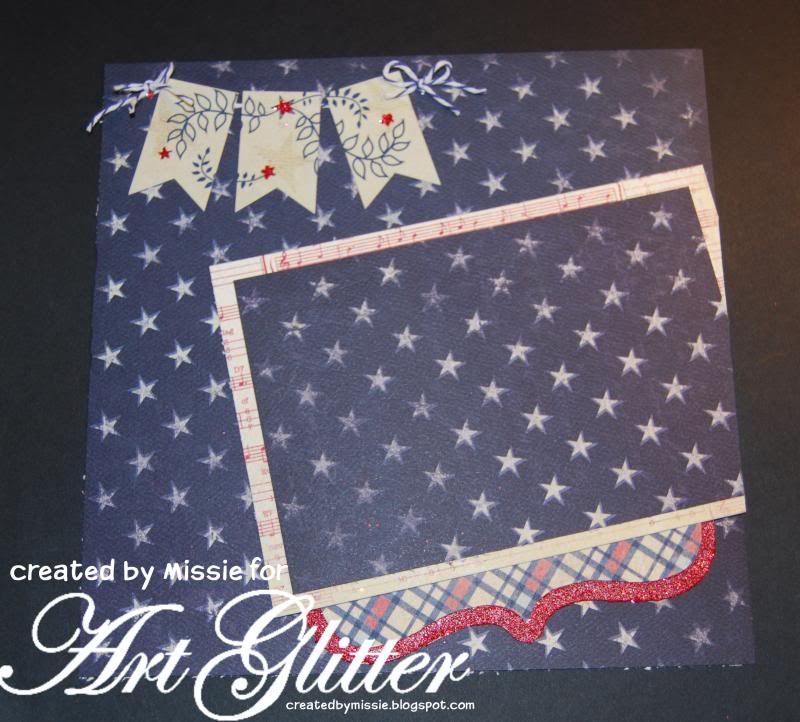
I am the only girl in the house and sometimes it fun just to create something that's says girly girl.  This project is a great piece to hang in any craft room or anywhere a girl just wants to have fun.  This month, Art Glitter teamed up with the wonderful Penny Black Stamps to tell everyone we just want to have fun!  
 
Supplies Needed:
 
     From Art Glitter
      
            Lemone Ultrafine Transparent
            Fresh Green Ultrafine Transparent
            Atlantis Ultrafine Transparent
            Crystal Ultrafine Transparent
            Jet Eye Chunky Opaque
            Razzle Dazzle Kit-http://www.artglitter.com/retail/kitpages/rourkits.htm
            Ink Pad-http://www.artglitter.com/retail/Raccessories.htm
 
     From Penny Black
             Tour de Fun Stamp
 

    Additional Items:
             Small and Medium Paint Brush, Blue and Green Ink Pads, Inking Tool (optional) Wooden Paintable Frame, Acrylic Paint-Green or Your choice of color, Ribbon for hanger and bow, colored pencils or markers to color stamped image, alphabet stencil, pencil, white card stock 
 
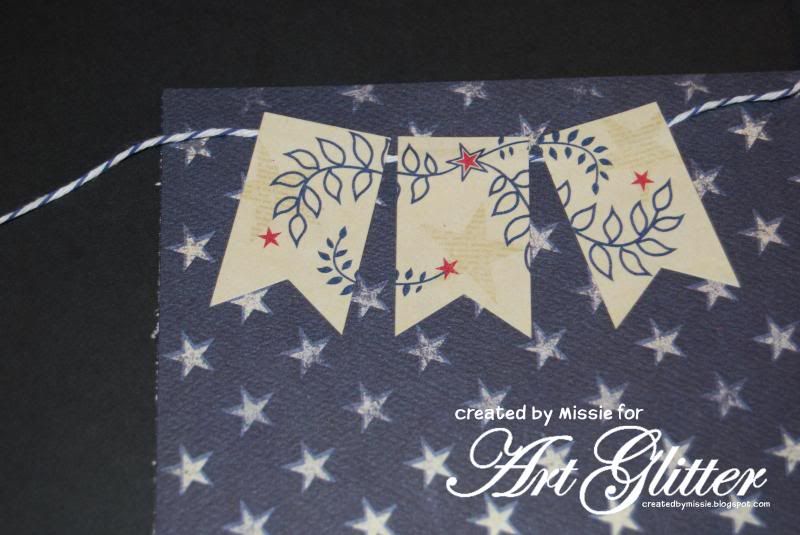
Begin by cutting a piece of white card stock to fit into the opening of your wooden frame.  Stamp the image onto the paper using the black ink pad.  Add blue sky and green grass colors around the image using the inking tool or just the ink pads by lightly moving them on the paper and around the image. 
 
 
Use the stencil to write in the saying.  Color the image in the areas that you do not want covered with glitter using your choice of markers or colored pencils.  


Using the Designer Dries Clear Glue and the metal tip from the Razzle Dazzle Kit to outline the letters and cover with the Tang glitter from the kit.  Remove the excess glitter and allow to dry completely. 

Working around the parts of the image, add glitter to that hat band and the blades of grass using the Fresh Green Glitter, the bicycle using the Atlantis Glitter, center of the tires and the bike seat using Jet Eye Chunky Glitter, do each flower center and every other stripe on her shirt using the Lemone Glitter.  Remove the excess glitter and allow all of the sections to dry.

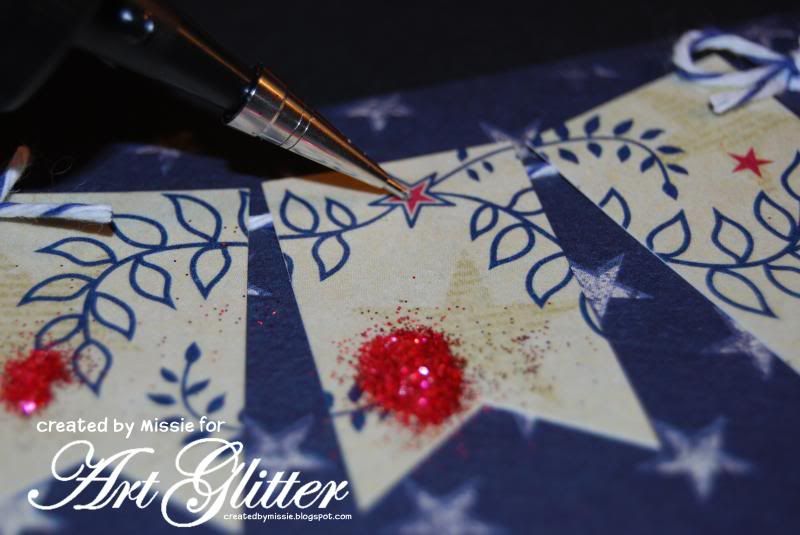
Using the small paint brush with a small amount of glue on it lightly dab the glue onto each petal of the flowers and then sprinkle with the Cheeky Pink Glitter from the Razzle Dazzle Kit.  Remove the extra glitter and allow the flowers to dry.  

 
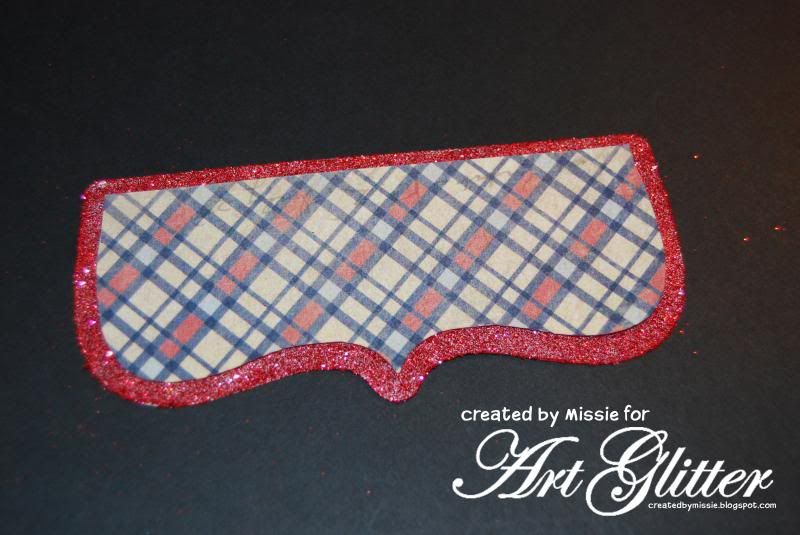
Set the image aside to completely dry and begin painting the frame with the green acrylic paint.  While the paint is still wet on the front edges lightly sprinkle some of the Crystal Ultrafine Transparent Glitter into the wet paint. 
 
Once everything has dried add the image into the frame using some of the glue and cut a piece of ribbon to make the hanger for the frame.  Use a separate piece of ribbon to form the bow and glue it to the ribbon after gathering a small section of the hanger to form a small loop at the top as shown in the picture below. 
 
Now, go have some fun and create one of your own using these fabulous glitters from Art Glitter and this great Penny Black stamp!  


Sunday, June 30, 2013

Happy 4th of July


Supply List:
Art Glitter #349 Garnet Ultrafine Opaque glitter
Art Glitter #335 Sun Ray Chunky Opaque Hologram Glitter
Art Glitter Dries Clear adhesive
Authentique Paper- Pride
Authentique Pride- Details sticker sheet
Assorted die cut shapes for title bracket shape

As I scrapbook in 8x8 rather than 12x12 I began by cutting my base layer down to size.  Then I added the first elements to the page.  I used Authentique Pride detail stickers (banner) in the upper left corner of the page and used the stickers to anchor bakers twine in place.


To add a little extra bling to the banner I used Art Glitter Dries clear adhesive and garnet glitter on the stars. 

Using my die cut machine I created a bracket shape and a matching base.  I covered the mat (base) with Garnet red glitter then added pattern paper on top.


As July 4th is still a few days away, I have chosen to simply add a photo mat to the layout with the intention of adding a photo after the 4th.  I actually do this quite a bit.  I find that when I scrapbook ahead of an even I can pose my boys perfectly and ensure that they are dressed correctly to coordinate with the layout.  I guess that makes me a real scrapbooking geek, but by boys seem to think it is fun!

To create the glitter stars I used die cut shapes (but this could be done with punches, or hand cut stars).  I ran the stars through my Xyron X to totally coat them in adhesive, then glittered.  HERE IS A GREAT GLITTER TIP FOR YOU- when glittering small items like the stars, I like to simply dip the paper into the glitter rather than dumping out the glitter.  The mess is less and I use less glitter in the process.


After glittering the stars in both Sun Ray and Garnet Glitter from Art Glitter the stars were added to the layout.  Some were placed flat on the page, and some were popped up using foam adhesive.

The title was created using die cut double sided adhesive and Garnet Glitter.

I hope you have enjoyed this glittered layout as much as I enjoyed creating it! 


Thanks for stopping by to see my creations.
Missie Todd
createdbymissie.blogspot.com


Remember, for the entire month of June any order you place at http://artglitter.com/ of $25 or more you can use the coupon code of AQ20 for a 20% discount! You can also be entered in a prize drawing at the end of the month by commenting on this blog all month long! One comment per person per post! Also, every Wednesday for the month of June Authentique Paper will be featuring Art Glitter on there blog with a prize package offered also.  Check them out at http://blog.authentiquepaper.com/

Friday, May 3, 2013

Glittered Altered Album


Supply List:
Plain Scrapbook
 
Step 1:  I started this project with the blank canvas of a plain scrapbook.  I then used a pencil to lightly spell out the name and design. The color of the album is off slightly due to the lighting.
Step 2:  Using Designer Dries Clear Adhesive & the Ultrafine Metal Tip I began to fill in the letter on the name. 
 
Step 3:  I chose #254 Stratosphere Opaque Chunky Hologram for the letters and the flourish designs. The reason I chose this color is because the holographic Glitters are extremely sparkling and eye catching.
 
Step 4:  Using the Ultrafine Tip allows you to create beautiful fine details, so I continue to use it for the rest of the design.
 
Step 5:  Cover the adhesive with the glitter and let dry.  Tap off all the excess glitter.  Use a soft brush or Swiffer Dry to remove any extra glitter after the project is completely dried.
 
This makes a great gift for weddings, birthdays, graduations and any other special event!
Lynette Daniel, Owner of Scrap That Moment. Lynette is an accomplished graphic designer and photographer. Lynette’s artwork has been featured in 8 different trade magazines, 7 state publications, 4 published books, 5 local city and county newspapers, and 2 international magazines in Great Britain and Australia. Lynette is known for her scrapbooking projects but brings an exciting artistic style to Art Glitter. On the home front, Lynette is a busy mom with 2 beautiful active teenagers.  When she is not working she is volunteering, teaching classes and giving back to the community. She has been on the Board of Directors for Pop Warner Football & Upward Sports and has coached soccer and cheerleading/drill team for many years. Lynette donates time and money to raise awareness for youth programs in her area. Her goal is to offer children the opportunity to acquire better skills, self-confidence, and even scholarships in whatever they love to do. Lynette enjoys music, traveling and always has a camera around her neck. Follow Lynette on her store website gallery, professional and personal blogs all at www.scrapthatmoment.com and on Facebook.
 
Lynette Daniel