Showing posts with label Spoons Man. Show all posts

Thursday, September 12, 2013

Oak Leaf In Glitter

Art Glitter and Dreamweaver Collaboration

Wow this is the best collaboration ever, Dreamweaver stencils are so much fun to use with 
Art Glitter. While I know a lot of the team members will be doing the double glitter technique which I love I decided to use a different technique: 

Materials Used
509-Wood Nymph Microfine Opaque
519-Reed Microfine Opaque
524-Tree bark Microfine Opaque
716-Simba Microfine Transparent
Spoon Man

LG754 - Acorn and Oak Leaves Stencil
Dreamweaver Gold Metallic Paste
Palette Knife
LM2010 - Paste Spreader

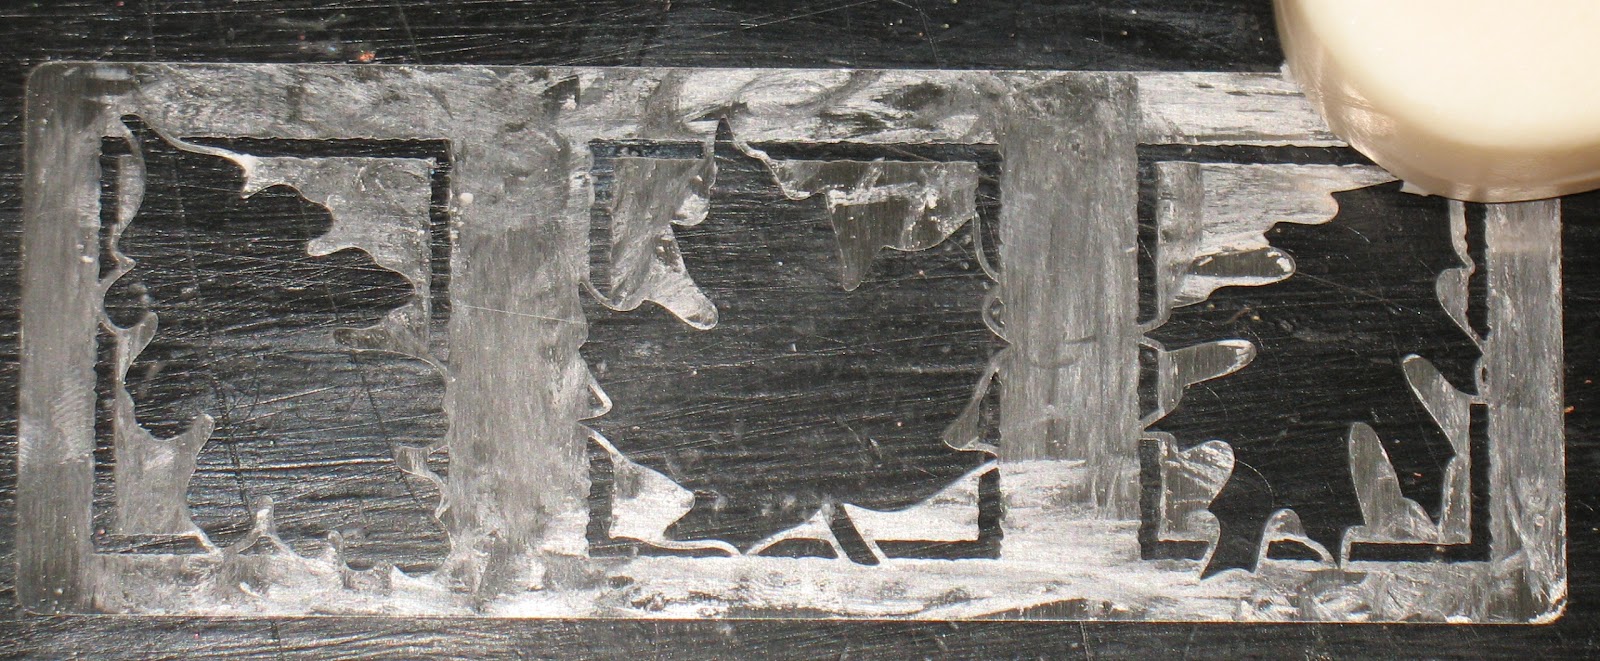
I started my card by taping down my stencil on all 4 sides with removable tape. I then placed Gold Metallic Paste on my Paste spreader using the back side of the palette knife, then paste the image by bring the paste over the stencil at a 45 degree angle from the top to the bottom in a smooth stroke. Remove the tape from the stencil in the reverse order that you put it on leaving the last piece of tape in place as a hinge, then gently lift and remove the stencil. While the paste is still wet, waterfall the glitter over the paste and let dry.
Now don't forget September's promo code DW20 for 20% off the retail prices with your $25.00 purchase from Art Glitter and don't forget to go to the Dream It Up blog for a list of the Dream Team members posting this week.
I will be posting more on my blog in the coming weeks check it out at:


Tuesday, September 10, 2013

A Tag for Fall Seasons


Tags are a fun and exciting way to have smaller pieces of art that can be combined into larger projects.  They are easy to make and share.  This month we have teamed up with Dreamweaver Stencils to combine the fabulous works that can be created using a stencil with the gorgeous beauty of Art Glitter.  Fall is just around the corner and now is a great time to get started on all of your fall creations.  A tag is a great way to create unique smaller pieces that can be a focal point of a larger project and with these wonderful fall leaves and colors who can't look forward to the season? 


IN SEPTEMBER USE PROMO CODE DW20 FOR 20% OFF THE RETAIL PRICES WITH A $25 PURCHASE


Supplies Needed:
Art Glitter:
   Glitter: http://www.artglitter.com/retail/Rartglitter.html%3C/div>
     Sunrise Ultrafine Opaque Glitter
     Nutmeg Ultrafine Opaque Glitter
     Florida Orange Ultrafine Pearlescent Glitter
     Bananan Ultrafine Transparent Glitter
     Saddlebag Ultrafine Opaque Glitter
     Lime Rind Ultrafine Opaque Glitter
     Crystal Ultrafine Transparent Glitter
     Spoon Man! Spoons:  http://www.artglitter.com/retail/Raccessories.htm%3Cbr />

Dreamweaver Stencils-  http://www.dreamweaverstencils.com/ :
     "Autumn"-LM 295:  http://www.dreamweaverstencils.com/lm_stencils/index8.html%3C/div>
     " Leaf Icons"-LL471:  http://www.dreamweaverstencils.com/ll_stencils/index6.html%3C/div>
     Dreamweaver Large Stencil Brush:  http://www.dreamweaverstencils.com/brushes.html%3C/div>
     Double-sided Mounting Paper:  http://www.dreamweaverstencils.com/paper.html%3C/div>
 
Extra Supplies Needed:  A natural or soft bar of soap, card stock, patterned paper, ribbon

 
 Begin by rubbing the soap onto the back of the stencil so that it will be easier to remove the double sided paper later on. 
 If there are any small soap pieces caught in the open areas of the stencils, use the brush to remove them. 
Remove one side of the protective coating from the double sided paper and adhere it to a piece of cardstock. The card stock can be cut to the size of the stencil or it can be larger to form a frame around the finished piece.   Next, remove the second protective coating and adhere the stencil to it.
 

Using the Spoon Man! spoon lightly sprinkle several of the glitter colors over the stencil in small areas.  Do not cover large areas or it will be only the one color. 
                            
 
 Lightly rub it with your finger to adhere it to the paper and get the glitter into the crevices of the stencil. 
 
Gently tap off the excess glitter and put into a separate container for later use.  It makes a great mixed of glitters.  Use the brush to help remove the glitter. 
 
Turn the project over so that the paper is to the top and remove the paper from the stencil.  Do not remove the stencil from the paper or you will risk bending the stencil. 
 
You will now have an area of exposed adhesive left.  Lightly cover the entire piece with another color of glitter.  If you use a dark glitter inside the stencil, use a light color of glitter for this step.  If you use a light color inside the stencil, use a dark color on the outside. 
 
Now, create a 3" x 6" tag from the card stock and adhere a smaller piece of patterned paper to it.  Add the ribbon in behind the pieces you just created for a finished look.  Place the glittered stenciled pieces on top and adhere them to the tag. 
 
You now have a great tag to celebrate the fall season.  Be sure to watch for my next post as I continue to turn this tag into an even bigger project.  It's one you won't want to miss.  Now go and get a start on your tag for fall so you're ready to join me on the next part! 


http://www.pegscraftingcorner.blogspot.com/ 

Friday, August 9, 2013

Blinged Out Altered Photo Frame


It always seems like we have picture frame pieces laying around because as crafters we have somehow used parts of it for a project or somehow we have knocked the frame over and have broken it and don't know what to do with the rest of the frame.  This is a great way to create your own altered frame with those leftover pieces.  The fabulous products from Art Glitter combined with the wonderful products from Want 2 Scrap can turn any piece into a frame that you'll be proud to use to show off your photos.  
 
Supplies Needed:

  From Art Glitter:
 
           Glitter- http://www.artglitter.com/retail/Rartglitter.html
              Challis Ultrafine Opaque Hologram Glitter
              Crystal Ultrafine Transparent Glitter
              Confetti Vintage Glass Glitter
              
        Also from Art Glitter:
               Sticky Tape-http://www.artglitter.com/retail/Raccessories.htm
               Spoons Man! Spoons-http://www.artglitter.com/retail/Raccessories.htm
               Designer Dries Clear Glue-http://www.artglitter.com/retail/Radhesives.htm
 
 
From Want 2 Scrap:
              Chipboard Shapes Style B
              Rhinestones-Amber
 
 
Additional Items Needed:
 
             Black Acrylic Paint, Paintbrush, Photo, Patterned Paper, Back cardboard piece of a picture frame, sea sponge or a sponge that will leave a pattern, card stock that matches your project to create a photo mat
 
Begin by trimming the pattern paper to the size of the picture frame backing and adhere them together. 
 
 Run strips of the Sticky Tape down each side of the frame and sprinkle some of the Confetti Vintage Glass Glitter down on the sides after removing the red protective covering from the tape.  Shake off excess glitter back into the bottle and lay this piece aside. 
 
 After painting the chipboard shapes and allowing them to dry, use the sponge to lightly dip it into the glue.  Dab the sponge off a little and then dab it onto the chipboard shape. 
 Sprinkle the Challis Ultrafine Opaque Hologram glitter over the wet glue and shake off the excess.  Allow all of the pieces to dry. 
 
Add a few of the amber rhinestones to the swirls on the frame.  Cut a circle from card stock that fits inside the frame.  Here the circle measured 6" around.  Adhere the circle onto the frame and then adhere the photo that you have chosen to use.  Use the sponge to add some more glue around the picture and sprinkle some Crystal Ultrafine Transparent glitter onto the wet glue.  Shake off the excess and allow it to dry. 
 
Form the frame around the picture using the chipboard pieces and the Designer Dries Clear Glue.  Add some more rhinestones to cover where the pieces meet.  Add some of the smaller rhinestones in between those pieces to finish off the frame. 


Turn any frame pieces from blah to wow! with the great products from Art Glitter and Want 2 Scrap!  Create a vintage frame like this one or a modern art one using the products you choose.  Here's a start to your new frame use the promo code August W2S20  for 20% off any $25 order or more.  
 

http://www.pegscraftingcorner.blogspot.com%3cbr/ />


Monday, July 8, 2013

A Card for Every Occasion


There are times when you are in a pinch and need a quick card for something and then there are times when you have nothing to do, but create. Use your creative time to make this quick and easy cards that will wow everyone. This month, Art Glitter and Penny Black have teamed up together to bring more sparkling stamped fun to your creativity. 

Supplies Needed:

From Art Glitter:
Fresh Green Ultrafine Glitter
Lemone Ultrafine Glitter
Garnet Ultrafine Glitter
Jet Eye Chunky Opaque Hologram
Black Wing Microfine Glitter
Diamond Dust Vintage Glass Glitter
Spoon Man!  Spoons    http://www.artglitter.com/retail/rtools.htm 
 
From Penny Black:

Also Needed:
4- 8 1/2" x 11" pieces of white cardstock
A fine paint brush
A 1/4" paint brush
Tear Edger (optional)
Acrylic Stamp Block
Ruler

Begin by cutting the cardstock in half to create 8 cards that measure 5 1/2" wide x 4 1/4" tall. Carefully tear approximately 1/4" off the bottom front using a tear edger tool or just by roughly tearing being careful not to tear up the card front.

Stamp the designs from the Wishes stamp set by Penny Black onto the front.

Now the fun begins. Time to decorate! Use these simple ideas to add sparkle to any card.


Flood the centers in small puddles with of some with Designer Dries Clear Glue and sprinkle glitter or Black Wing Microfine Glitter over the puddle.


Using a small paint brush spread some Designer Dries Clear Glue into the petal areas and sprinkle with glitter. In this picture, you can also see how great the Black Wing Microfine Glitter looks after sprinkling it on over a puddle of glue. Be sure not to forget the stems! Run a line of glue down them using the metal tip and then sprinkle with glitter. Outline the edges such as the dots on this stamped image and add some glitter to bring out the image more.

Add special interest to the torn edges by placing a line of glitter along the back edge. Simply use a ruler inside the card to give you a straight edge, spread some glue using a medium width paint brush along the edge (I suggest doing one half at a time so the glue doesn't dry before it is glittered) and then sprinkle the glitter over the glue. Repeat this step for the second half of the edge. Use the metal tip to run a line or more than one along the bottom edge as shown in the right hand picture and add glitter over them.


Here are some close ups of some of my favorites to show you how great the details of these stamps are with glitter added.


This is using the Diamond Dust Vintage Glass Glitter on it. 


These Baby Love Glass Beads are perfect for these small flowers.


The shine of the Crystal Glitter combined with the Lemone Glitter make this stamped image pop.


Now it's your turn! Start stamping and glittering so that you have a card for that next unexpected occasion. You can't go wrong when it comes to Art Glitter and Penny Black Stamps. They'll be sure to put a "wow!" in any occasion.
Order from Art Glitter the entire month of July in the amount of $25 or over, use the code PB20, and you will receive 20% off your order total! And remember, Art Glitter is MADE IN THE USA!!!

Saturday, June 22, 2013

Star Spangled 4th


Deck out your party and show your patriotism this July 4th with these 3-d stars.  No matter if the party is indoors or out, they make the perfect decorations to welcome your guests and bring  on the fun.  The fabulous glitter from makes these stars a celebration of your liberty this 4th of July. 
 
 
Supplies Needed:
    From Art Glitter:                                                   
       Garnet Ultrafine Opaque Glitter                                                     
     Crystal Ultrafine Transparent Glitter                                             
     Atlantis Ultrafine Transparent  Glitter                                          
 
Additional Supplies:  Paint Brush-to spread glue, star template or die cut, scoring tool, hole punch, twine such as baker's twine 


Begin by creating the star using your favorite method to do that.  A couple of ideas are to use a template printed off the Internet or by using a die cut machine to cut one.   You can cut different sizes of stars or all of the same.  For each 3-d star you make you will need 3 stars cut.  I chose to make two 4" sized stars and one 6". 
 
 
Once you have the stars made, squeeze small amount of glue onto one side of them and use the paint brush to spread it out.  


Sprinkle the Crystal glitter over the glue making sure to work quickly so the glue doesn't dry.  You can save time and do all of the stars on one side first and allow them to dry and once those sides are dried flip them over and do the same to the other sides. 
 
Using the metal tip on the Designer Dries Clear, run a small line of glue along the edge of the star and sprinkle on the glitter.  I alternated the glittered edges by doing some using the Garnet glitter and some using the Atlantis glitter to give the stars their own individual looks to match the paper designs.  If you work on this step while glue used for the base coat is still a little tacky, you will get some of the glitter to adhere as seen in this picture.  That's okay.  It will add more shine and color.
 
 
Once all the stars have completed dried and outlined in glitter, score 2 of them down the center.  Run a line of glue down the center of the one that was not scored and adhere the scored stars one on each side and lightly fold outwards the stars at the fold lines to create the 3-d look.   Punch a hole in the top and add some twine to create the hangers. 
 
You are now ready for the perfect star spangled party.  Your guests can be greeted as they enter with these sparkling stars that will add to the excitement of your event.  If you're not having a celebration create some anyways to ring in your own July 4th pride.  


Remember, for the entire month of June any order you place at http://artglitter.com/ of $25 or more you can use the coupon code of AQ20 for a 20% discount! You can also be entered in a prize drawing at the end of the month by commenting on this blog all month long! One comment per person per post! Also, every Wednesday for the month of June Authentique Paper will be featuring Art Glitter on there blog with a prize package offered also.  Check them out at http://blog.authentiquepaper.com/

Thursday, June 6, 2013

Something Borrowed & Something Blue Momento Box


This memento box makes the perfect gift for all of your treasured wedding items.  It is made especially with the bride in mind to keep those borrowed and blue items in.  Use it to make sure they get to the ceremony safely and after the wedding is over; store those special items inside to treasure always.  They make a nice gift for the bridesmaids, too. The gorgeous products from Art Glitter and Authentique makes this box a special memory in itself.
 
Supplies:
   From Art Glitter:                                                           
     Lemone Ultrafine Transparent Glitter                           From Authentique Paper Company:
     Crystal Ultrafine Transparent Glitter                      "Summer Three" from the Seasons Collection
     Confetti Vintage Diamond Dust                             "Summer One"    from the Seasons Collection
     Diamond Dust Vintage Glass Glitter                    
 
Also needed:  Blue and Yellow Paint to Match ( I used Calypso Blue and Golden Straw by Americana), Paper Mache Round Box, Paintbrushes, Several Cotton Balls, Scissors, Paper Trimmer (optional) and 1/4" white ribbon. 


After painting the box and allowing to dry, measure the circumference of your box to determine the length of the paper you will need.  For this box, it measures 24" round so I cut 2 strips of the "Summer One" paper that were 12" in length and 3" wide.  I wanted the opening in the front for the paint to show through in a small area so I decided how much space to leave open and then cut the excess of the back of the box where the two strips meet and then adhered it down. 

Take a cotton ball dipped lightly into the Designer Dries Clear Glue and then dab it onto a paper towel to remove excess.  Lightly pounce it in small sections on the edge of the lid.  Sprinkle the Diamond Dust Vintage Glass Glitter onto the glue and allow to dry.  Also, using a paint brush lightly spread some glue onto the open area left on the box between the 2 strips of paper.  Sprinkle some of the Diamond Dust onto it, too, and allow to dry. Tap off the excess from both pieces and replace it into the jar. 
 
Spread the Designer Dries Clear Glue using the foam brush in small areas.  Using your fingers sprinkle Crystal Ultrafine Glitter over the top of the glue working quickly so the glue does not dry before covering it with the glitter.  Continue doing this until you have covered all of the lid.  

Spread the Designer Dries Clear Glue in small sections on the side and sprinkle some of the Lemone glitter over it with your fingers until you have completely worked around the outside of the box.  


Cut 4 pieces of 1/4" ribbon approximately 4" in length and iron the ends to the inside and tack with glue to create a finished edge.  Using the Ultrafine Metal Tip on the bottle of Fabric Dries Clear, add staggered glue dots down the piece of ribbon and sprinkle with the Lemone glitter.  Remove the excess and allow to dry.  Glue the pieces of ribbons onto the front of the box (the space left between the patterned paper pieces) in an "x" pattern as shown in the finished picture of the box. 

Now, cut a circle from the "Summer Three" paper by Authentique by tracing the box lid onto the back of the paper and cut it out.  Adhere it to the lid. 

Fussy cut around 2 of the butterflies and then add Designer Dries Clear Glue to the open areas (the white areas) of the butterflies.  Sprinkle them with the Confetti Vintage Glitter Glass and tap off the excess back into the jar.  Allow them to dry.  Glue them onto the top of the box. 

The box is now ready to give as a joyful gift for that special wedding.  It will become a cherished piece just as the mementos that are kept inside. 


Remember, for the entire month of June any order you place at http://artglitter.com/ of $25 or more you can use the coupon code of AQ20 for a 20% discount! You can also be entered in a prize drawing at the end of the month by commenting on this blog all month long! One comment per person per post!