Monday, January 6, 2014

New Years Glittered Crown

Hello all you Glitter fans. I hope that you all
 have a very blessed and Happy New Year.
Each year for New Years Eve my children like to make crowns. This year we thought we would do something else. Again using a trusty Toilet paper roll.


Supplies:
Art Glitter Ultrafine opaque #280 Lime Rind
Art Glitter Ultrafine Opaqe Hologram # 136 Chromosphere
Art Glitter Ultrafine Transparent #288 Deep Blue Sea
Art Glitter Ultrafine Transparent # 360 Pretty Pink
Art Glitter Ultrafine Pearlescent # 181 Mint Chiffon
Art Glitter Ultrafine Pearlescent # 184 T- Bird
Art Glitter Designer Dries Glue


Step 1: cut about 3/4 of an inch off the bottom of the TP roll then  cut thin strips
about 6 of them and paint them on both sides.


Step 2: Add lots of colorful sparkly glitter to the outside of your strips.


 Then start putting it together. I added lots of gems to it as well and adhered it to a glittered headband.
there you have a sparkly crown to bring in the new year!

My Blog: zippity-do-dah-tabitha.blogspot.com


Saturday, January 4, 2014

Wonderful Winter White


Supplies 
Art Glitter Small Sticky Paper
Art Glitter Waterfall Fantasy Film
Art Glitter Fantasy Fiber Snowflake
Art Glitter 373 Fairy Dust
Iron
Parchment Paper
Cricut Winter Lace Cartridge (large snowflake)
Creative Memories 'Tis The Season Cricut Cartridge (title)
McGill Snowflake Punch
Martha Stewart Snowflake Punch (medium snowflake with circle frame)
3 Birds Designs Lace paper
White Card Stock
Queen and Co Pearls
Jolee Bling (pearl in setting)
Close To My Heart Flower bling
White Flowers
Zva Creative Blue Swirl Bling

Clare love's to capture the wonder of Mother Nature's  winter's whites with Art Glitter!  She scrap books all her families Christmas Cards and keeps them in a Christmas album that she brings out when the decorations go up. What a great way to see how all the children, nieces and nephews change and grow over the years!
Clare started with a piece of white card stock.  She pressed a thin layer of the Art Glitter Fantasy Fiber in Snowflake between parchment paper on a silk setting for five seconds.  She layered this on top of the white card stock and placed a piece of paper lace on top.

Clare folded a piece of Art Glitter Waterfall Fantasy Fiber in half and pressed it in the same manor as above.  She then cut in a Cricut machine using 'Tis the Season Creative Memories Cricut Cartridge.  Clare says to treat the fused Fantasy Film like a lighter weight card stock (Clare used a pressure of 4).  For the snowflakes, Clare cut the white portion using Art Glitter Sticky paper  and pealed off the protective layer.


She sprinkled on Art Glitter Fairy Dust on top and shook off excess.  She sandwhiched the glittered snowflake between two layers of Art Glitter Waterfall Fantasy Fiber and pressed again.
 Clare found that some of the smaller corners needed a bit more than the standard 3 to 5 seconds to bond.  She then hand trimmed around the snowflake.  She used the same layered technique with two more punched snowflakes in the sticky paper as well.

Clare wishes you could see this page live and in person as the photos don't do it justice!  The snowflake and title are much more light aqua blue in real life and work well with the winter whites to make a faux ice look!

You can find more of Clare's work at her blog:  cricutcraftyclare.blogspot.com.


Tuesday, December 31, 2013

3D Art With Glitter


Create framed artwork to add to your décor.  Dress things up for the holidays or add a special touch to an every day room just by adding a little sparkle of glitter.  Change it for the seasons and enjoy a new look year round!
 

Supplies Needed:
 Glitters- http://www.artglitter.com/retail/Rartglitter.html
     Christmas Red Ultrafine Opaque Glitter
     Saddlebag Ultrafine Opaque Glitter
     Lemon Drop Ultrafine Transparent Glitter
     Fire Engine Red Ultrafine Opaque Glitter
     Cavalado Ultrafine Opaque Glitter
     Florida Orange Ultrafine Pearlescent Glitter
Tools and Other Art Glitter Supplies-http://www.artglitter.com/retail/rtools.htm
     Metal Tip
     Spoons
  Designer Dries Clear Glue-http://www.artglitter.com/retail/Radhesives.htm
 
Also Needed:  Picture Frame, White Card Stock, Card Stock to Match Theme for Background, Favorite Spray Ink, Embossing Folder and Die Cut Machine for embossing background (optional) 

Begin by spraying a piece of card stock that is a little smaller than your picture frame using your favorite spray ink and allow it to dry.  

 Trace or draw a picture onto the paper. 
 Use the metal tip to start outlining the small areas.  Add extra detail by using different colors in the same  section. 

Flood larger areas in glue and cover them with glitter.  Allow them to dry completely.   
 
Once the entire piece is dry, place it in a frame.  You can create a background for it by adding an embossed piece of card stock to finish off the look.
 
No matter if it's a holiday or every day, a 3-D piece of artwork set on a table or hung on the wall adds a lot to the look of a room.  Create a theme or individual pieces.  It's all up to you so add new life to your décor and use some Art Glitter to dress it up!  Start creating now and give your house a new shine with the beginning of a new year!  
                                                 http://www.pegscraftingcorner.blogspot.com/

Friday, December 27, 2013

Joy Ornament

Joy Ornament

 
I had fun this month playing with some new glitters that I got and I think the
colors are simply elegant.
 

Supplies:
pattern paper
twine
 
 
Step one select chipboard background and letters. Add pattern paper of your choice to background

 
Next add the gorgeous glitter to your letters
adhere to background add twine and your done.
 
 
I love the little jingle bells and I think that #136 Chromosphere is my new favorite!


Be sure to check out all the other ART Glitter designers and
have a very Merry Christmas and Happy New Year!


My Blog: zippity-do-dah-tabitha.blogspot.com


Wednesday, December 25, 2013

Merry Christmas Card

Merry Christmas!!
Heather's Project is a Christmas Card.  She has also included some other Christmas items for you to enjoy below.
Items used

Heather used a piece of green, red and pink Core'dinations cardstock.  She embossed the pink piece with a spellbinders die and sizzix embossing folder. The Red piece was embossed with a cuttlebug folder.  It measure 4.25" by 5.5".  The green piece measures 9.5" by 6".  Score at 4.75".  She decided not use the green label,  changed her mind :0)..that happens sometimes :0).

Edges were inked with Ranger's Vintage Photo.   Heather sanded the raised area of the red mat and pink scallop circle.She tied some Candycane baker's twine around the red mat.  She used red sticky tape to adhere it to the card base.
Using the fine tip applicator and Art Glitter Designer glue, she followed the raised pattern on the red mat.  She didn't want solid lines, so she lifted here and there.
Using the Art Glitter Designer glue, she adhered the jumbo moss green leaves to the back of her pink piece, she also applied some pop dots to the pink piece and holly die cut.
Using the fine tip applicator and designer glue, she followed around the outside and veins of the die cut leaves.  She also added the glue to the jumbo leaves.
IHeather added Pink Cadillac glitter to the red mat piece and holly berries of the die cut.  The Cavalado glitter was used on all the leaves.  Just Peachy glitter was used on the edges of the white flowers. Heather also added a "Christmas" text box that she created in GIMP.  She added the Just Peachy glitter to the edges of it as well, and applied it to the card using pop dots.
Heather hopes you enjoyed her tutorial today, and she has a couple other Christmas Goodies for you to enjoy!


Christmas Bulb
Art Glitter Designer dries clear Glue & Ultra fine Metal Tip were used to add the dots of glue to the center of my ribbon and  #73 Platinum Art Glitter was applied.  The bulb was fill with #183 Blue Angel Art Glitter.  The bulbs were bought at her local Michael's store.
Here is a look at the back.

The glitter bulb is SUPER EASY PEASY to make!!  She even did a basic tutorial, showing you how to make the basic glitter bulb.  You can find in on her Youtube channel here.  You can watch how she makes the basic bulb on the video below.

A few more tags and Ornaments
You can get all the details on the items she  used on her blog post here.
You can get all the details on the items she used on her blog post here.


 Vintage Mitten Collage sheet Beautified with Glitter to give it a Retro Vintage Feel

You can get all the details on the items she used on her blog post here.
 Feel free to stop by and see Heather's other projects using Art Glitter on her blog.

All of us here at Art Glitter wish you and your Families a Safe and Happy Holiday Season!

Monday, December 23, 2013

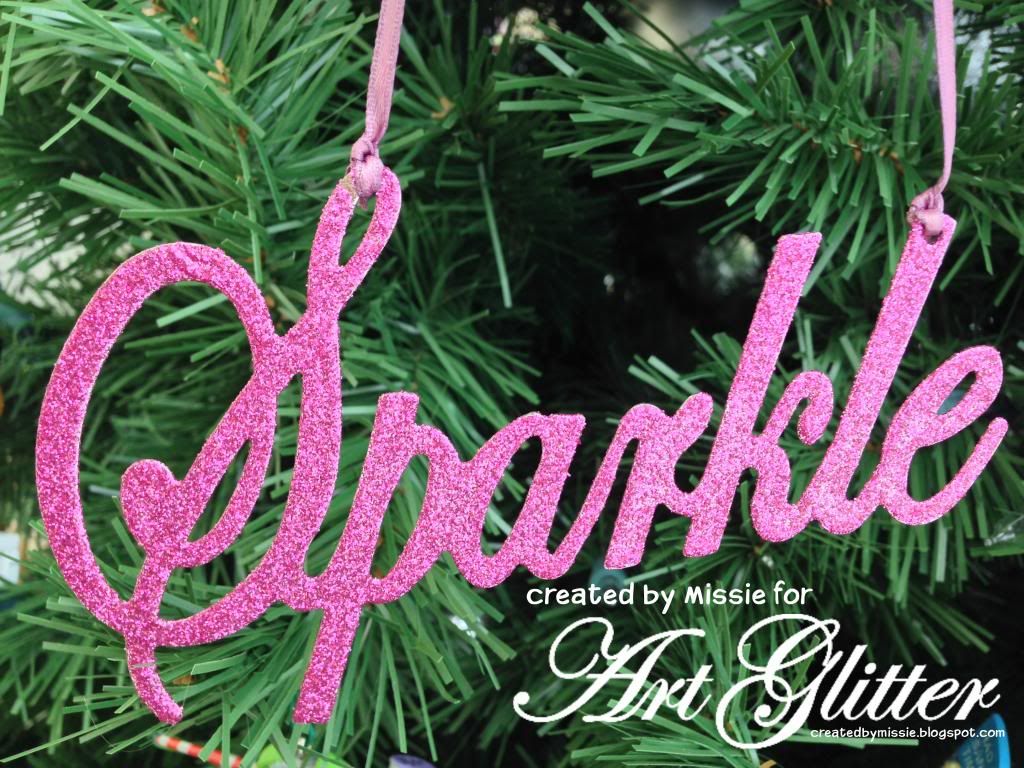
Sparkle

 
Supplies:
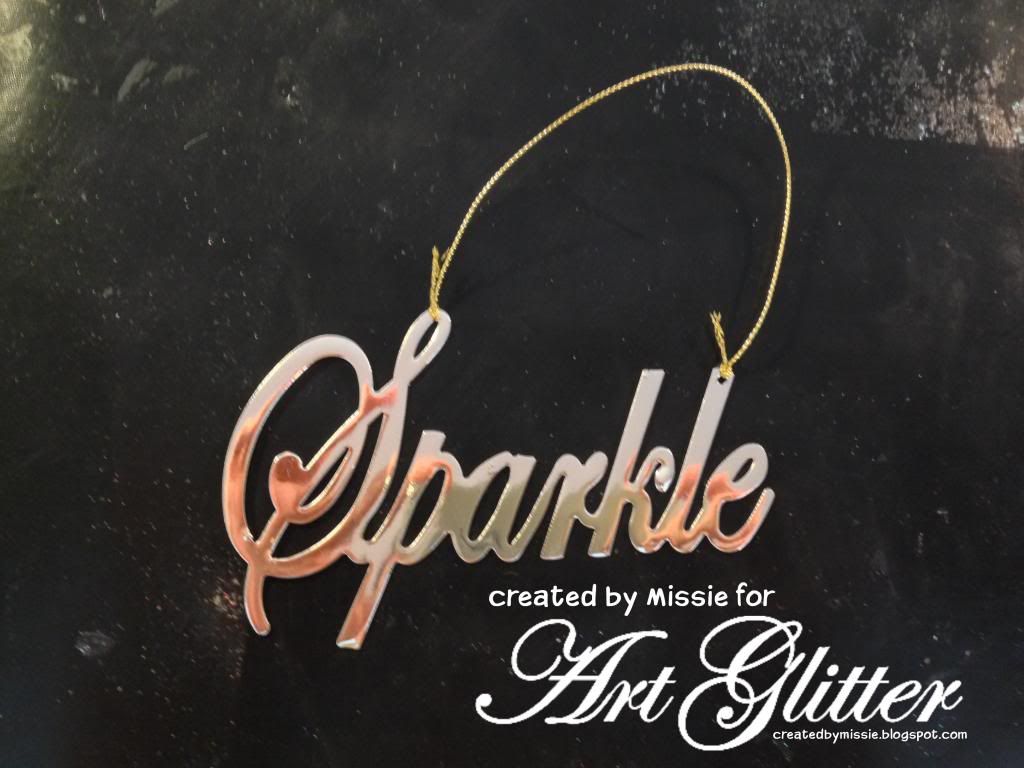
Metal Christmas Ornament- this one is from Hobby Lobby
Spray adhesive
Spray Sealer
Ribbon
 
Begin with a pre-made metal ornament.  This one was purchased at Hobby Lobby.  It is a $1.99 ornament that can become something special with just a little effort.

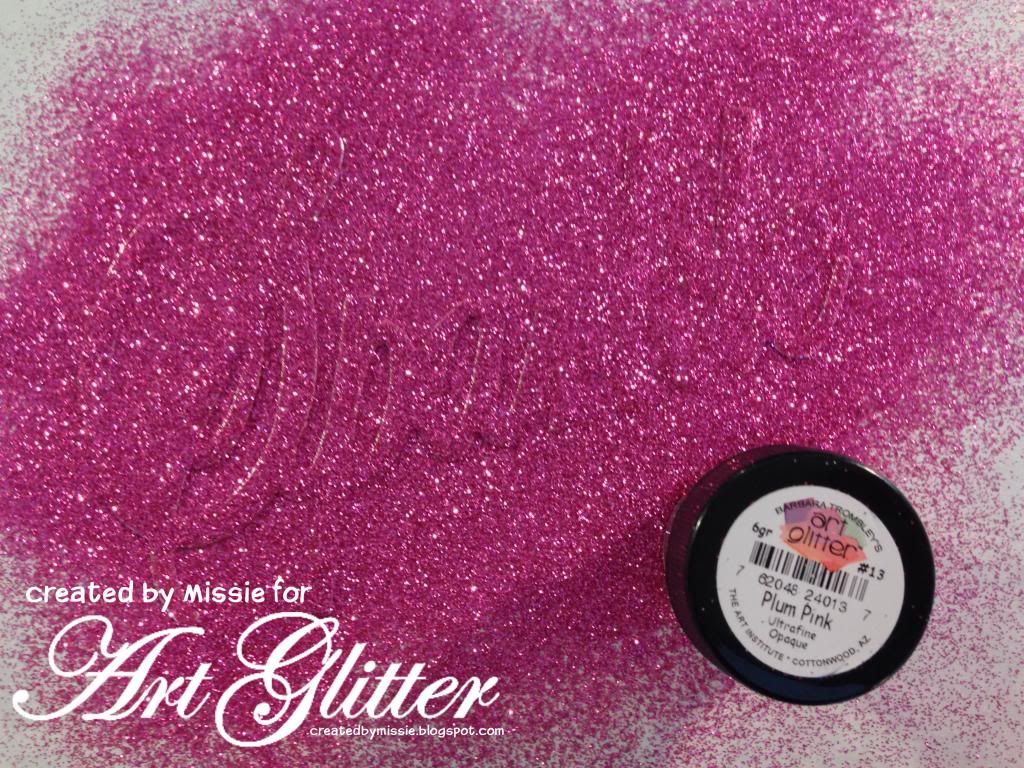
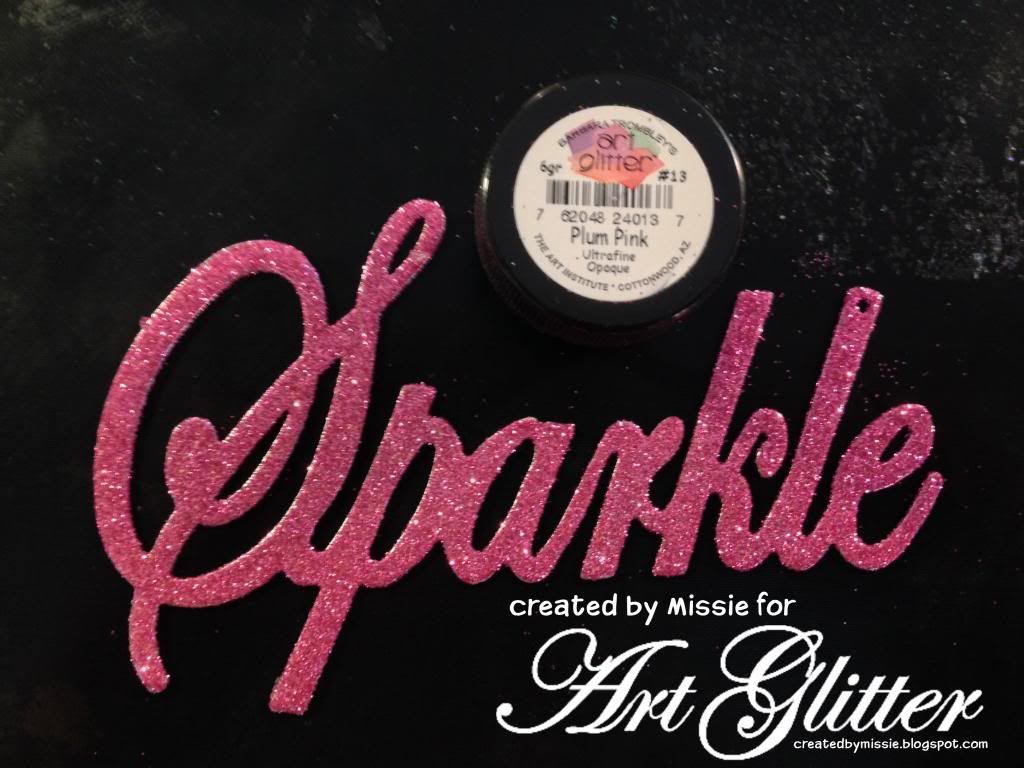
Remove the attached hanger ( it will be replaced with a pretty ribbon).  Spray adhesive over the entire ornament then add glitter.

 
After applying glitter use a spray sealer or Mod Podge to ensure that the glitter stays on the ornament and doesn't flake off. 
 
 
Just add a matching ribbon and hang on the tree. 
 
 
Thanks for stopping by to see my creations.
Missie Todd
createdbymissie.blogspot.com