


ARE TEAMING UP THE ENTIRE MONTH OF JUNE TO BRING YOU AN AMAZING CREATIVE COLLABORATION MIXING DREAMWEAVER STENCILS AND ART GLITTER. COME ALONG FOR THE RIDE...WE PROMISE IT WILL BE A SPARKLING ONE!
Visit the Art Glitter blog and the Dream It Up! blog for fabulous inspiration from both talented design teams. We are encouraging all of you to play along with the challenge of creating with Dreamweaver Stencils and Art Glitter*, preferably using the Double-Glitter Technique. Just link your creation to the Mr. Linky on the Dream It Up! blog, or email pics to lynell@dreamweaverstencils.com, for an opportunity to win one of four fabulous glitter and stencil prize packages. One winner will be chosen each week. (US and Canada only, please).
*For the month of June Art Glitter is selling 1 oz jars of glitter for $5.98 (regular price $7.32)! Get the details HERE!
Welcome to the Art Glitter/Dreamweaver Stencil cross promotion month. We have paired up with this wonderful company to show you how our glitter can be used with these beautiful and detailed stencils. All of our designers will be using the double glitter technique! Make sure and check out Dreamweaver Designers every Thursday by checking out the individual blogs at the end of this post, or by going to the Dreamweaver Stencils blog!
Make sure and play along all month with this fun challenge. Make a double glitter card or piece, blog about it and let Dreamweaver know by going to their blog and filling out their "Mister Linky's Magical Widget" to let them know that you have participated! Also, make sure and LINK to the Dreamweaver site to be eligible for 1 of 4 prize packages featuring stencils and glitter! You may even get your creation featured on Art Glitter's Blog!
Hope everyone will play along with this fun challenge. Hope even if you don't play along with the challenge you will take advantage of the great price of glitter in June!
Be sure to check out the other Dreamweaver Stencils' design team designers:
- Pam Hornschu
- Laura Drahozal
- Louise Healy
- Wendy Jordan
- Terrece Siddoway
- Kristi Van Doren
- Georgia Sommers
- Lee Kellogg
- Liz Martin
- Cyndi Bundy
- Cherylynn Moser
- Jessie Hurley
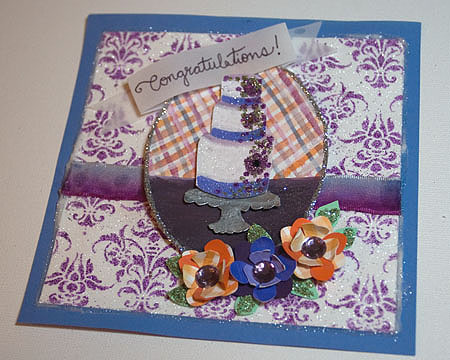
Today I'm making a "Congratulations" wedding cake card using the double glitter method.
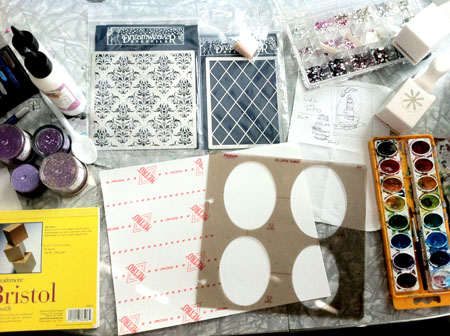
Here is what you'll need:
- 3 piece of 6" x 6" Bristol Paper
- 6 pieces of 8 1/2 x 11 assorted color card stock or construction paper
- 1 piece of vellum paper or an envelope to cut up
- 1 piece of 8 1/2 x 11 card stock
- 1 piece of 8 1/2 x 11 sticky paper (full sheet label paper where the back peels off). They use double sided sticky paper in the instructional video below, but it's not necessary.
- Watercolors, chalk pastels, paint or markers (Something to color and draw with!)
- Scissors
- Glue - I use Designer Dries Clear adhesive from Art Institute
- Embossing Glue - I used 3D Embossit by Art Glitter
- Dreamweaver stencil - I used LX 7001 Damask
- A little bit of natural soap that is soft (Explanation in the video below)
- Art Institute Glitter - Fine Glass Glitter #618 Peapod
- Art Institute Glitter - Fine Glass Glitter #609 Grape Arbor
- Art Institute Glitter - Fine Glass Glitter #615 Thistle
- Art Institute Glitter - #89 Martini Ultrafine Transparent Glitter
- Art Institute Glitter - #83 Silver Opaque Ultrafine Glitter
- 6 rhinestones - 3 large, 3 small
- Flower petal paper punch
- On oval stencil or a steady hand
- 6" strip of ribbon
- Hot glue gun
Now, we're ready to get started...
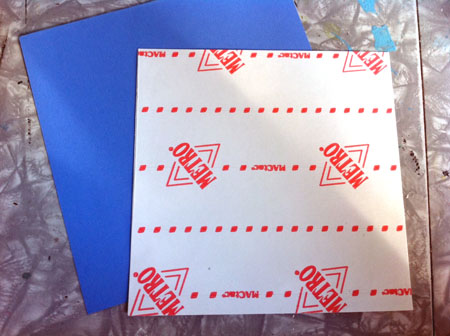
First, I glued down my sticky paper, non-sticky side down, to a piece of plain card stock. After this is dry, cut it to 5 1/4" x 5 1/4". I also cut a piece of periwinkle construction paper to 6" x 6". This will be the back of your card (but don't glue them together just yet).
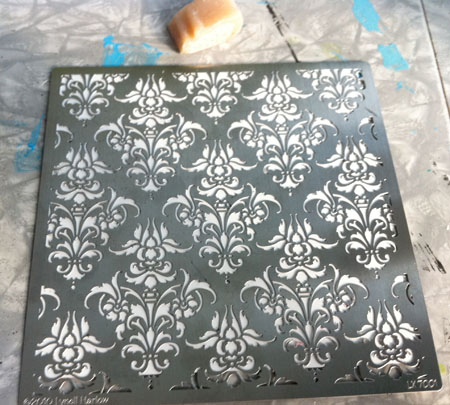
Next, soap up the back of your stencil (as shown in the video), remove the backing of your sticky paper so the sticky side is up and carefully put your stencil soap side down.

I then scooped some of the #609 Grape Arbor down and carefully pressed it into the stencil. Tap off the purple.
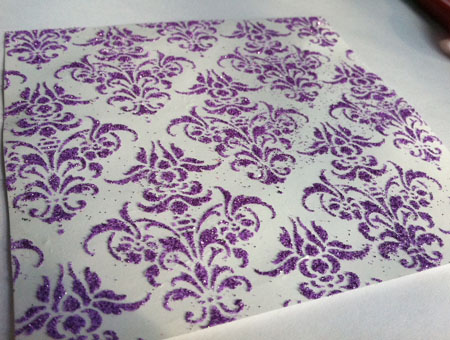
After I carefully removed the paper from the stencil, this is what it looked like!
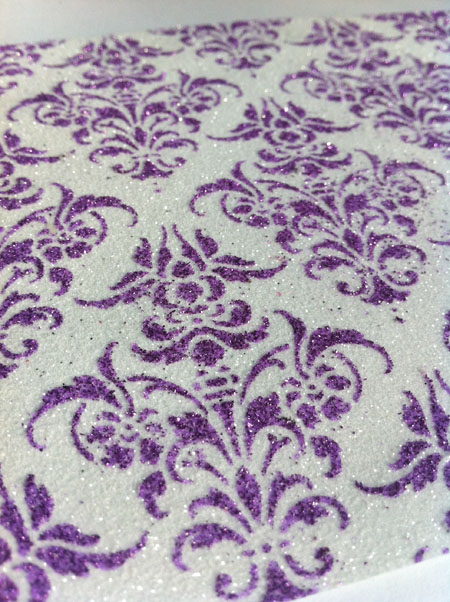
Then, I made a second pass with the clear #89 Martini glitter. I love how the purple pops through!
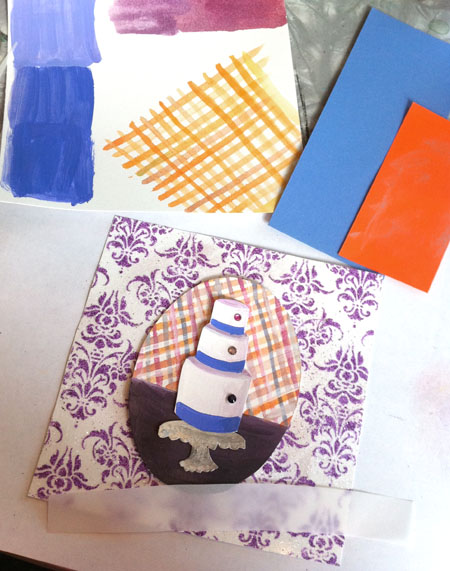
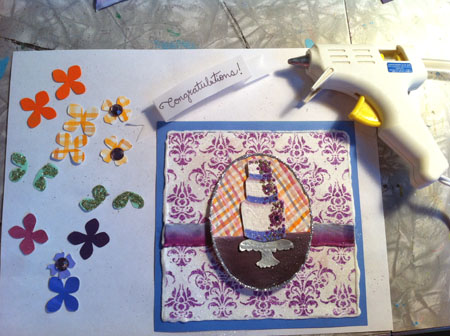
This looks like a lot of stuff... this is what I made for the card in this step:
- An oval with a dark purpley-eggplant bottom with gingham top. The top is watercolor and the bottom is acrylic paint.
- A three-tier wedding cake. I used white acrylic paint with purple shadow accents and a periwinkle fondant ribbon on the bottom of each tier.
- A little cake stand that I painted silver.
- Some background colors in orange gingham and solid purple colors for the punched out flowers.
- A 1/2" thick strip of vellum cut about 5" long
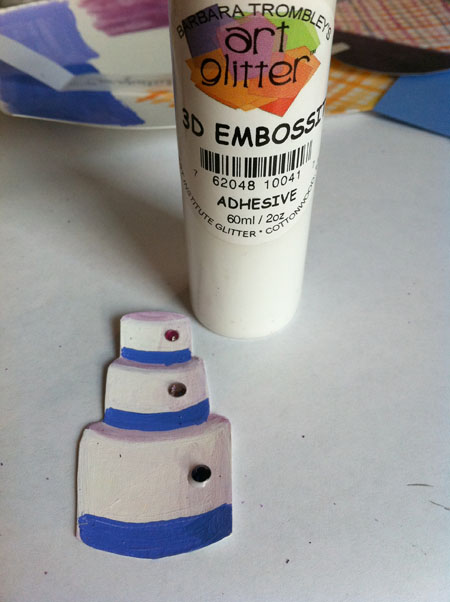
To give the cake the look of decorated fondant, I used the 3D Embossit and added dots of Peapod, Thistle and Grape Arbor glitter. I also added dots and swirls of the 3D Embossit to the white areas and put the clear Martini glitter over that.
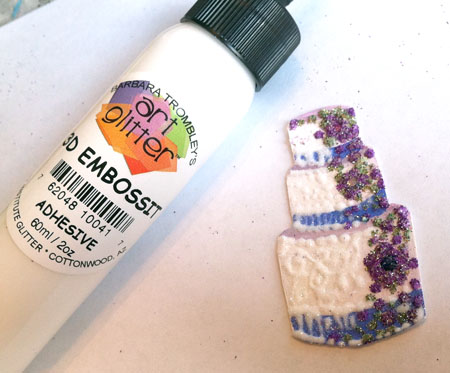
Here's what the cake looked like finished.
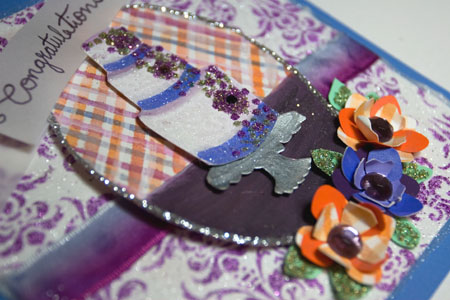
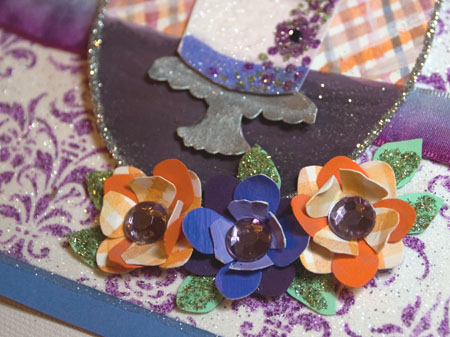
Here are all the elements, ready to glue down. The flower petals, the leaves (flower petals cut in half. These were covered in the Peapod fine glass glitter). Some have already been glued down like the piece of ribbon down onto the glittered damask and then that entire piece was glued down to the periwinkle 6" x 6" piece of paper.
I punched out flower petals in the different purple colors and in the orange and orange gingham. I glued down rhinestones inside the center-most flower petals, outlined the cake background oval in Silver glitter, wrote "Congratulations" on the little vellum banner and got it folded and ready to glue down.
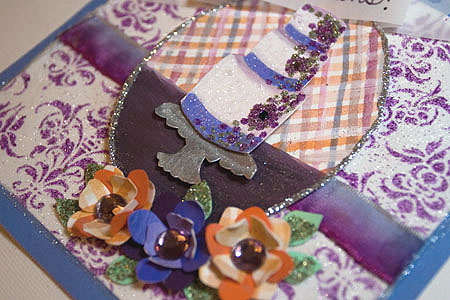
And here is what it looked like all put together:

Come check out my blog for more glitter fun!
Carrie

No comments:
Post a Comment