
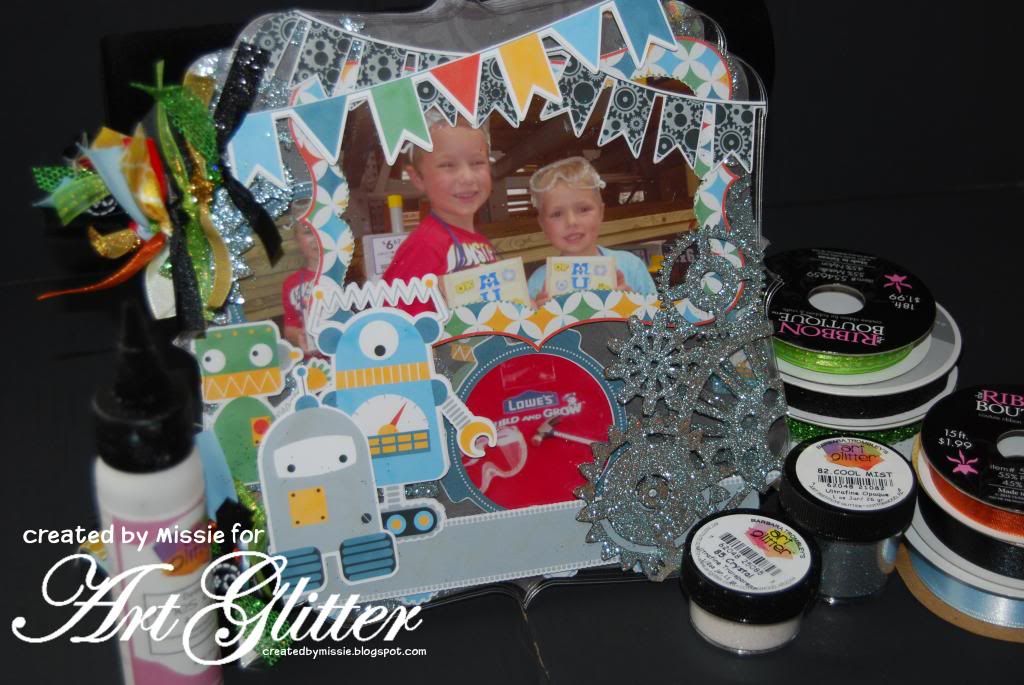
Art Glitter #85 Crystal Glitter
Att Glitter #82 Cool Mist Glitter
Art Glitter Designer Dries Clear Adhesive
Want2Scrap 8x8 Decorative Design Album
Want2Scrap Shifting Gears Large Silhouette Shapes
Assorted ribbon
Printable graphics (these were found on Etsy)
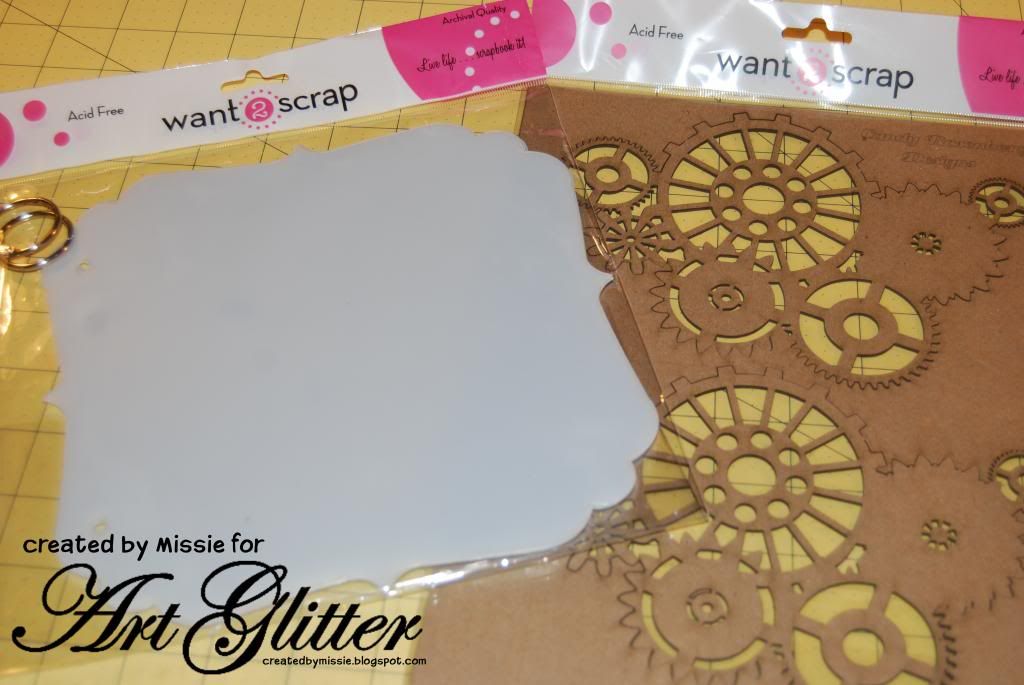
Begin by selecting digital graphics that you would like to use. For this album I choose robot graphics that I purchased on Etsy as part of a digital scrapbook kit. These images can be used as printables, print and cut, or you could use similar images with your die cutting machines. Select your images and print them. Because this album is Acrylic you may want to print the images, and then print them in mirror image (reverse the image) for the back of the pages.
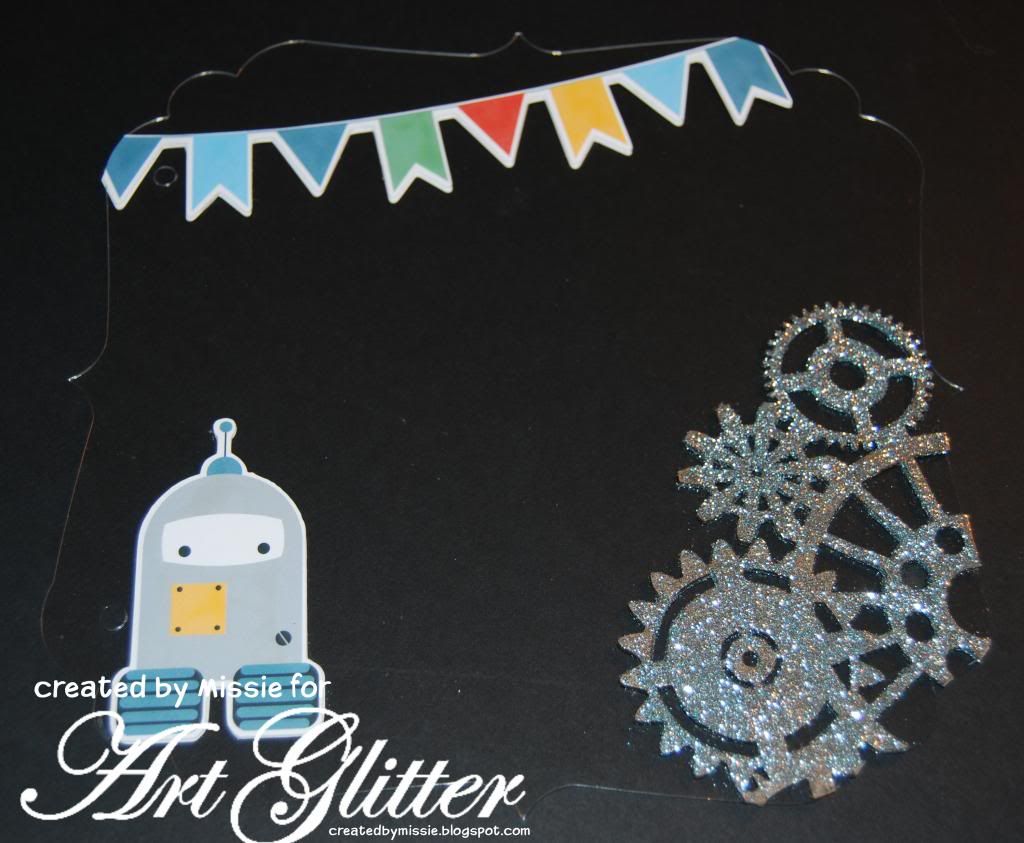
For the second page repeat the process using gears and printable images.
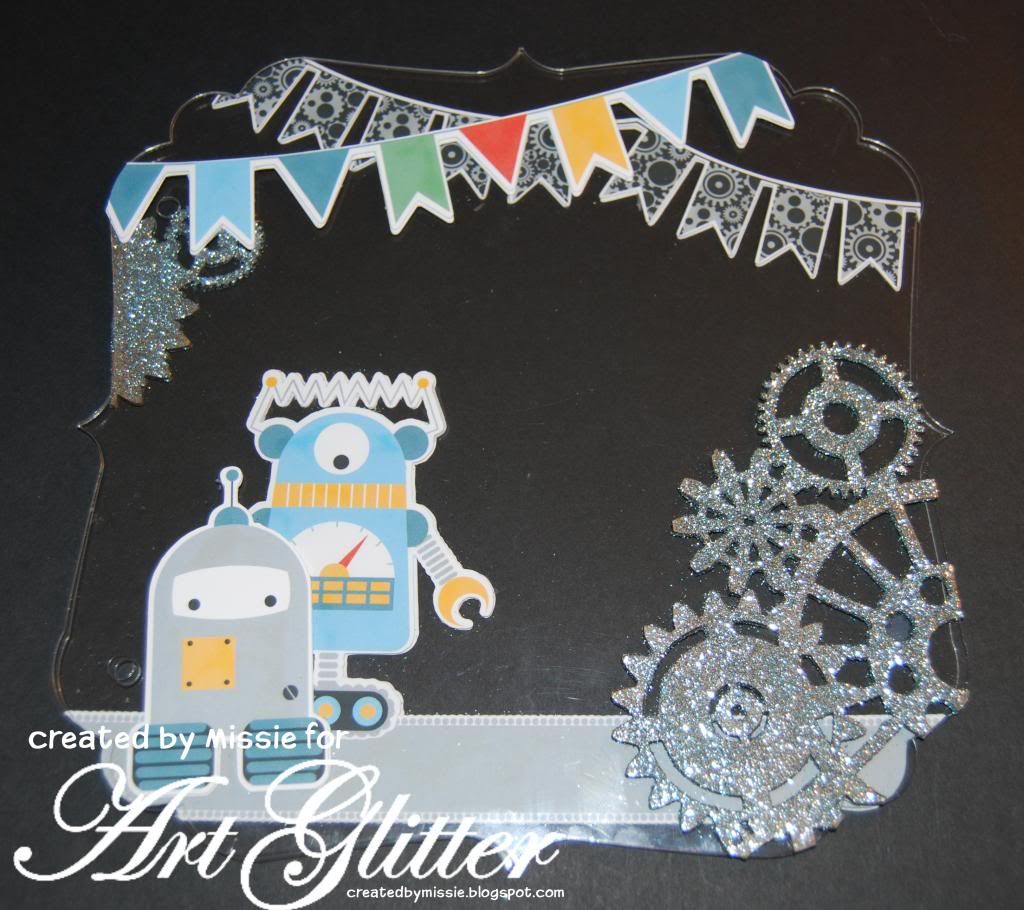
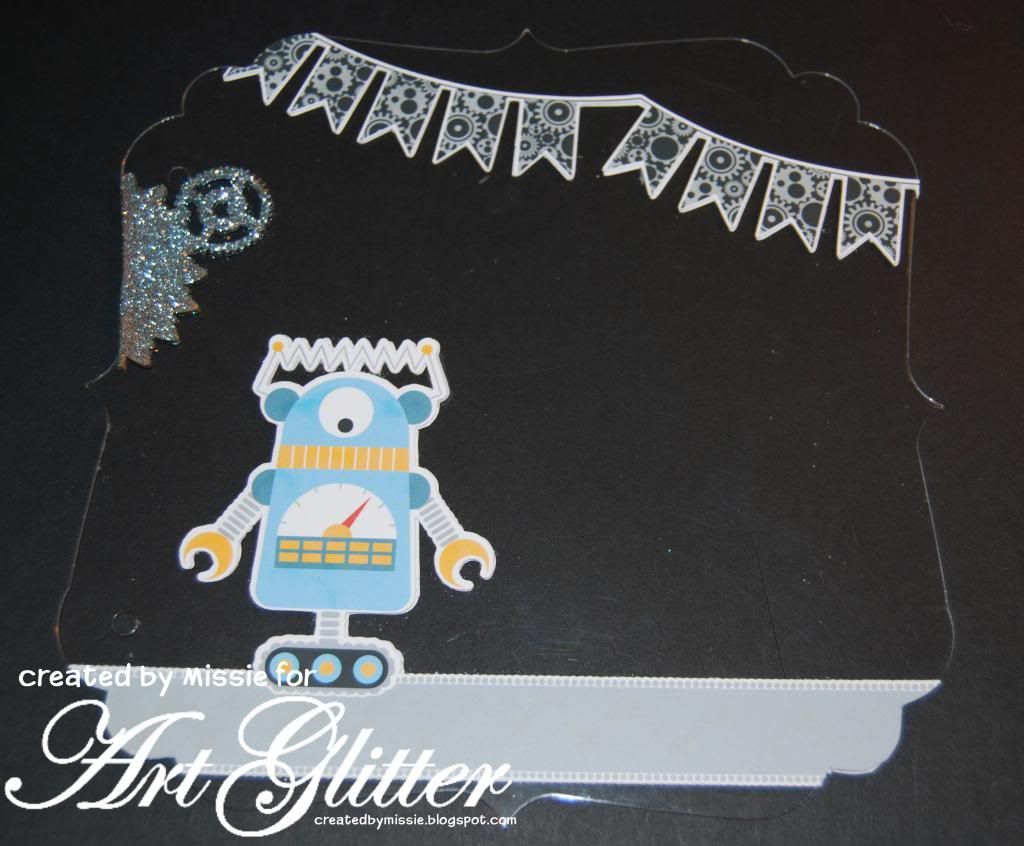
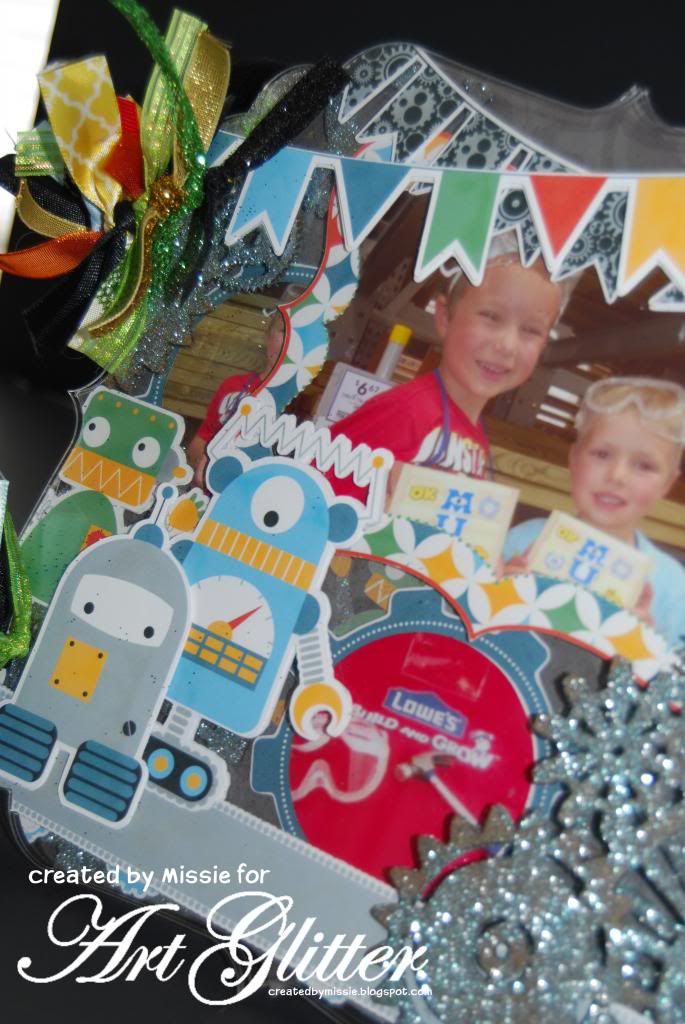
As you layout your images you want to be aware of how they will "stack" together. As the album pages are clear you will be able to build a layered project with each page you add. Here you can see the first two pages "stacked" together.
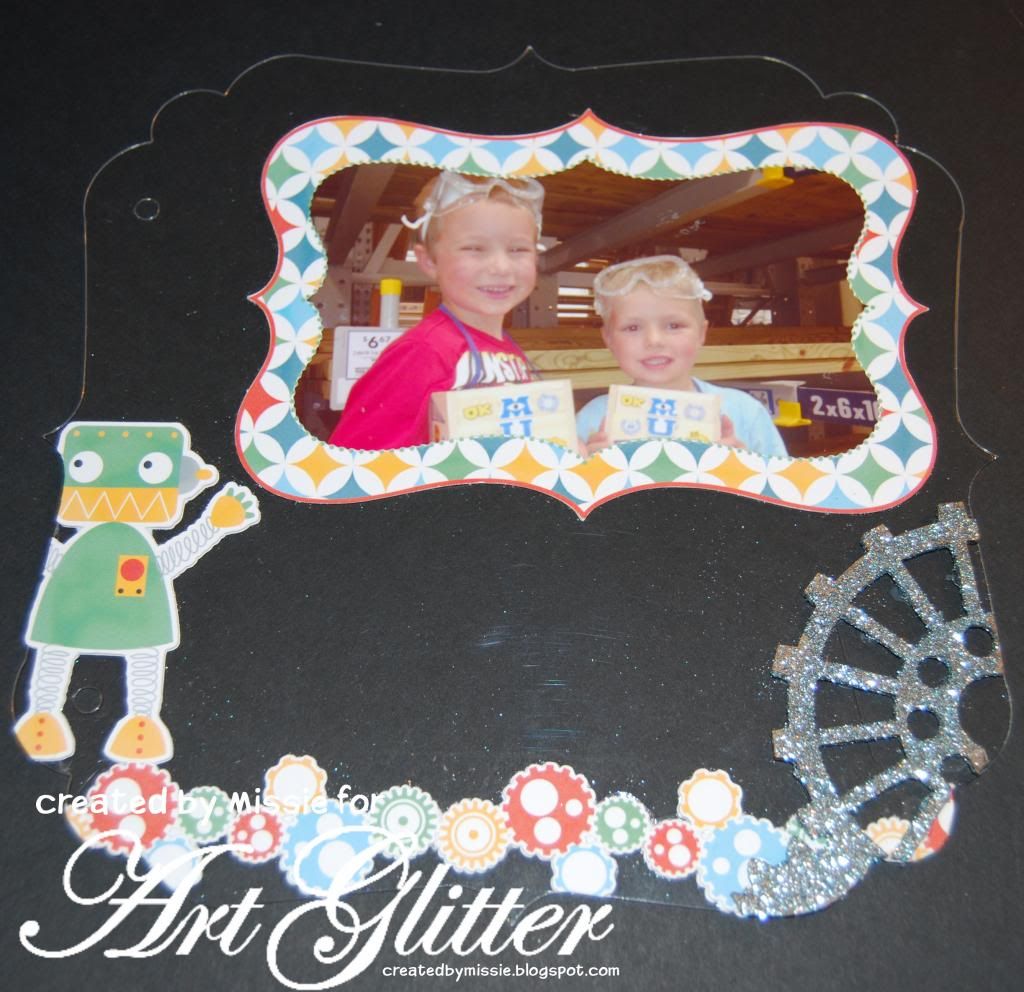
Page three- On this page a photo mat was added. Again the same was added on the back of this page so that another photo can be placed on the back of the page.
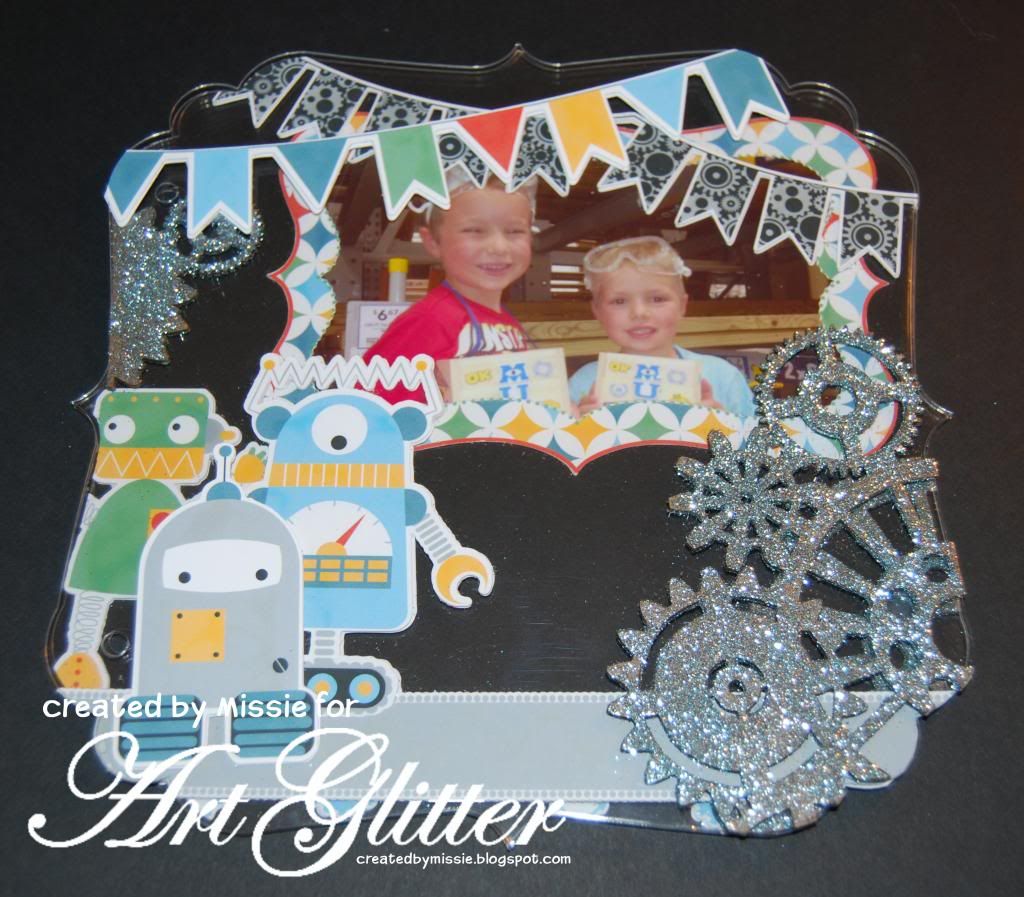
Pages 1-3 stacked together.
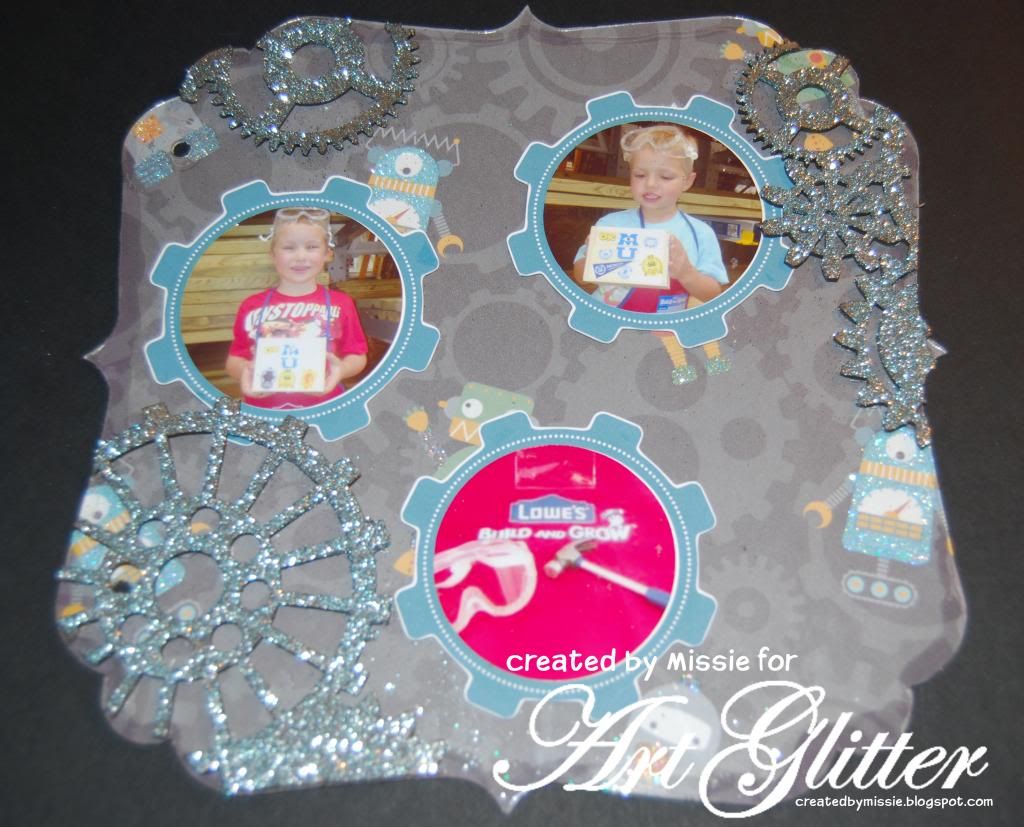
On the last pages of the album, small gears were placed with circular photos and additional glittered gears. Pattern paper was cut to the size of the acrylic album using an exacto knife and applied to the back of the album using designer dries clear adhesive.
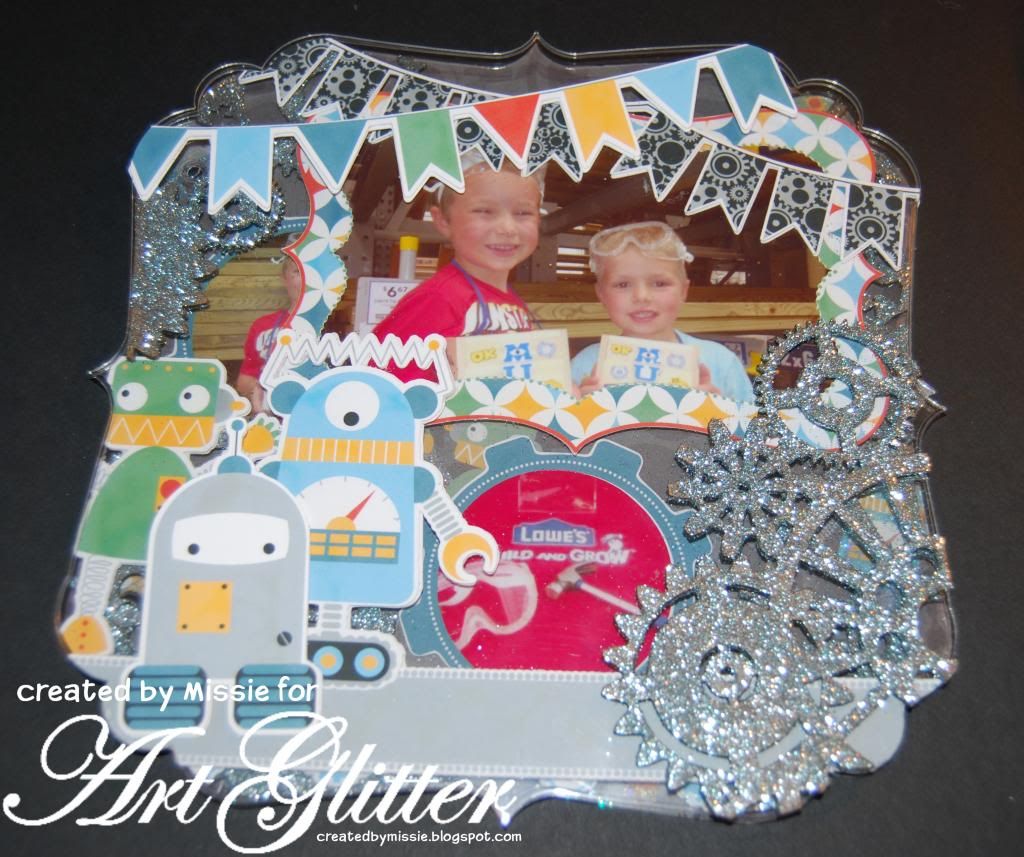
The completed album stacked together.
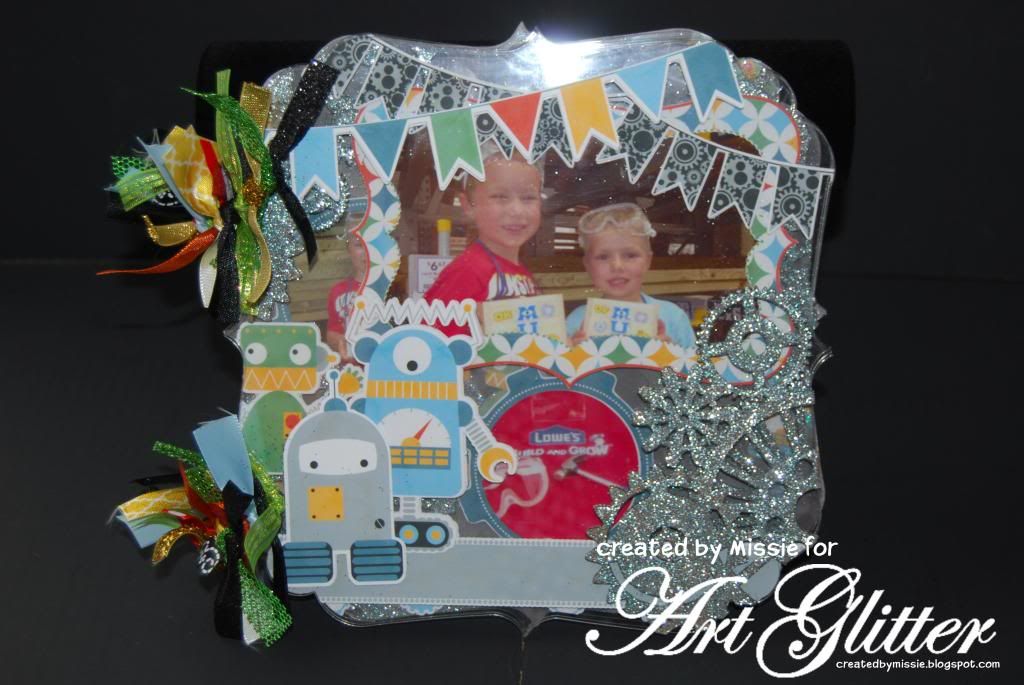
Binder rings were added to the album for binding and coordinating ribbons were added for additional embellishments.
Love these projects and want to some Art Glitter for your own projects? During the month of August 2013 save 20% on orders of $25 or more using the promo code W2S20 at artglitter.com
Missie Todd
createdbymissie.blogspot.com

This looks amazing and I know the pictures just don't do it justice!
ReplyDeleteThis is adorable Missie!!
ReplyDeleteLove those sparkly gears, what a fun project.
ReplyDeleteAllie Gower
Want2Scrap
I have never worked with a clear album so it was nice to see how you overlayed the pages so everything showed through. Love those glittery gears!
ReplyDelete