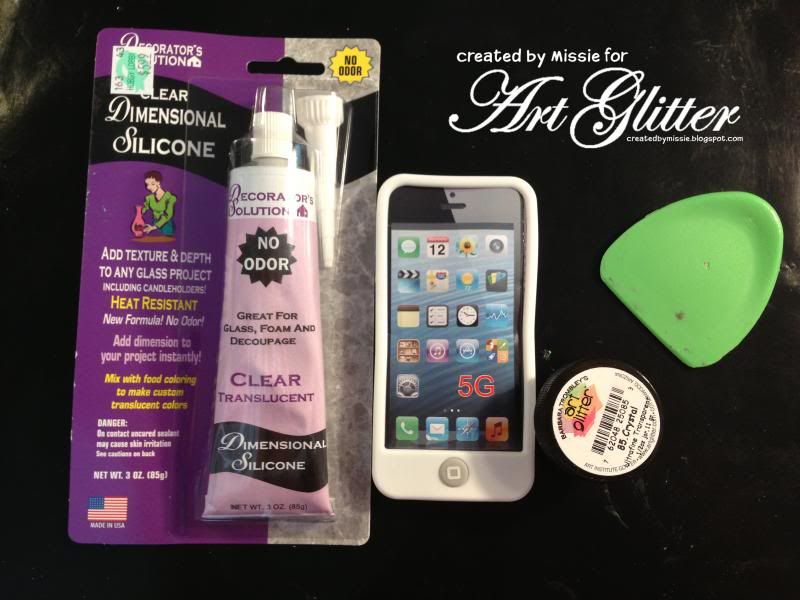
Supply List:
Silicone phone case
Silicone adhesive
Art Glitter #85 Crystal Glitter
Art Glitter #319 Princess Glitter
Art Glitter #507 Black wing
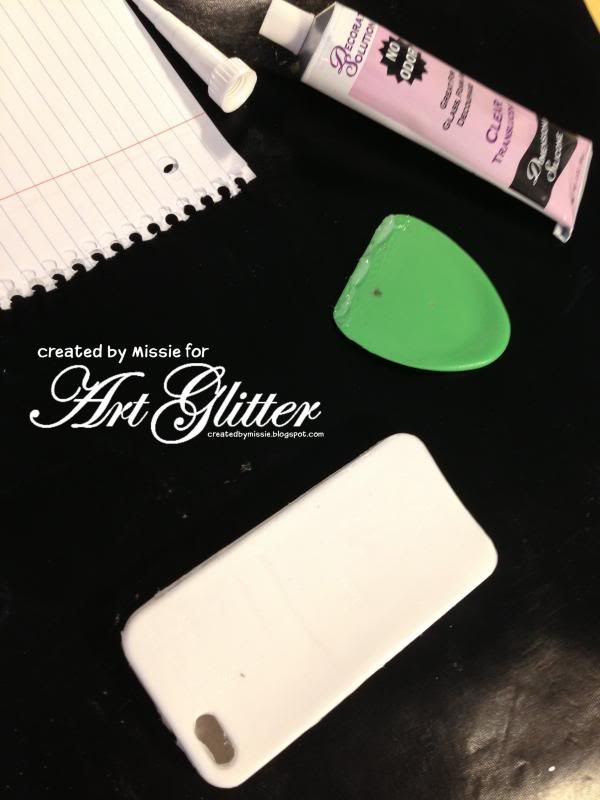
Hard plastic scraper or squeegee for adhesive application
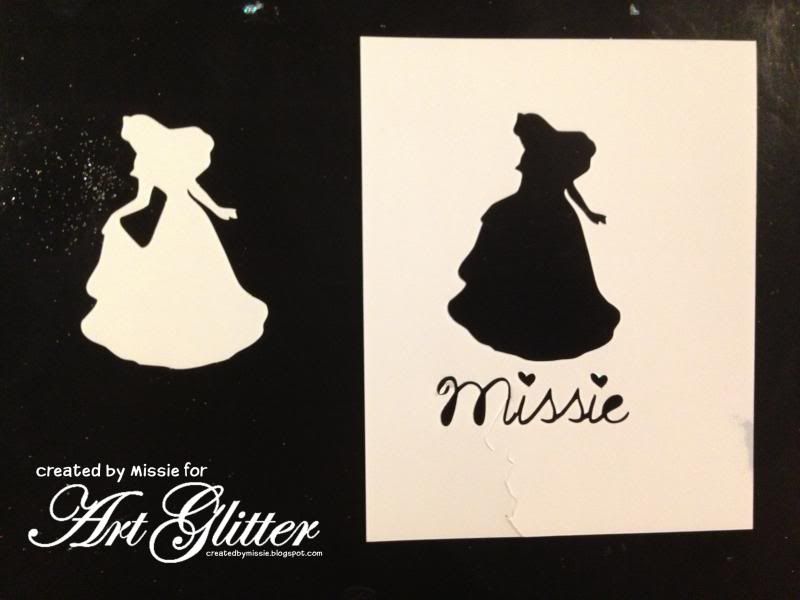
Stencil for the design- I created my own.
Begin by gathering your supplies. I was able to purchase the Silicone adhesive at a local craft store. The phone case was purchased online for about $2.
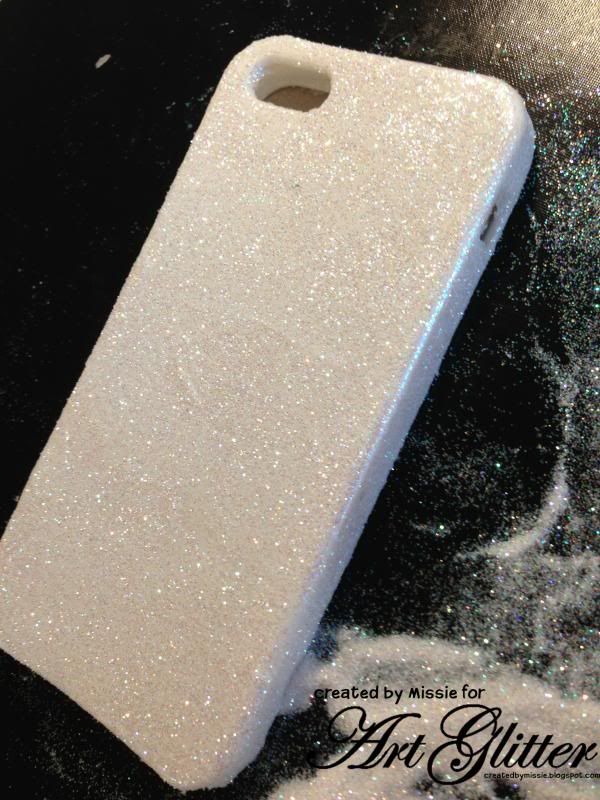
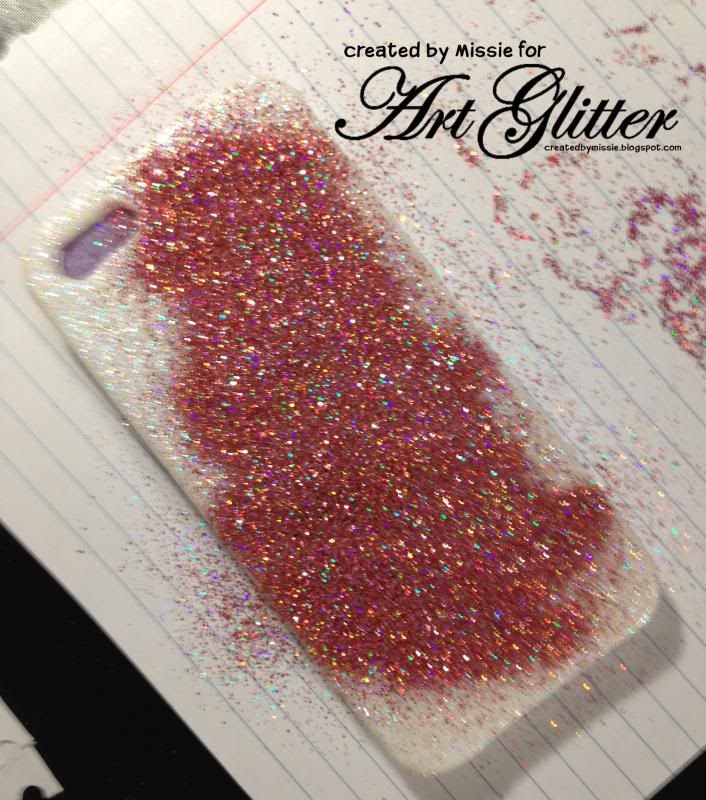
Use a scrapper to apply a very thin layer of silicone adhesive to the phone case. While the adhesive is still wet cover with
ART GLITTER CRYSTAL GLITTER.
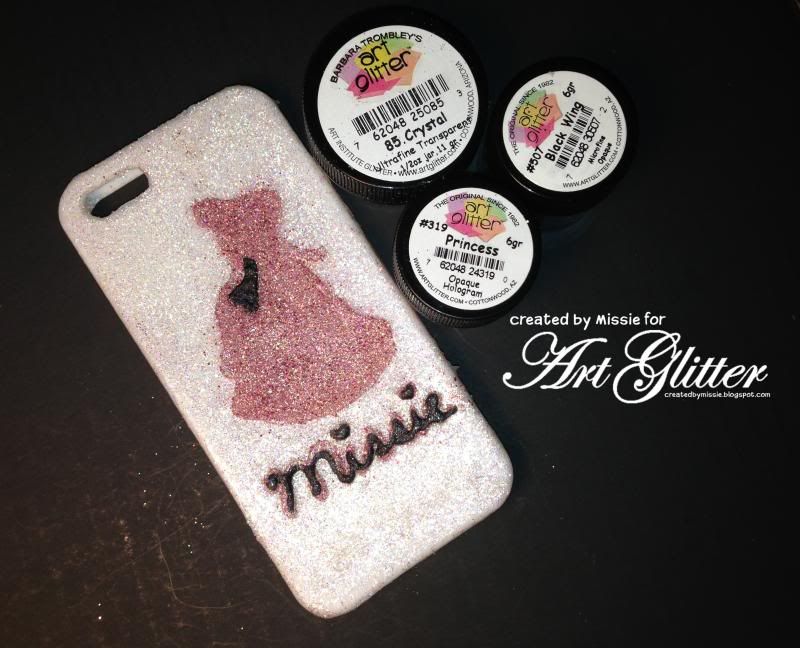
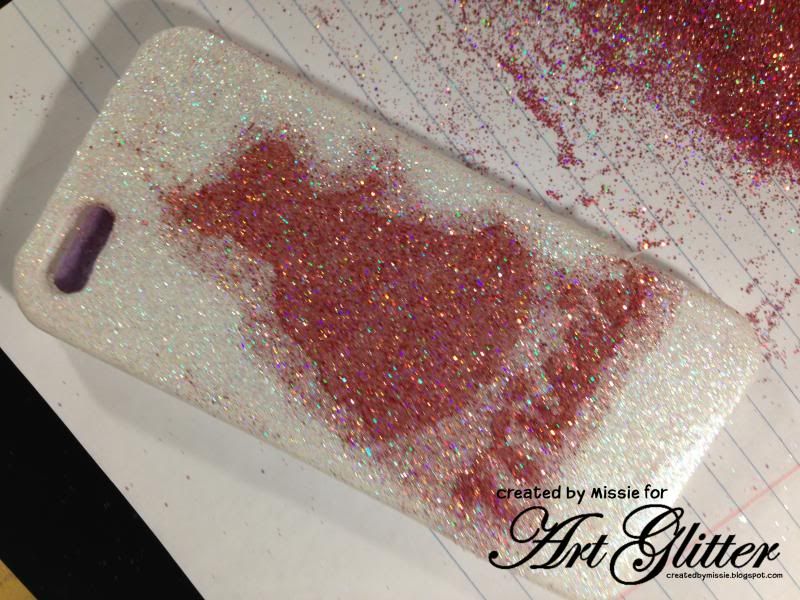
Of course you could stop here, but I really wanted to add a simple design to the cover. For those of you who follow my personal blog, you know that I have a Disney obsession and am planning a trip there later this month. So, I decided to use a princess silhouette for my phone case.
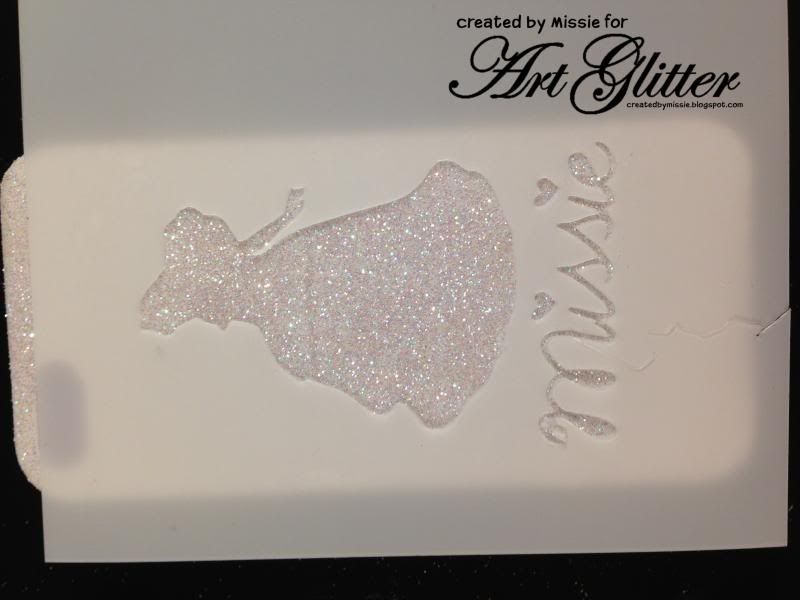
Using a die cut machine I created this stencil of a princess. If you are planning to make something similar be sure to keep the inside design as it will be used a little later.
Place the stencil on the phone case and use the scrapper to fill in the negative space with silicone adhesive.
Add ART GLITTER PRINCESS glitter to the case.
Allow to dry overnight before moving on. When it is completely dry use a stiff paint brush to remove any excess glitter.
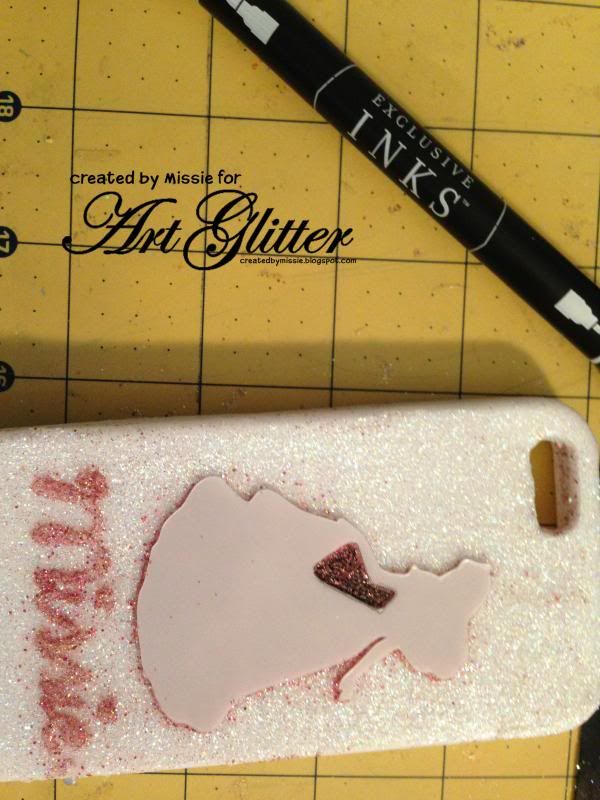
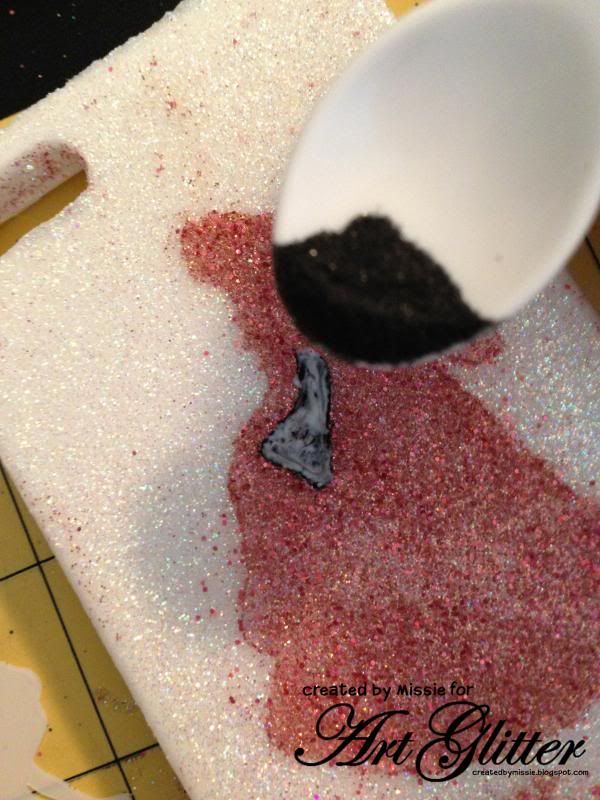
When the pink layer is dry, use the inside cut from the princess and a black marker to draw in the blackout areas. Then use adhesive and black glitter to add dimension to the silhouette. I also added more adhesive over the letters in my name to create a more bold look - leaving the pink in place as a shadow effect.
Thanks for stopping by to see my creations.
Missie Todd
createdbymissie.blogspot.com


Beautiful as always.
ReplyDeleteVery very cool idea
ReplyDeleteI like the idea of creating a glitter phone
ReplyDelete