Showing posts with label elements earth textures. Show all posts

Saturday, September 14, 2013

Wise Owl


Supplies
Art Glitter 343 Chestnut Ultrafine Opaque Glitter
Art Glitter 110 Taupe Ultrafine Opaque Glitter
Art Glitter 56 Pumpkin Ultrafine Opaque Glitter
Art Glitter 92 Bananan Ultrafine Tranparent Glitter
Art Glitter 280 Lime Rind Ultrafine Opaque Glitter
Art Glitter 79 Black Ultrafine Opaque Glitter
Art Glitter 85 Crystal ULltrafine Transparent Glitter
Art Glitter 28 Bark Elements (center of flower)
Art Glitter Designer Dries Clear Glue
Dreamweaver Metallic Gold Embossing Paste (leaves)
Dreamweaver LG 616 Leaf Texture Stencil
Dreamweaver LL3014 Owl on Oak Stencil
Dreamweaver Long Oval Cream Window Cards
Dreamweaver Palette Knife
Dreamweaver LM2010 Paste Spreader
Dreamweaver Homemade Hawaiian Soap
Anna Griffin label
Russet Card Stock
Brown Card Stock
Ribbon
Paper Flower


This month Art Glitter is teaming up with Dreamweaver Stencils.  And Clare was so excited to get their stencils and embossing paste in the mail! Clare was sent an owl stencil and fall leaves that I thought would be fabulous for a birthday card.   Art Gllitter is offering 20% off retail for $25 purchase is good with the code DW20 at their online store.  
Clare used the Dreamweaver stencils first as she knew they would need to dry overnight.  This was Clare's first experience with embossing gel and she watched video by Kristi Parker Van Doren on Youtube here.  Before you get started spreading the embossing paste, be sure to tape one side of the stencil to your card stock or project using removable tape.  Note how Kristi angles the spreader before dragging the spreader?  Clare used the Dreamweaver Leaf Texture Stencil with Metallic Gold Embossing Paste and the same tools Kristi did:  palette knife and spreader.   Once you have removed excess embossing paste, carefully lift the stencil, leaving the tape as a hinge.  Then remove the tape and stencil.  By pivoting the stencil along the tape hinge, you are less likely to smudge your paste.  Clare made two embossed fall leaves rectangles to cover the Dreamweaver card front, and allowed this to dry overnight and then cut it to card.  To cover the seam where the two pieces joined, Clare added a ribbon.
For the flower, Clare used a paper flower with Art Glitter's Designer Dries Clear glue and the fabulous Elements called bark.  Clare loves these Elements of the rough and tumble, outdoor and masculine projects!
For the inside owl motif.  Clare used the Dreamweaver Owl stencil and the great fall colors from Art Glitter!  She got instructions on how to do this using another Youtube video by Wendy Jordan here.  If you don't have the Dreamweaver soap you can use Burt's Bees soap.  Notice you don't have to tape this down!  In fact if you do the double sided sticky paper won't pick up the glitter.  Clare actually covered up small sections of the owl stencil with stencil tape to keep areas within the stencil in one color only.  For example, the beak is yellow only, so Clare covered up everything but the leave beak and talons and then applied the Art Glitter Bananan glitter with a fine art paint brush.  Be sure to clean off the top of the stencil like the video shows with a Swiffer cloth or duster and clean off your hands before you remove the stencil as well!
Wondering where to get Dreamweaver Stencils and embossing pastes?  You can find a list of stores that carry them here or get them online from stencilswithstyle.com.

To see more of Clare Dempsey's work you can visit her blog at:  http://www.cricutcraftyclare.blogspot.com/

Thursday, August 29, 2013

Scrapbook Boot With Art Glitter and Want 2 Scrap

Order from Art Glitter the entire month of August  in the amount of $25 or over, use the code W2S20, and you will receive 20% off your order total!
And remember, Art Glitter is MADE IN THE USA!!!
 

If you don't have enough time to scrapbook all your children's memories, consider scrap booking important events in a mini album!  Above you can see a mini album Clare Dempsey created with Art Glitter and Want2 Scrap to help her boys remember Vacation Bible School (VBS).  Want2Scrap has great mini albums to choose from for those important events and Art Glitter has all you need to make your finishing touches sparkle and shine!   

Front and Back Cover (see photo above)


Here are some ideas for making magical mini albums:
1)  Focus on the Highlights of the event.
For Clare's children, the highlights were Music, Snack, and Crafts!  For music, Clare allowed two pages and made box for the music CD (see photos above).  She used a free SVG from Penny Duncan Designs to cut her CD box.  She also allowed two pages for crafts and snacks (see photos below).

While Bible Verses weren't Clare's boys highlights, Clare felt it was important to recall these as part of VBS memories.  So she gave them two pages as well.  

2)  Use a paper collection to help support the event theme and unify your album design and color scheme.  Here Clare used Close to My Heart's Giddy Up paper pack for the album and supplemented it with Authentic's Pride paper line and some neutrals.
3)  Add some sparkle with Art Glitter to set your embellishments and finished project apart!  Clare loved using the Art Glitter Earth Elements on this project!  Just the right amount of sparkle and richness.  She describes it as being more rich than glittered flocking!  Pictures just don't do it justice and the smell of cacao is fabulous!  To glitter the edges of a folded rosette, be sure to fold and glue the rosette in place before adding glitter.  If you add them before folding, it won't fold well.  
4)  Plan ahead-before the event plan what photos you want.  You can even purchase a mini album, paper, embellishments and glitter ahead of time.  If you are scrap booking VBS, go on Friday and you can get a summary of each of the day's bible verses on one day.  Volunteer and you won't miss a thing!  
5)  Maximize Space-Use journaling labels and stamps to fill the white space in the mini and document those special memories!  Clare also added a title tag, and put a quote and journaling tag on the back side to maximize space.

Supplies

Close To My Heart Giddy Up Paper Pack
Close To My Heart Giddy Up Sticker Pack
Stickerpotomus Denim Alphabet
Miss Elizabeth Leather Alphabet
Cricut Old West Cartridge (Blue Glittered Bible Verses)
Cricut George Basic Shapes Cartridge (Star)
Spellbinders scalloped rectangle dies
Tim Holtz Rosette die
Cloud 9 Designs Simple Thoughts Boys Stamp Set (Memory Quote)
Fiskars Lil' Davis Designs Sentiments (Journaling block & circles)
K & Company Blue Awning Journal Pad label
K & Company Brenda Walton Peppermint Twist Paper (red and white gingham paper)
Sequins Michaels
Ribbon
Brads
Denim scraps
Metal Concho JoAnn Fabrics
Twine
Assorted Card Stock
CTMH Ink
Timeless Twine
Basic Grey Alphabet Stickers (1-5 on Bible Verses pg)


Thursday, August 1, 2013

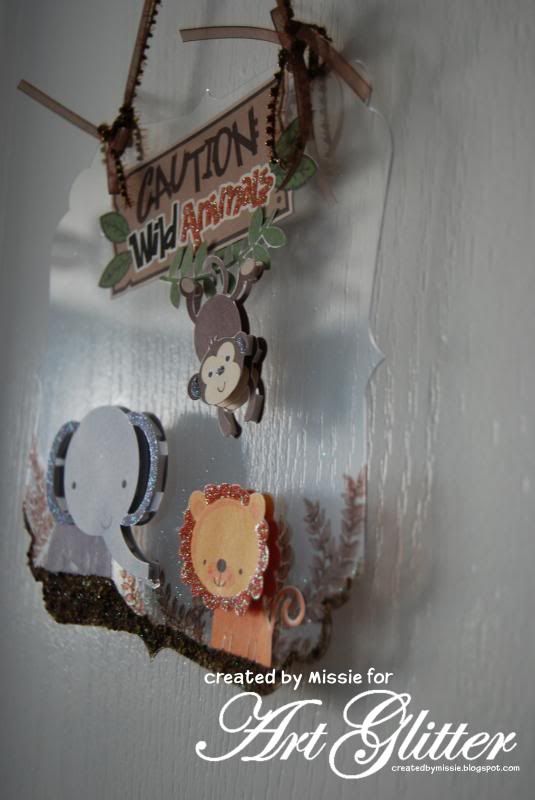
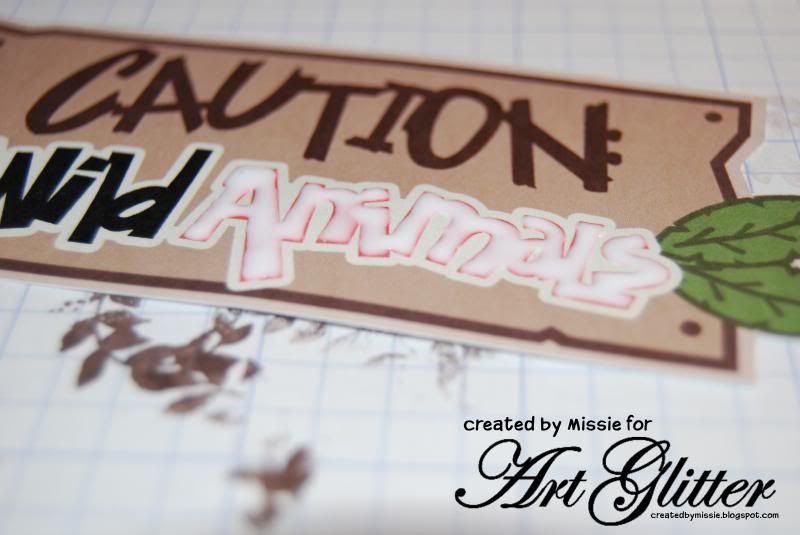
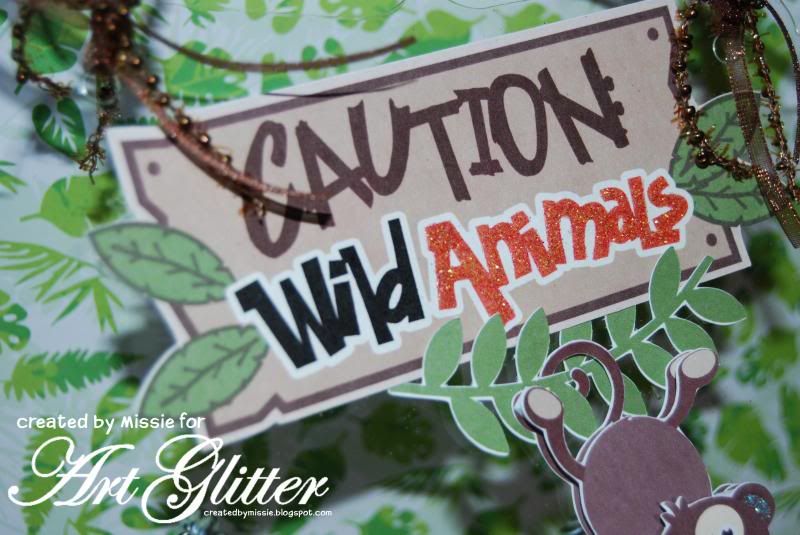
Caution Wild Animals


Order from Art Glitter the entire month of August  in the amount of $25 or over, use the code W2S20, and you will receive 20% off your order total!
And remember, Art Glitter is MADE IN THE USA!!!


Supplies:
Art Glitter #85 Crystal
Art glitter #274 Honey Peach
Art Glitter Elements Earth Textures Cobblestone
Art Glitter Dries Clear Adhesive
Want2Scrap acrylic Album
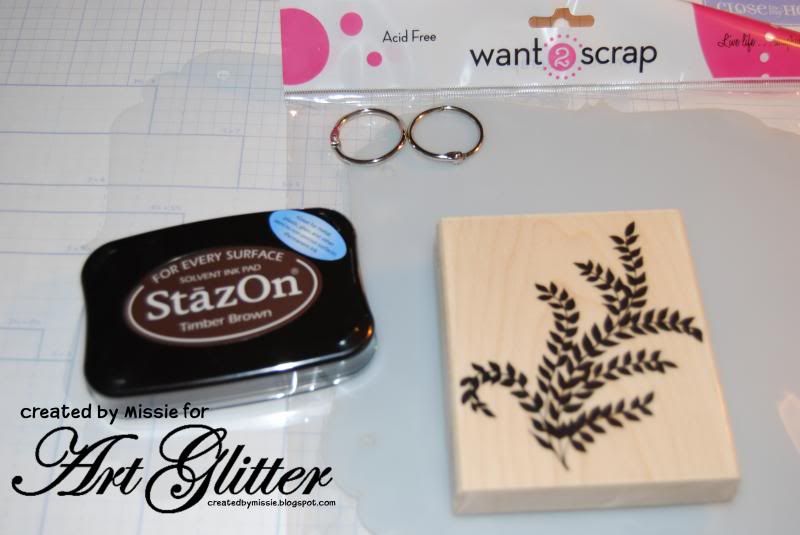
Penny Black Verdant Stamp
assorted ribbon
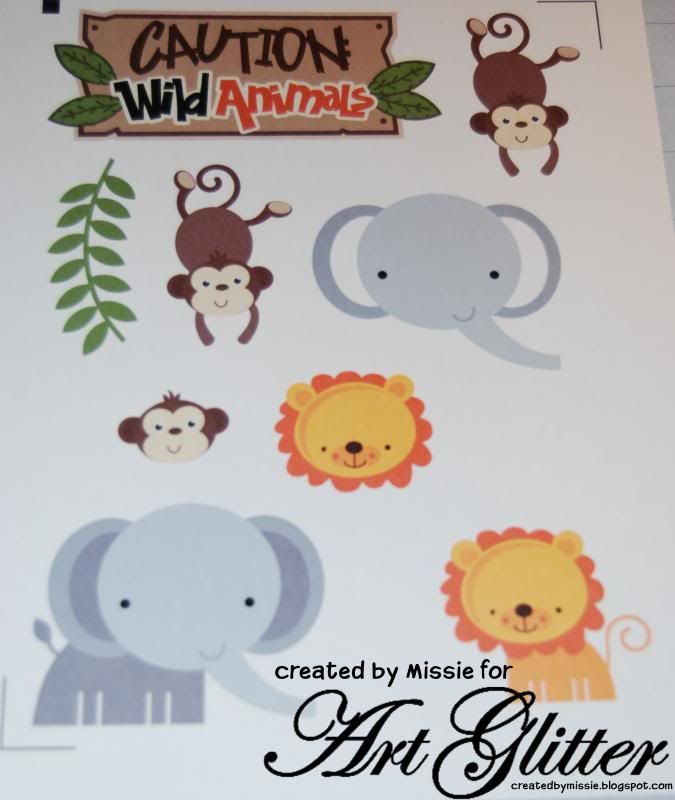
pintable images for the animals and title (these are from misskatecuttables.com)


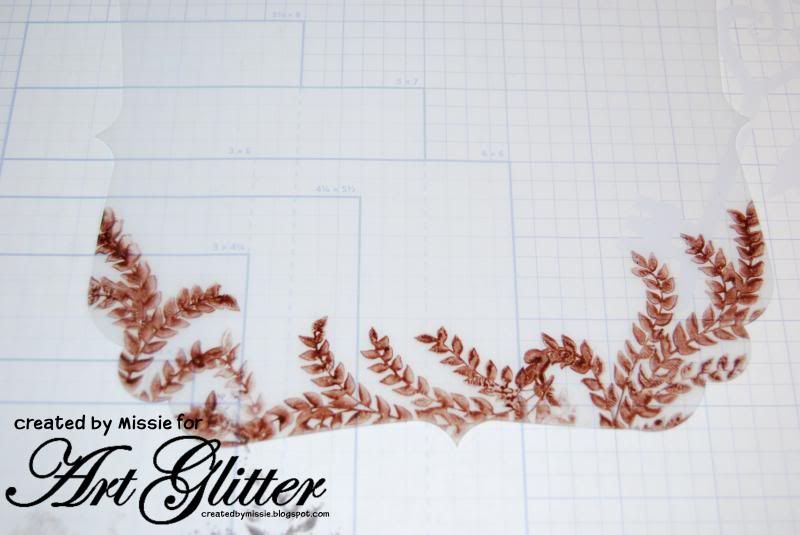
Begin by stamping with the Penny Black Verdant Stamp and StazOn ink onto one page from the Want2scrap acrylic album.  Be sure to remove the translucent film from the acrylic before stamping.
 
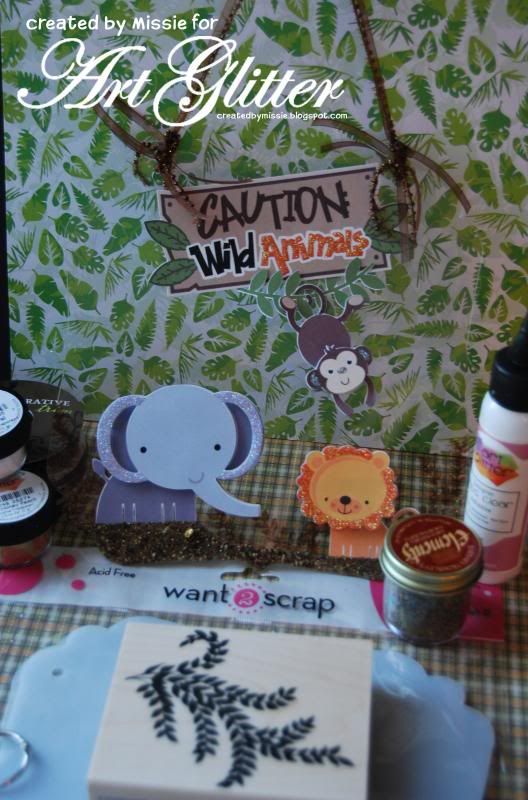
Then print out the graphics you would like to use.  For this project Missie selected animal graphics from the internet.  You can use diecuts, printable images (hand cut), print and cut images, or whatever strikes your fancy. 
 

As you can see from the image above, some of the images have been printed multiple times to allow for layering.

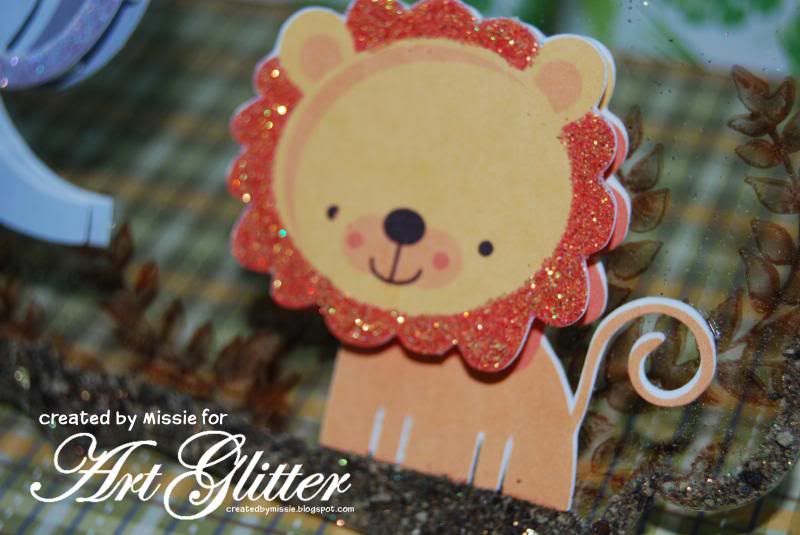
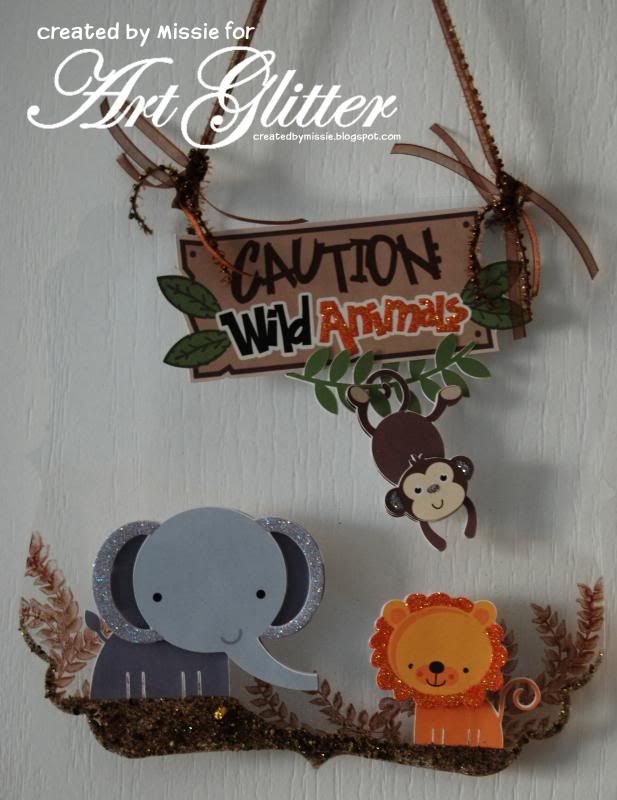
Once the graphics have been cut out, begin the process of adding glitter.  For this project accent glitter was used by filling in some layers on the animals and on the word animals in the title. 


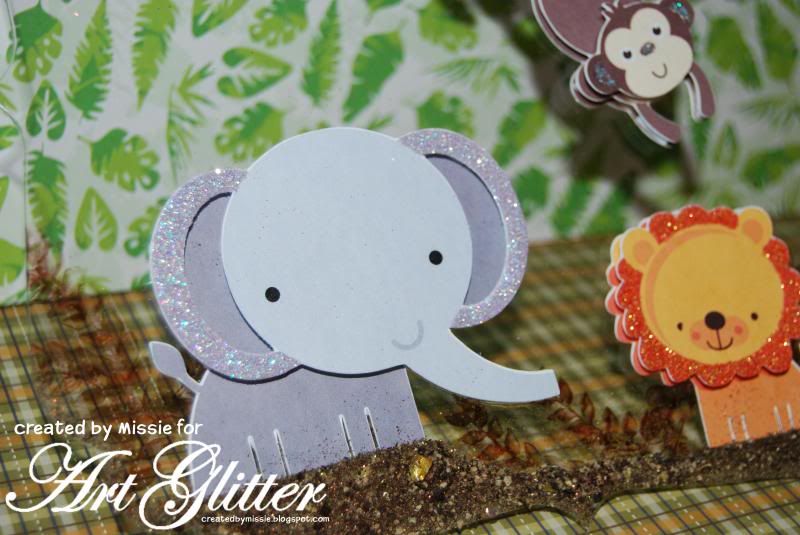
Once glitter has been complete simply layer and attache your graphics to the acrylic album- remember the album will be completely clear when you peel off the cover sheet.


After the elephant and lion were adhered to the acrylic, add Earth Elements Cobblestone glitter to the bottom to "ground" the animals.  The finishing touch of course is to add a bit of ribbon to the acrylic to allow for hanging. 


Thanks for stopping by to see my creations.
Missie Todd
createdbymissie.blogspot.com


Sunday, June 2, 2013

Altered Toilet Paper Roll Mini Album

 
AND
Remember, for the entire month of June any order you place at http://artglitter.com/ of $25 or more you can use the coupon code of AQ20 for a 20% discount! You can also be entered in a prize drawing at the end of the month by commenting on this blog all month long! One comment per person per post!

Altered Mini Album


 After making sure your rolls are flattened pick and cut out the paper you want to use for your base layer and ink the edges.  You can put them together with a ring now so you have the placement, then take them apart to decorate. You want to make sure and not cover the punched out holes.


Next choose your Enhancement Cuts and decide which ones you would like to use. Embellish your book with any of the sayings and pictures then go to town sparkling it up with Art Glitter!
 
Finally put booklet together and add ribbon.


I also added little tags that I spruced up with Art Glitter
 

I love how this turned out. Love working with these GREAT summer colors.  My girls are fighting over who gets to keep this Simple Pleasures booklet.


My Blog: http://zippity-do-dah-tabitha.blogspot.com/
 

Saturday, December 24, 2011

Fantasy Butterfly Pendants by Emily M. Miller

Happy Holidays to all! I just wanted to share with you these pendants I made. It is a small variation of some 4" Fantasy Film butterflies I did a couple of years ago.


These guys are all about 1.5" wide. Above and below are pin versions.

When you make jewelry with Fantasy Film you have to keep in mind that it will be a very light piece. So I added some beads and findings to the bottoms. Actually, some of them are recycled earrings that I don't wear anymore. They worked perfect for this project.


Some have a little bit of Fantasy Fiber in between the Film, like the first one above, this necklace below is just Film. The Fiber gave the butterfly a great texture.


You can't tell by the photos, but I made these pretty thick, at least 5-6 layers of Film. And I ironed them a bit too long. The ink became embossed almost and the colors are just fantastic!


After stamping I mold them over a candle flame just a touch for a little bit of lift. Take a look at my poor old blog (I have neglected it!) for a tutorial on the 4" butterflies. BlogbyEmm.com That will give you a good idea of how I created these.


This one above has fiber in it, can you see the texture difference? I'm very happy with the way they turned out. I'm giving several out at Christmas.


I'm making a class out of this project too, planning on it in February. See more of our classes HERE.


Have a wonderful Holiday Weekend! More fun to come soon!!!

Wednesday, December 14, 2011

Freehand Glittered Holiday Cards by Barbara Trombley

What could be easier than a few swishes of the glue bottle, a dash of glitter and voila a beautifully handcrafted holiday card!


Barbara’s Designer Dries Clear adhesive with the Ultrafine Metal Tip attached coupled with her exquisite glitter make her smooth, flowing designs simply divine!

Did you know this is exactly how Barbara got started? By making homemade Christmas cards for friends and family she developed a handmade greeting card business that grew into her glitter manufacturing business of today.

She started out with cheep white glue and that big metallic glitter of old. Soon it was apparent how popular her ideas were and she needed quality materials. Hence the industrial strength Designer Dries Clear adhesive designed by a calligrapher, (Barbara) it is forever flexible and will hold glitter for over 30 years. At least that is how long it has been around, I’m sure it will last longer!


Here’s Barbara sharing her talents with a class of glitter enthusiasts, learning how to freehand holiday designs on cards.


They did a great job!


Barbara’s products have grown so much from just glitter to the organic pleasures of Elements Earth Textures shown in the wreath above. Faux Snow, Glass Beads, Vintage Glass Glitter and even Dazzlers, all favorites for the holiday season!


Speaking of Glitter for the Season…make sure you take advantage of our 25% off all Art Glitter products sale, it will be over soon! We also have free shipping though the month of December. So Get Your Glitter On Now!!!

Visit our SALE page for more details!