


ARE TEAMING UP THE ENTIRE MONTH OF JUNE TO BRING YOU AN AMAZING CREATIVE COLLABORATION MIXING DREAMWEAVER STENCILS AND ART GLITTER. COME ALONG FOR THE RIDE...WE PROMISE IT WILL BE A SPARKLING ONE!
Visit the Art Glitter blog and the Dream It Up! blog for fabulous inspiration from both talented design teams. We are encouraging all of you to play along with the challenge of creating with Dreamweaver Stencils and Art Glitter*, preferably using the Double-Glitter Technique. Just link your creation to the Mr. Linky on the Dream It Up! blog, or email pics to lynell@dreamweaverstencils.com, for an opportunity to win one of four fabulous glitter and stencil prize packages. One winner will be chosen each week. (US and Canada only, please).


*For the month of June Art Glitter is selling 1 oz jars of glitter for $5.98 (regular price $7.32)! Get the deets HERE!
The first thing I did was watch the Youtube video on double glittering. I suggest you watch it, too. It gives some great pointers!
I then decided what I was going to use to make these layered art cards. You could use photocopies of vintage postcards, pictures of your kids, old family photos etc. I decided to use some digitally manipulated vintage postcard art that I already had (and I sell them, too, for 70 cents each!) featuring vintage pictures of turn of the century British actresses, which I even did a little research on.
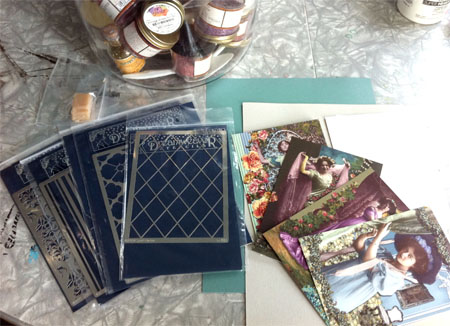
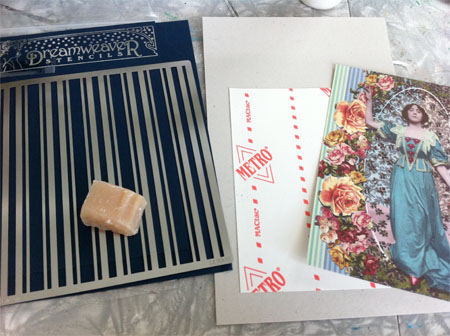
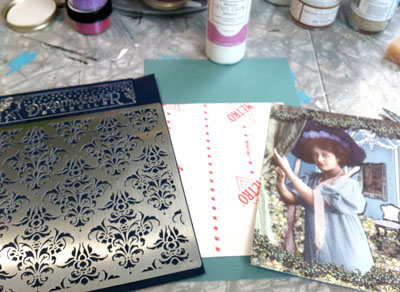
What you'll need:
- Dreamweavers Stencils
- A bit of soap (all natural is best... you'll need something soft. They explain this in the Youtube video!).
- 8 1/2" x 11" colored cardstock paper.
- Sticky paper... either double sided, as shown in the Youtube video, or you can use single sided sticky paper and glue the non-sticky side down (as I did).
- Some pictures, postcards or other art that you are willing to cut up! I used 2 of each postcard to create layers.
- Lots and lots of Art Institute Glitter!
- Art Institute Designer Dries Clear Glue
- Scissors
- Any other embellishments you might want to use. I used some tulle netting, for example.
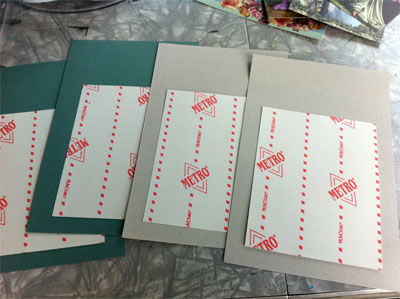
I started by cutting my 8 1/2" x 11" pieces of cardstock in half and then gluing down the non-sticky side of the label sticky paper.
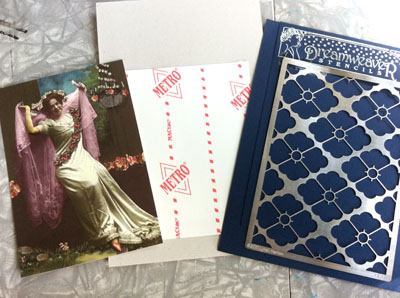
I then figured out which stencil and paper color I was going to use with the first postcard. I went with Dreamweavers Stencil #LX7010 Flower Quatrefoil.
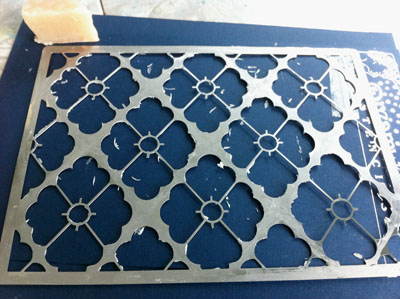
Then, use your little bar of soap to soap the back of the stencil, so it will lift off the sticky paper easily.

Remove the backing on your sticky paper, put your stencil down, soap side down, and start your glittering! I wanted to use a few colors of glitter on this stencil, so I started with Art Glitter #623 Rosebud fine glass glitter.
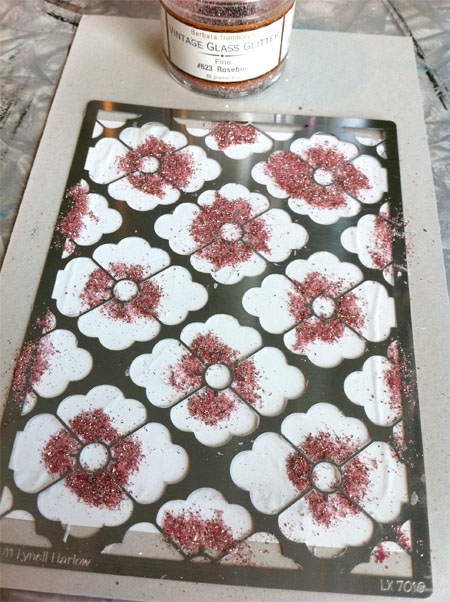
Notice how I just put in the first color in the middle of the flower petals
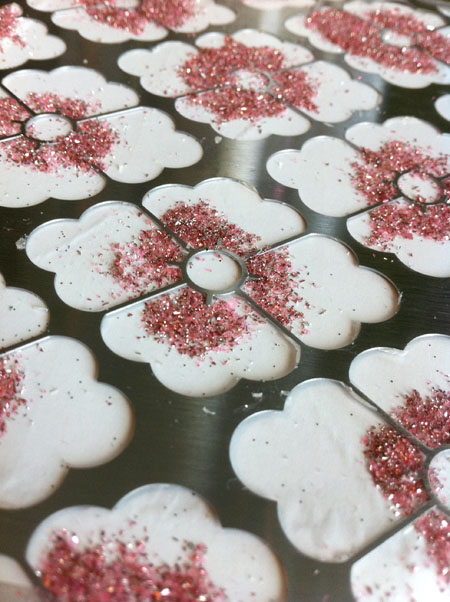
Not too much strategy here, except I avoided the middle circle. I then removed the first color and tapped the back of the card to get the excess glitter off.
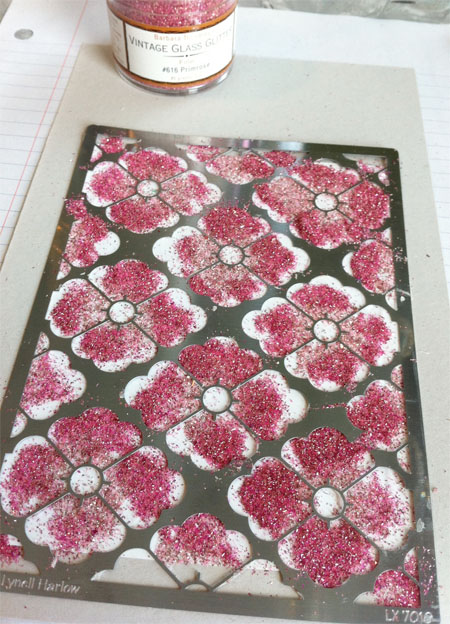
Then I added the next color which is a darker pink than the first, Art Glitter #616 Primrose fine glass glitter. Remember to remove the excess glitter and tap the back.
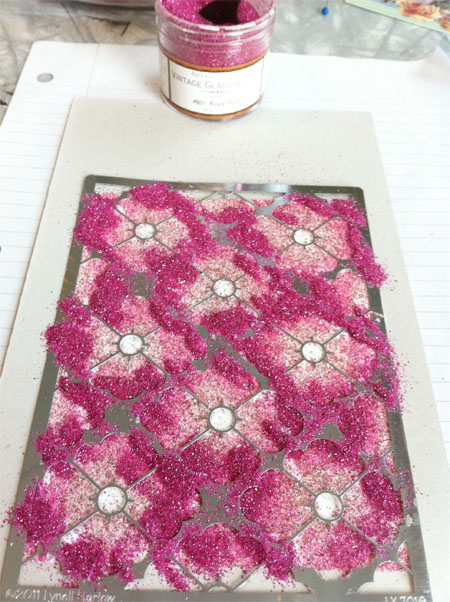
I then added the next color, Art Glitter #601 Royal Rose fine glass glitter. Remember to remove the excess glitter and tap the back.
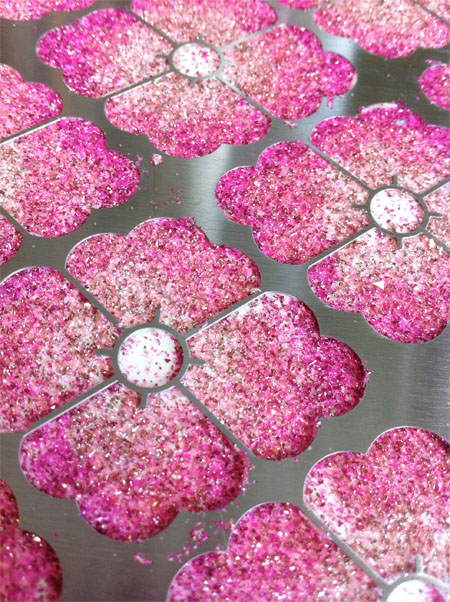
So, here's what it looks like with the 3 pink glitter colors on.
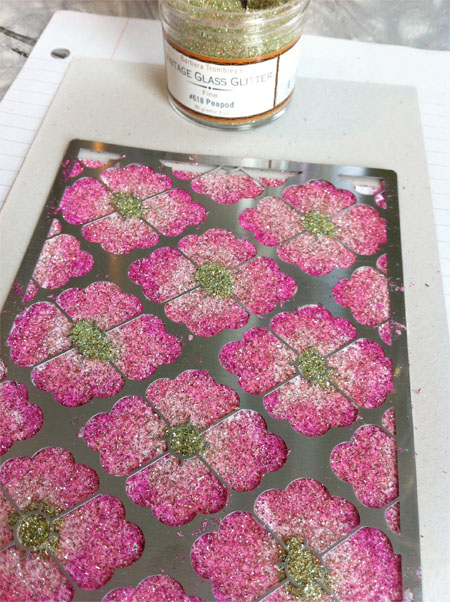
I then added Art Glitter #618 Peapod green fine glass glitter to the centers only. Remember to remove the excess and tap off.
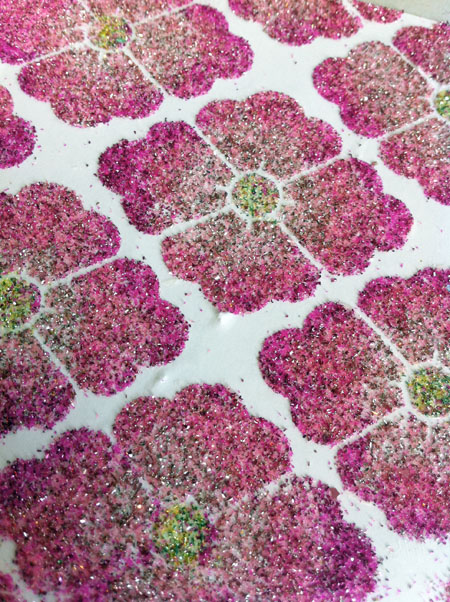
I then carefully removed the paper from the stencil and voila! This is what you have left!
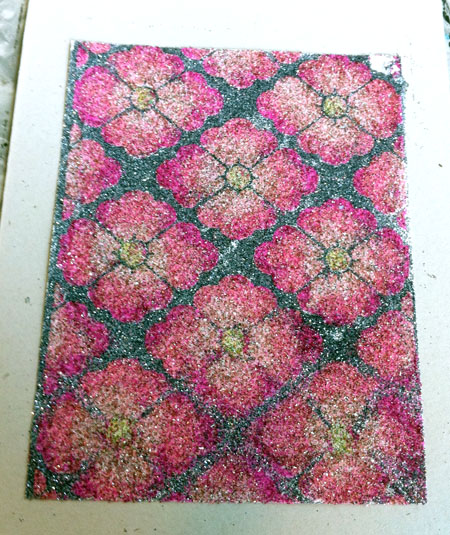
The last color I put on is this #77 Pewter Opaque Ultrafine glitter.
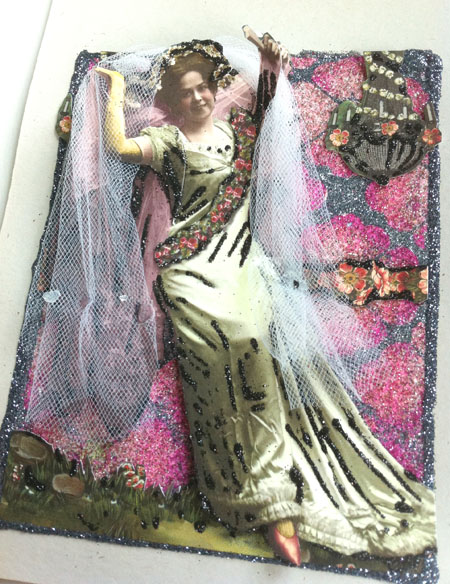
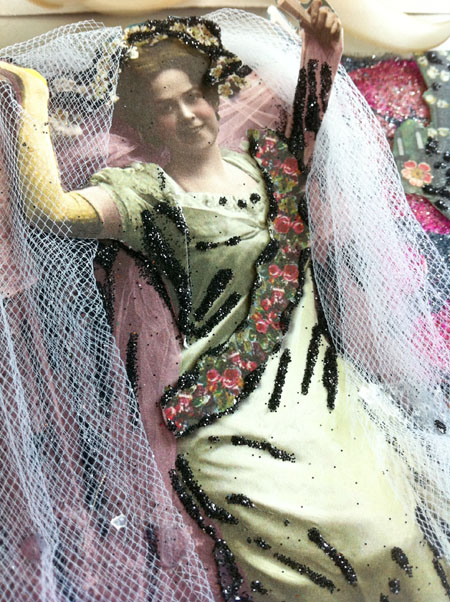
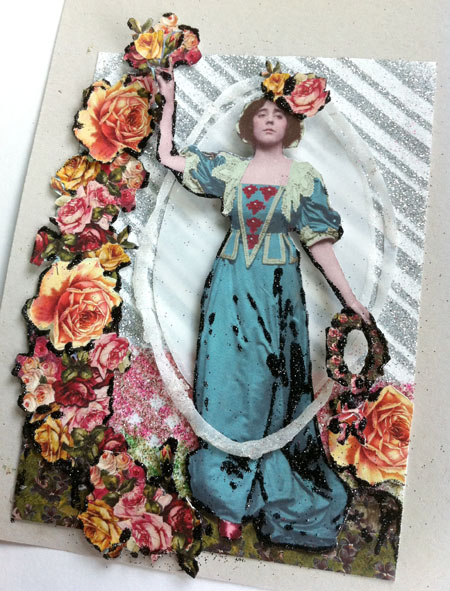
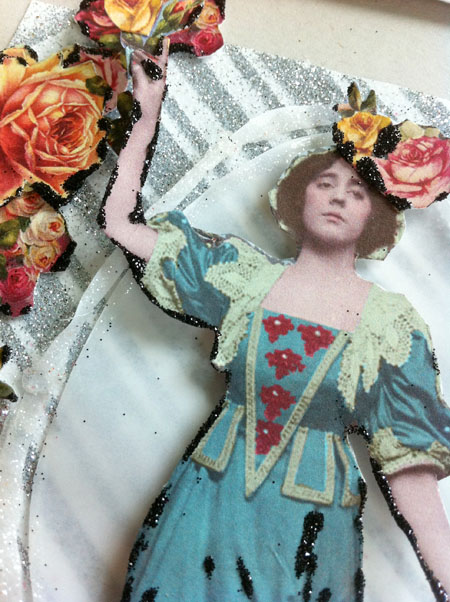
After lots of cutting, gluing, layering and outlining in black glitter... that is what the final piece looked like!
So, moving to card #2, I chose the large stripes "Plaid" Dreamweaver Stencils #LX7002.
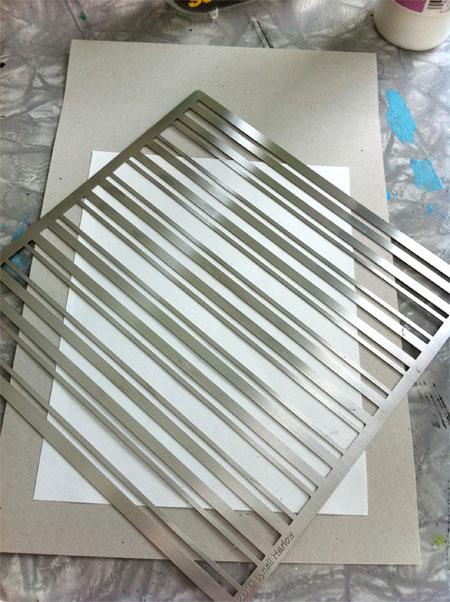
Soap up the back of your stencil, remove the backing of your sticky paper and put your stencil down. I then decided to rotate the stencil sideways, to get a candy stripe. The corners will be covered with other stuff, so I'm not too worried if they are "blank" or not perfect.
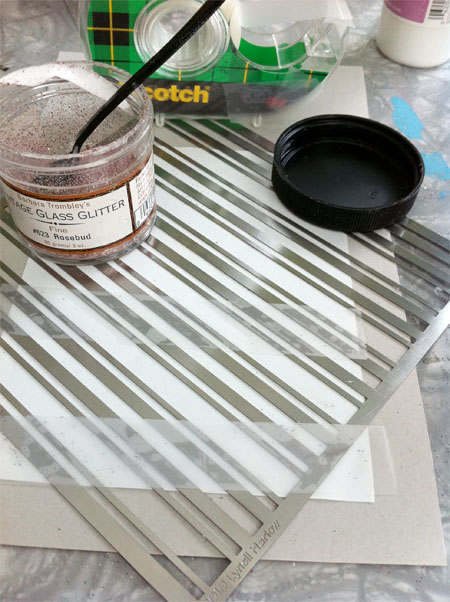
I used scotch tape to section off one part of the stripe that I wanted to be pink. I used Art Glitter #623 Rosebud fine glass glitter.
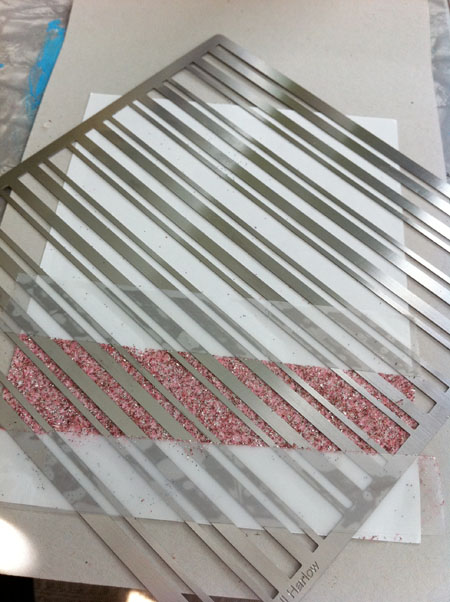
It's not perfect, and that's okay!
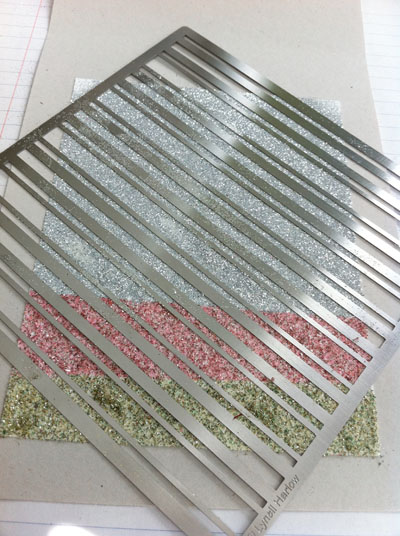
I then added Art Glitter #618 Peapod green fine glass glitter to the bottom stripe and silver glitter to the top stripe.
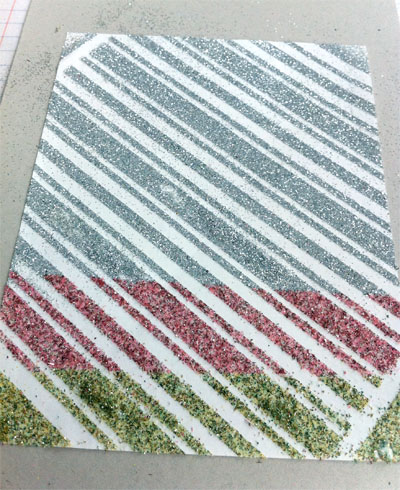
Here's what it looks like when you remove the paper from the stencil!
Here is #2 all finished!
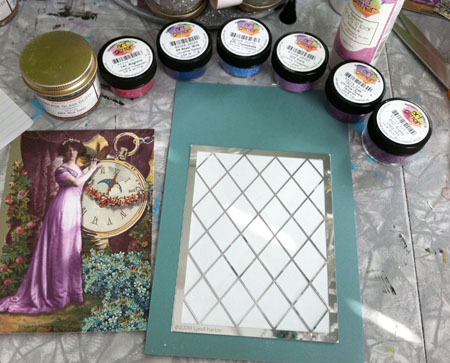
I then went on to postcard #3. I used Dreamweaver Stencils #LJ882 "Diamond Grid" and several different kinds of glitter. I'm going to attempt to make a leaded glass window with a sunset in the background using only glitter. Pretty fancy, huh!
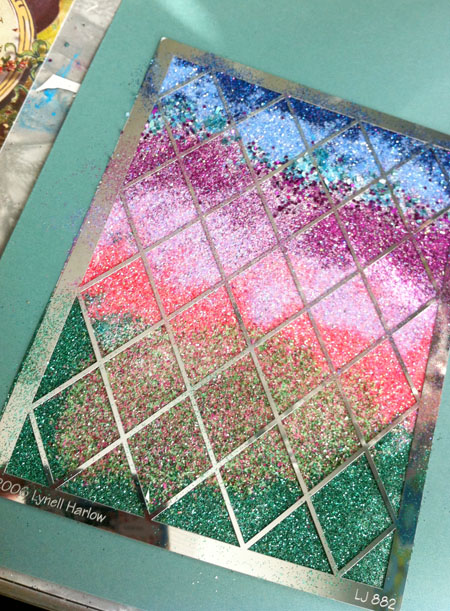
Here are the Art Glitter glitter colors I used, with links, starting from the bottom:
- #46 Summertree Ultrafine Opaque Glitter
- #618 Peapod green fine glass glitter
- #141 Magenta Ultrafine Transparent Glitter
- #322 Paris Ultrafine Transparent Glitter
- #130 Eclipse Ultrafine Opaque Hologram Glitter
- #D10 Gypsy Dazzlers
- #904 Blue Topaz shard glass glitter
- #270 Chesapeake Ultrafine Transparent Glitter
- #24 Royal Wink Ultrafine Opaque Glitter
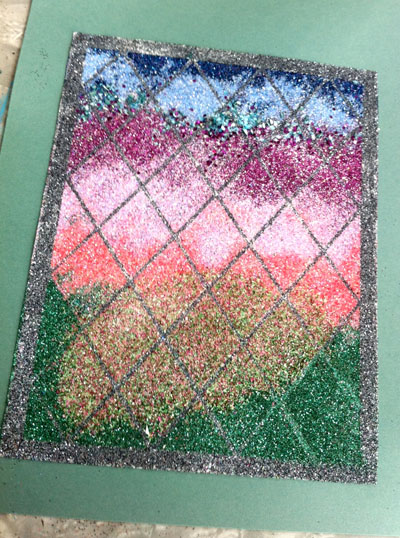
I then removed the paper from the stencil, and added the leaded glass color, #77 Pewter Opaque Ultrafine glitter.
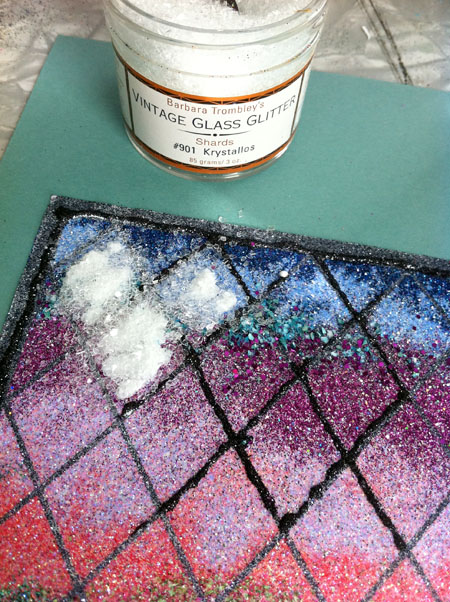
I went over just a few parts of the glass and the border with glue and then added #79 Black Opaque Ultrafine glitter. I also used #901 Krystallos Clear Shard Glass Glitter on 3 of the "panes" to make it look like there is a clear glass reflection in one area. It's all about layering colors!
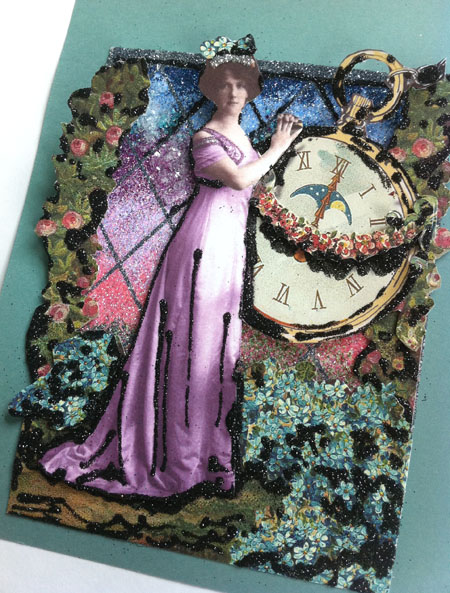
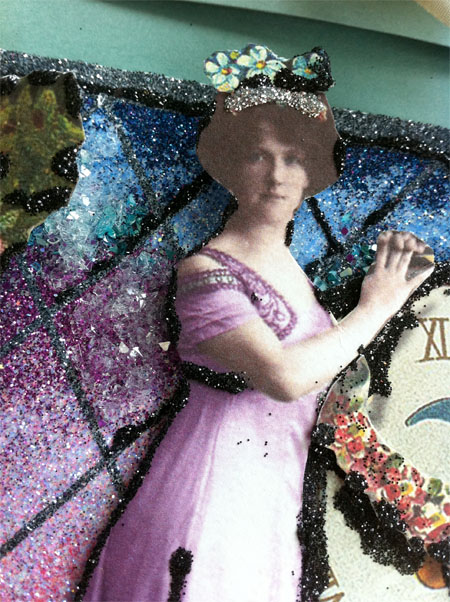
And here is the finished piece!
And finally, I started piece #4. I used Dreamweaver Stencils' #LX7001 Damask.
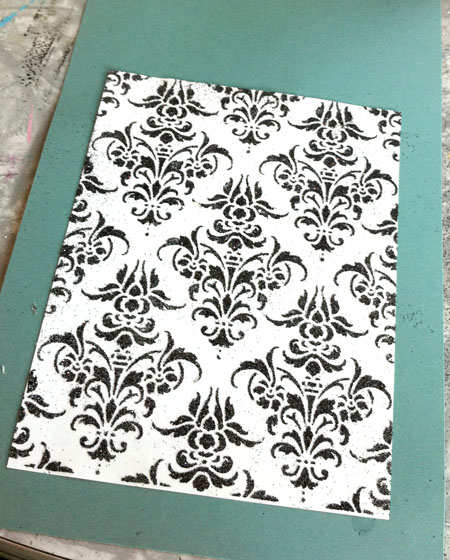
I started with #79 Black Opaque Ultrafine glitter.
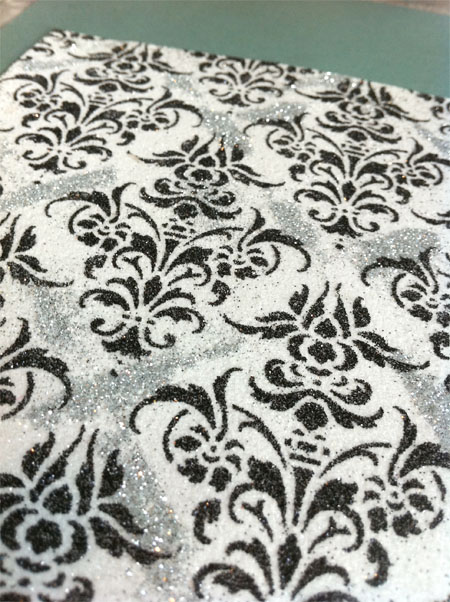
I then spooned in a little silver glitter for some shading, #83 Silver Opaque Ultrafine, tapped that off and put clear glitter #89 Martini Transparent Ultrafine over that.
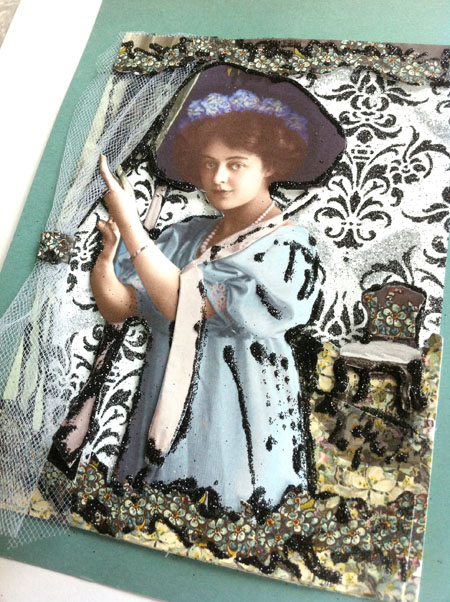
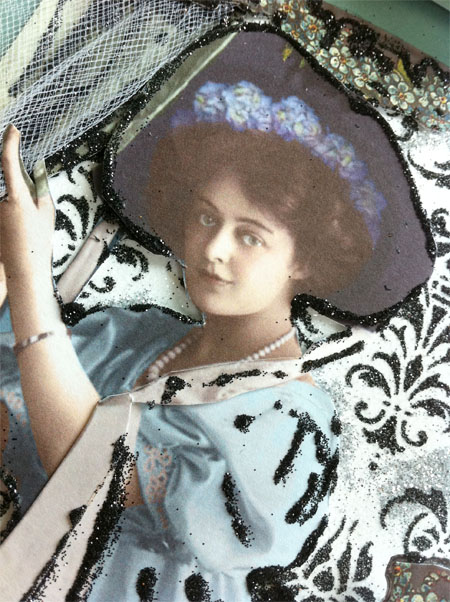
And here is #4 done!
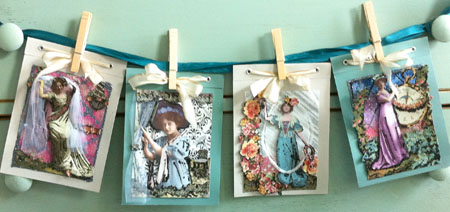

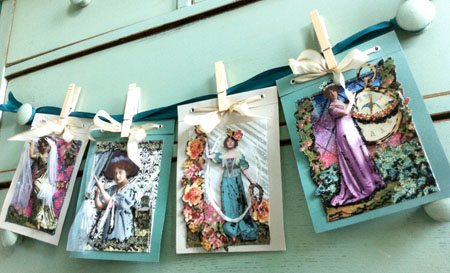
Here are all the finished pieces with grommets and ribbon in them. Ready for gift giving or hanging!
Be sure to check out the other Dreamweaver Stencils' design team designers:
- Pam Hornschu
- Laura Drahozal
- Louise Healy
- Wendy Jordan
- Terrece Siddoway
- Kristi Van Doren
- Georgia Sommers
- Lee Kellogg
- Liz Martin
- Cyndi Bundy
- Cherylynn Moser
- Jessie Hurley
Wow. I have done Double Glitter so many times that I thought I knew it all. I REALLY didn't. Thanks for a new take on it. I love the vintage Glass Glitter on this and the way you layered the clear on one for a reflection. I also had never thought about layering the way you do. Thanks for a new take!
ReplyDeleteThese are very cool! Very different. Great tutorial.
ReplyDeleteWhat a fabulously creative way to use the double glitter technique! Wonderful step outs of the process!
ReplyDeleteWOW!!! These are amazing Carrie! Very vintage, and the glittered backgrounds are wonderful!
ReplyDelete