
Here is my take on painting (GLITTERING) by NUMBERS!
Here's what you'll need:
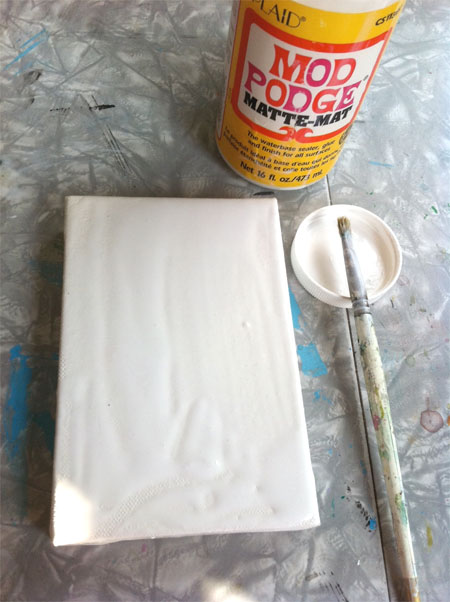
- A small 4" x 6" canvas that is 7/8" deep
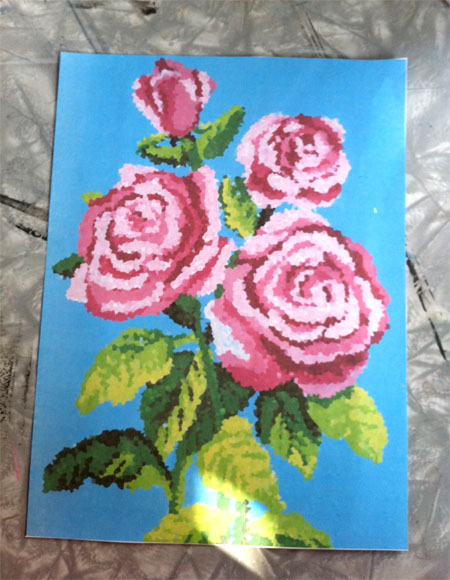
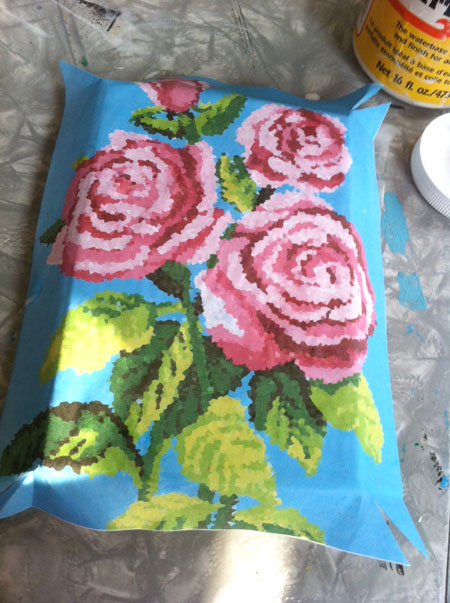
- An image that is 5.75" x 7.75" that has been pixelated or run through a similar Photoshop or Elements filter*
- Modge Podge
- Clear Gesso - Surface Prep
- Scissors
- An old small paintbrush (to use with the Modge Podge & Gesso)
- Glue that dries clear
- Lots and lots of colored glitter... preferably in different sizes and textures, but not necessary
- A little box to catch said ample amounts of glitter
- A little plastic spoon for scooping glitter (or just use a shaker bottle that comes on some glitter containers)
- A clean, dry paintbrush used to sweep away excess glitter from the table, canvas, your pants and the walls (yes, that has happened to me!)
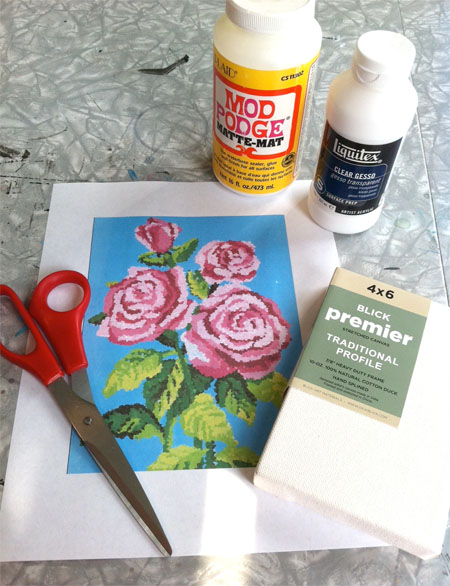
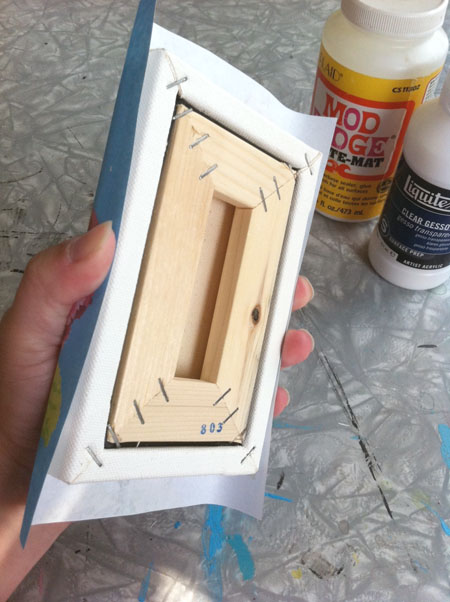
Your canvas, image, gluing implements for this step and scissors.
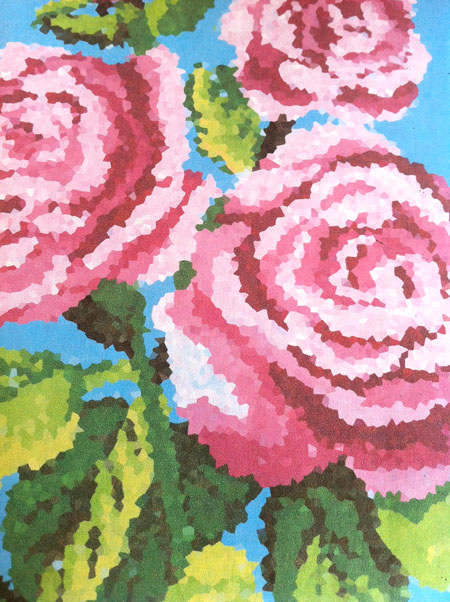
See how up close you can see the pixels? This will make it easier to figure out where to put your glitter colors.
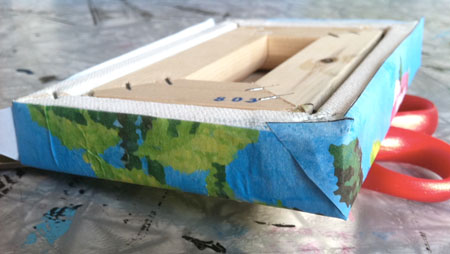
Now align your image on the canvas so it's centered and even and fold the edges down a bit.
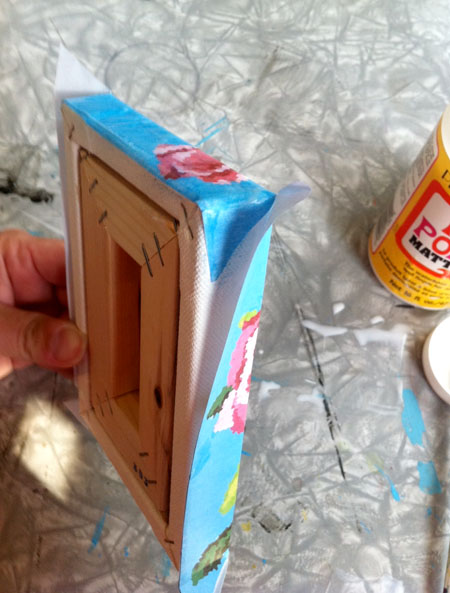
Fold the edges down and pinch the corners like so...
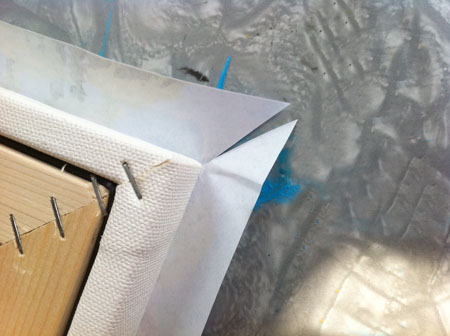
Cut the corners from the edge to about 7/8" in, as shown
Now get ready to make a mess with that old paintbrush!
Slather on the Modge Podge...
Then, put your image back on top and centered... Try to not get Modge Podge on the front of your image too much. If it is wet on top, it could bubble up more. I like getting the back wet and adhered FIRST, letting it dry, then putting a top coat.
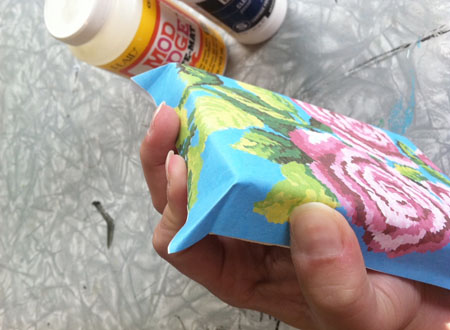
Use your fingers to smooth out the bubbles and then start smoothing out the top and bottom, as shown... it's like wrapping a present!
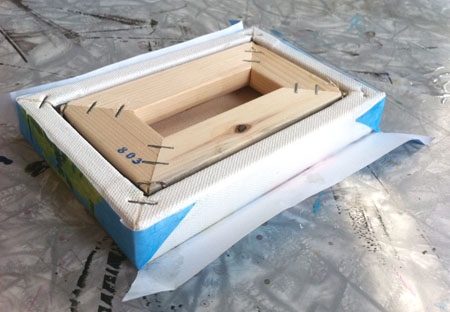
Keep on smoothing and wrapping. Yes, your fingers will be blue at this point, but it will come off! You will be getting a little bit of the Modge Podge on the top of the image, but that's okay. We just don't want it swimming in wet adhesive right now!
It's not perfect, but it's the back! If you need more Modge Podge at this point, add some using your brush.
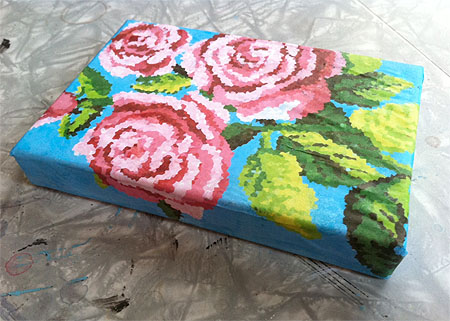
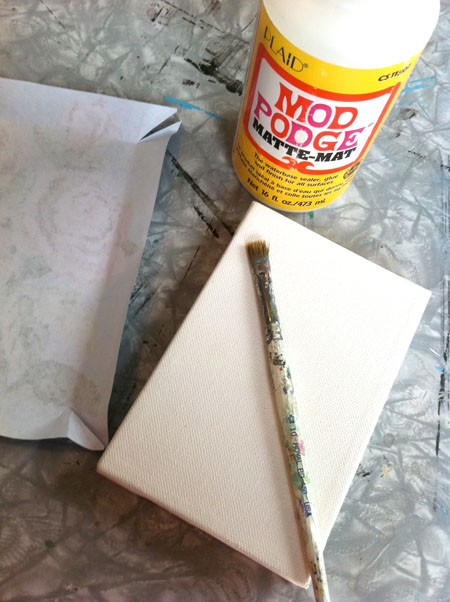
Voila! It's wrapped! Let dry for about an hour.
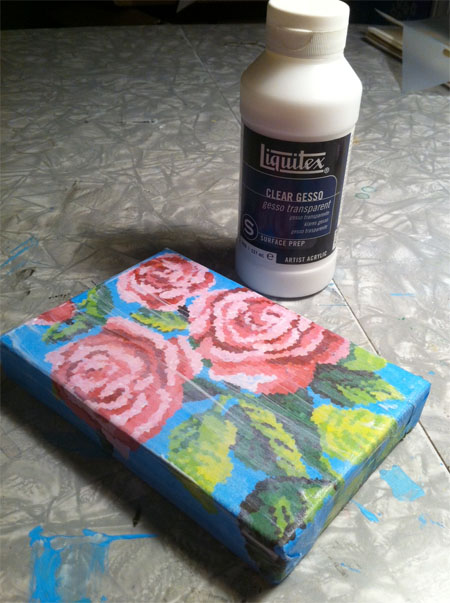
Now, you're going to coat your image with the clear surface prep Gesso. You could use Modge Podge on the top, but I prefer the grittier, not-so-glossy Gesso. I let this dry overnight, but you could let it dry for about an hour or two.
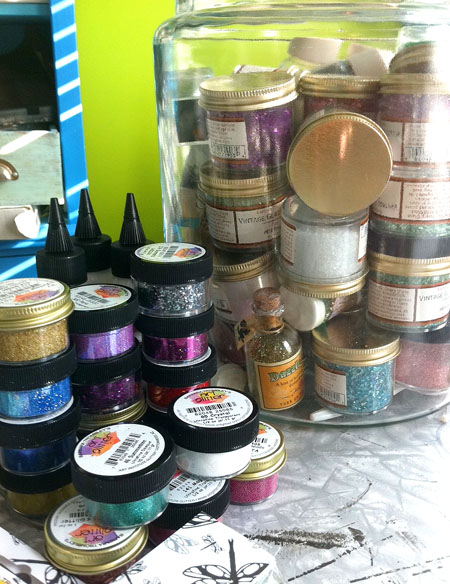
Behold... most of my glitter collection. Various colors, shapes, mediums and coarseness. Glass glitter, mylar glitter, tiny plastic or metal beads... I've got lots.
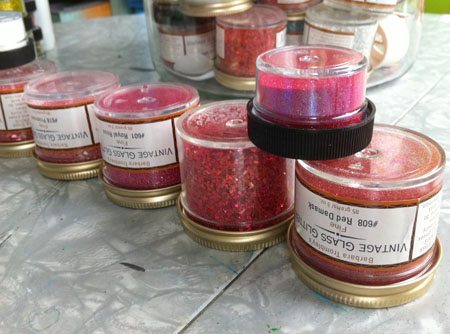
I've decided that I'm going to use 5 shades of glitter for the roses. Clear (in shards and in fine), light pink, a darker pink, a deeper magenta and then a red/magenta mix for the deepest part of the roses. Specific colors and brands are listed below. I'm using mylar and glass glitter in fine and coarse. Please use extreme caution when using glass glitter! I wear glasses and am careful not to get it on my hands and I keep the dog away from my crafting table when I'm using it! Glass glitter is amazing because it sparkles so much and has a rich, vintage feel to it. It just makes my pieces look and feel more special.

I'm starting with the lightest color. Clear glass shards on just the tips of the roses and leaves. I'm using Art Institute Glitter #901 "Krystallos" Shard Glass Glitter. I'm not using too much of this, but I want to use it first so that I can easily scoop up the "over shake" glitter and use it again without it getting mixed with any other colors. Trying to keep it pure ;) I always return the excess glitter to the jar after each colored glitter application. I also have a large paint brush reserved just for sweeping up glitter from surfaces.

Daub your glue on the lightest color pink and green areas. I'm using the Art Glitter Institute clear adhesive.
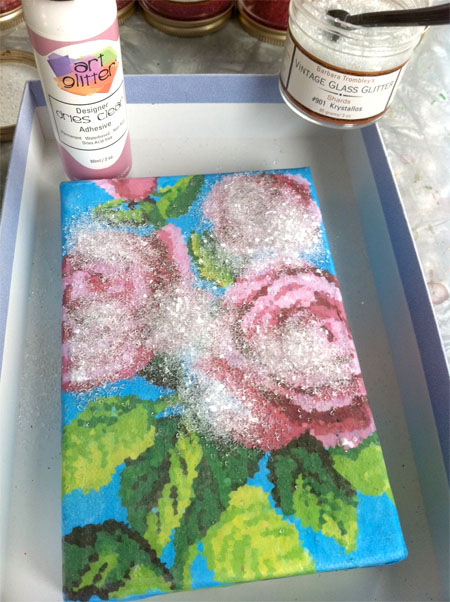
Cover with clear glitter...
Turn the canvas over and shake off the excess. I like to tap the back of the canvas with a large pen or my scissors to tap off the excess glitter back into the box.
Next, I'm going to add my lightest pink fine glass glitter. I'm using Art Institute Glitter #616 "Primrose" Fine Glass Glitter. Don't forget to add glitter to the sides of the canvas, too!
Glue, pour on, shake off...
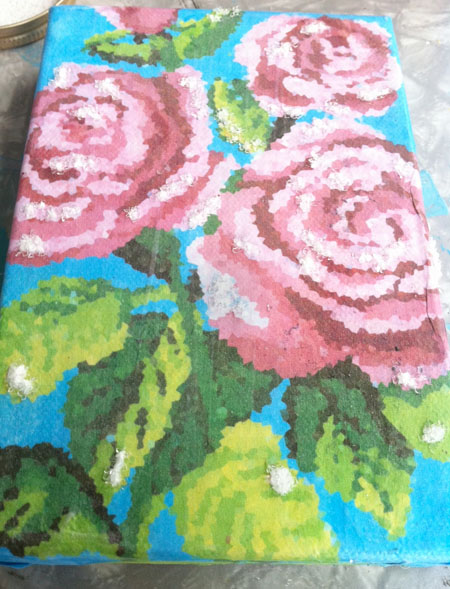
So, Here's what it looks like with the clear and the first round of light pink...
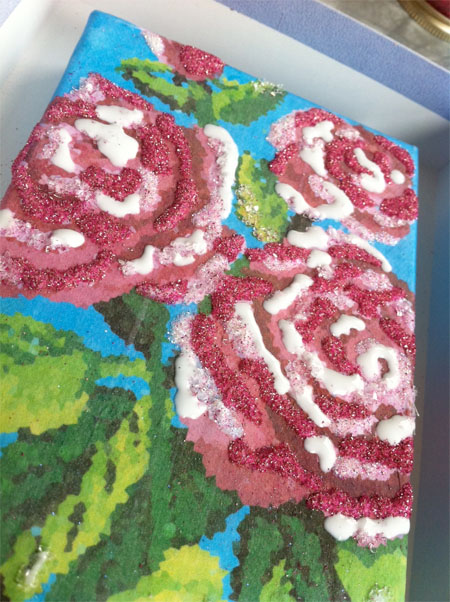
It was at this point that I decided to add more clear fine glitter. So, you can see my glue lines here...
I'm going with a Crystal clear fine glitter. This will pick up the light pink underneath when it dries clear. Don't forget to add glitter to the sides of the canvas, too!
Pour on glitter, shake & tap off... and this is what it looks like!
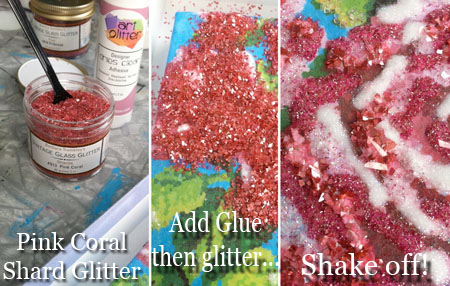
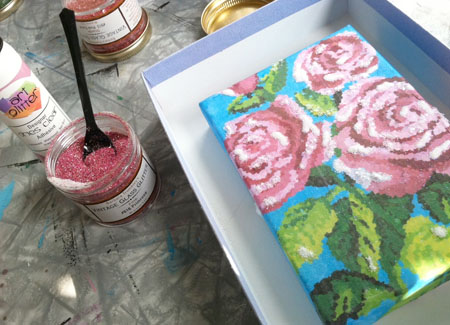
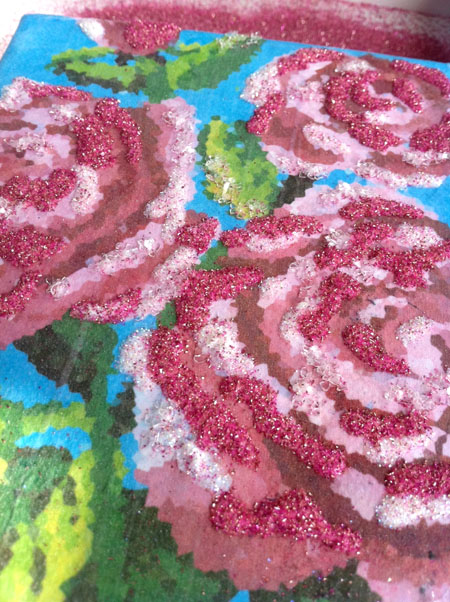
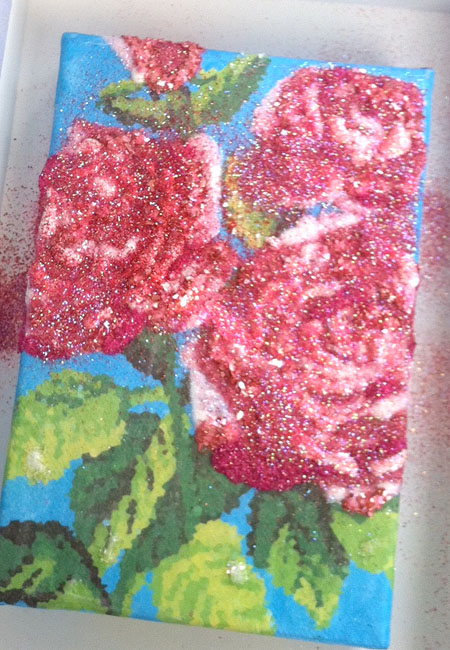
Now we're adding the slightly deeper pink glass shard glitter. I'm using Art Institute Glitter #913 "Pink Coral" Shard Glass Glitter. Put down your glue, add glitter, shake & tap off. Don't forget to add glitter to the sides of the canvas, too!
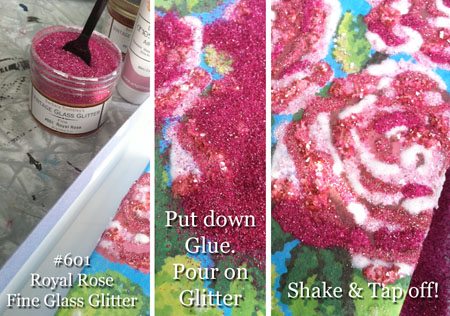
Now, we're adding the even deeper pink fine glass glitter. I'm using Art Institute Glitter #601 "Royal Rose" Fine Glass Glitter. Put down your glue, add glitter, shake & tap off. Don't forget to add glitter to the sides of the canvas, too!
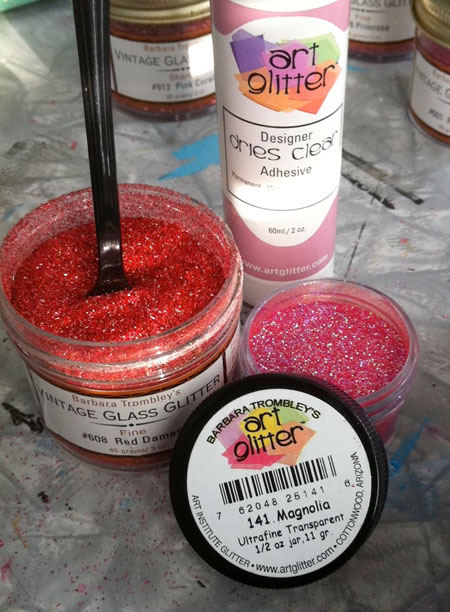
Now, you should be at the last color block, which is the darkest red shadow area on the roses. If you have more areas showing through, no problem! Just go back and repeat the steps above until you only have the darkest red patches left. I must mention... this is where it gets a tad tricky. I've picked out two glitter colors for the darkest areas of the roses. Art Institute Glitter #608 "Red Damask" Fine Glass Glitter and #141 "Magnolia" Ultrafine Transparent mylar glitter.
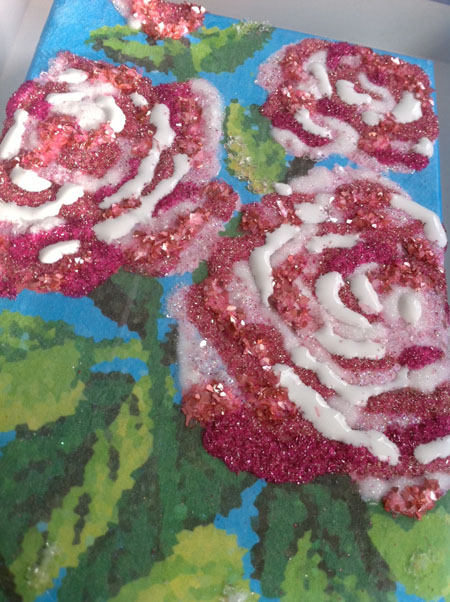
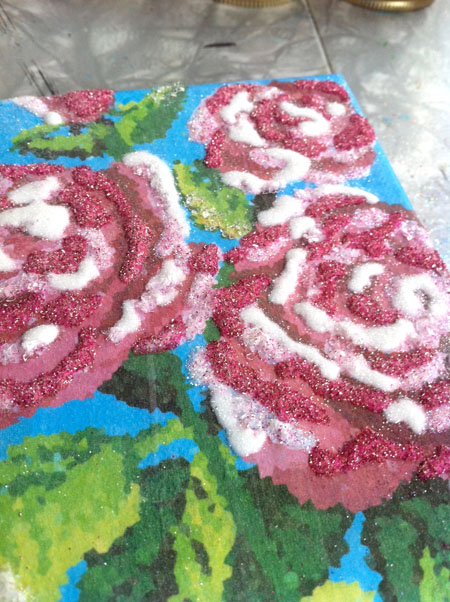
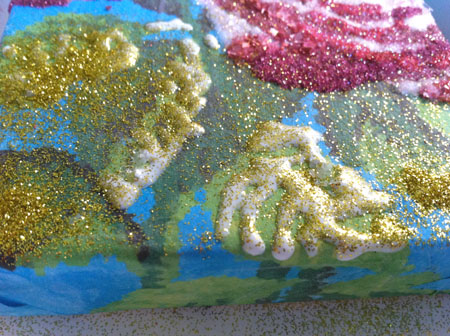
What I'm going to do is put down my glue on the darkest part of the rose...
Then, I'm going to very lightly sprinkle the lighter magenta color down first. We're going to be mixing colors here and you don't want to be too heavy handed with either color. Don't cover up all the glue, leave some glue exposed for the red, which is coming next. Don't forget to add glitter to the sides of the canvas, too!
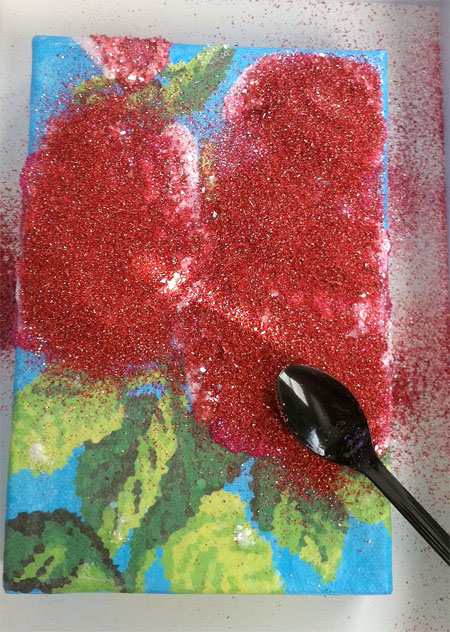
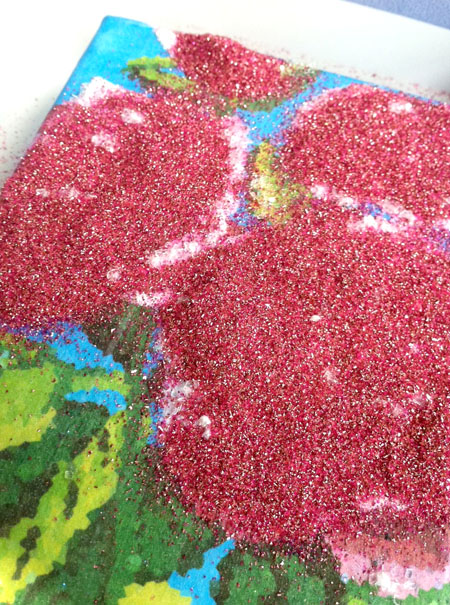
Add the red fine glass glitter. I've used my little spoon to add a very slight amount of pressure to push the red into the glue so the magenta we just put down doesn't get all the attention.
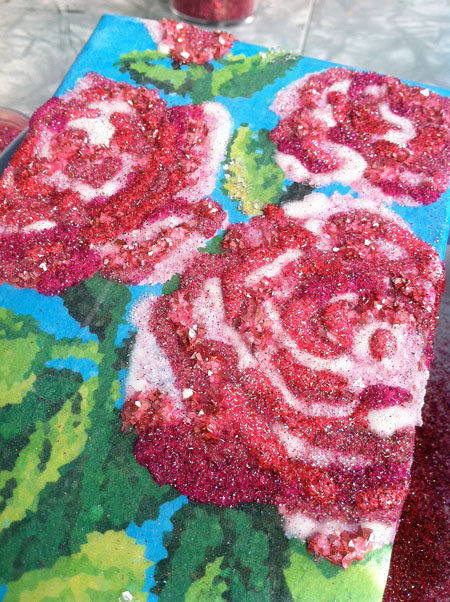
Let's pause for a moment to look at our handiwork. That's a LOT of glitter... it's sort of like a Monet painting, it's going to look a little better from a distance, trust me. The texture, color and sparkle is going to look fantastic when it's done!
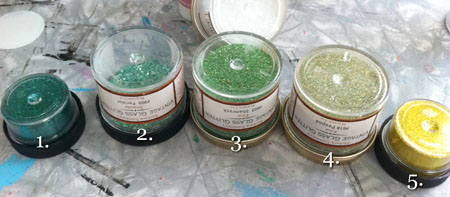
Now, we're moving onto green. Now that you are a glitter-by-number PRO, I don't have to go into agonizing detail with each step... so, I'll make it a bit quicker this time! Here are the colors I am using for the green leaves:
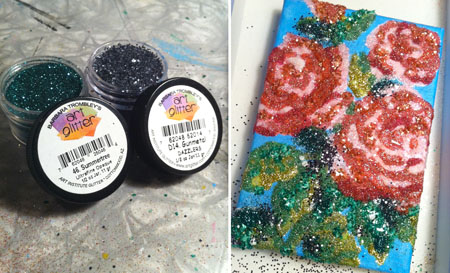
- Art Institute Glitter #46 "Summertree" Ultrafine Opaque Mylar Glitter
- Art Institute Glitter #909 "Peridot" Shard Glass Glitter
- Art Institute Glitter #603 "Shamrock" Fine Glass Glitter
- Art Institute Glitter #618 "Peapod" Fine Glass Glitter
- Art Institute Glitter #361 "Cat Eyes" Ultrafine Opaque Mylar Glitter
- (Shown Below) Art Institute Glitter #D14 "Gunmetal" Dazzlers Hexagon Shape
I first put down some glue on the lightest areas of the leaves, and dusted that area with the #5 yellowy "Cat Eyes" color. Don't forget to add glitter to the sides of the canvas, too!
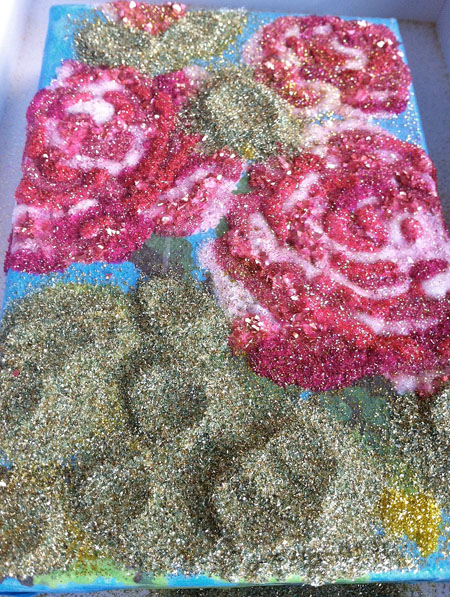
I then went over that dusting with the #4 color, "Peapod". Don't forget to add glitter to the sides of the canvas, too!
After shaking and tapping... here's our progress so far...
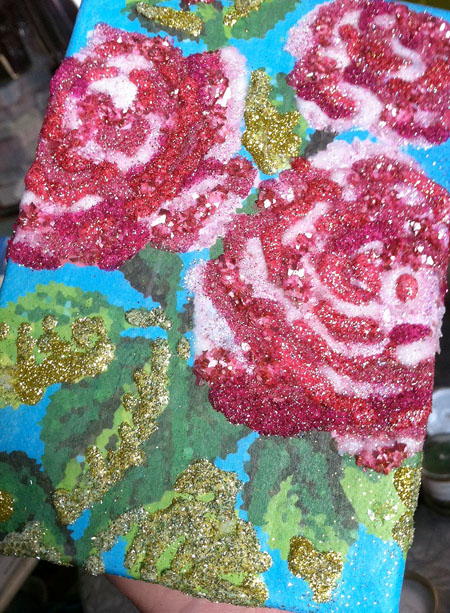
Keep adding color, #2 "Peridot" and #603, Shamrock... Don't forget to add glitter to the sides of the canvas, too!
Then for the very last dark green area, put down your glue and add a mix of the #1 color, "Summertree" and the #6 color "Gunmetal". Don't forget to add glitter to the sides of the canvas, too!
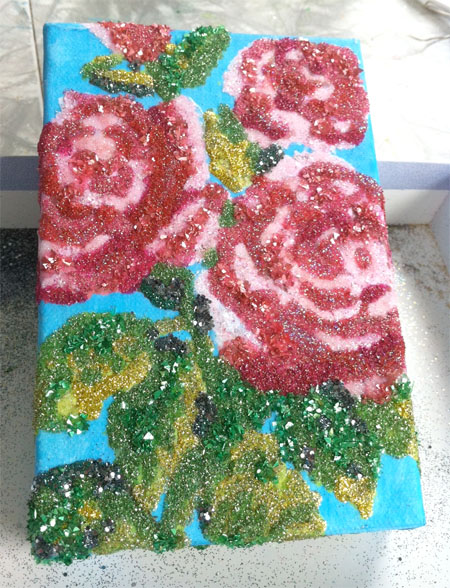
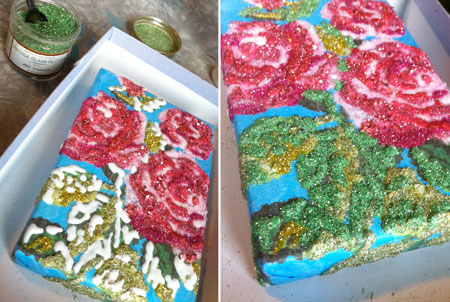
Let this whole thing dry for at least an hour. Then, take a clean paint brush to the piece and lightly brush off the excess glitter. Some would leave the piece as it is, with the blue showing through. But not me! I'm going to fill in that blue with Crystal glitter. Let's make sure this whole piece is just covered! :) Cover the blue areas with glue... don't forget the sides!
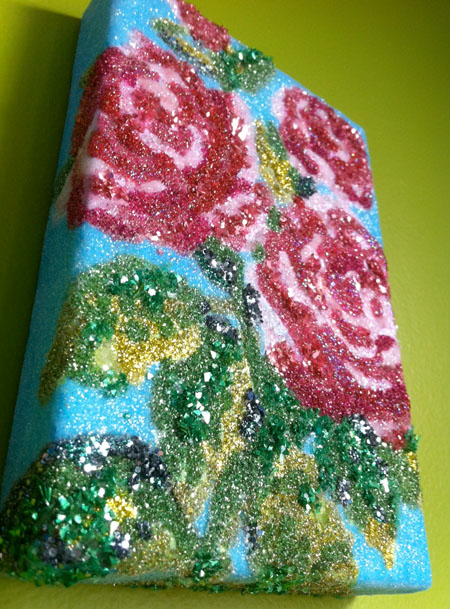
And here it is... dried after a few hours... covered in glitter!!
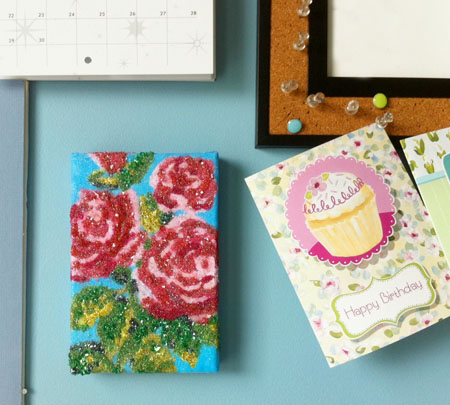
I hung it on the wall that is directly behind my computer in my studio so I can gaze at it all day long. It shimmers and glitters and catches my eye when I walk in... I just love it!
Hope you have fun making yours!

amazing project Carrie! Love all the sparkle!
ReplyDeleteThis is awesome Carrie!!! Great project and fabulous instructions!!
ReplyDeleteVery Beautiful and great tutorial photos!
ReplyDeleteWho doesn't love paint-by-numbers! This turned out very pretty. Great tutorial!
ReplyDelete