
Visit the Art Glitter blog and the Dream It Up! blog for fabulous inspiration from both talented design teams. We are encouraging all of you to play along with the challenge of creating with Dreamweaver Stencils and Art Glitter*, preferably using the Double-Glitter Technique. Just link your creation to the Mr. Linky on the Dream It Up! blog, or email pics to lynell@dreamweaverstencils.com, for an opportunity to win one of four fabulous glitter and stencil prize packages. One winner will be chosen each week. (US and Canada only, please).


*For the month of June Art Glitter is selling 1 oz jars of glitter for $5.98 (regular price $7.32)! Get the details HERE!


I ended up with a nice stenciled design and a white sticky
back. I filled in the back by water falling
a contrasting glitter, Fawn Microfine Transparent, 728 over the entire piece.


Hop on over to my blog to catch another
double-glitter/stencil design http://linda-neff.com
Happy glittering! Linda

The key to glittering is ...
Hi there! Linda here again with another glittery post for Art Glitter, using Dreamweaver Stencils and
the double-glitter technique. The more I play with the stuff the more I like
it.
My friend Laura, who is also
a member of this Art
Glitter Design Team, and I were chatting one night about Kc’s (also a design team
member here) card she posted here and I thought the masking was amazing. Laura
replied she thought Kc was the queen of masking. Thus, my personal challenge
began to improve my double-glitter technique. I must admit, patience and
practice do lead to improvement and that was the key for me.
Here’s what I used:
Dreamweaver Stencil Heart Lock LG672
Art Glitter Sticky Paper
Dreamweaver Handmade Hawaiian Soap (DHHS
Monarch Microfine Opaque, 501
Martian Ultrafine Opaque Hologram, 369
Glade Microfine Transparent, 718
Navy Ultrafine Opaque, 27
Aged Gold Microfine Opaque, 517
Fawn Microfine Transparent, 728
Cardstock
Adhesive
Brayer
Post-it Notes
I started with Dreamweaver Stencil LG672, Heart Lock. After
soaping the back with Dreamweaver Handmade Hawaiian Soap (DHHS) and brushing
off the little crumbs I placed the stencil soap-side down onto Art Glitter Sticky
Paper. Then I got out my stack of Post-it Notes for masking. Repositionable
tape can be used for masking as well but I find I always have a supply of
Post-it Notes handy. I placed the Post-it Notes over areas I wanted to protect
from other colors of glitter.

When all open areas were protected except the one I wanted
to glitter, I sprinkled on the glitter (Monarch Microfine Opaque, 501). I
tapped off the excess and made sure to brush loose glitter off of the masks before
removing them from the stencil. (bits of glitter will fall into unprotected areas if left on the notes).

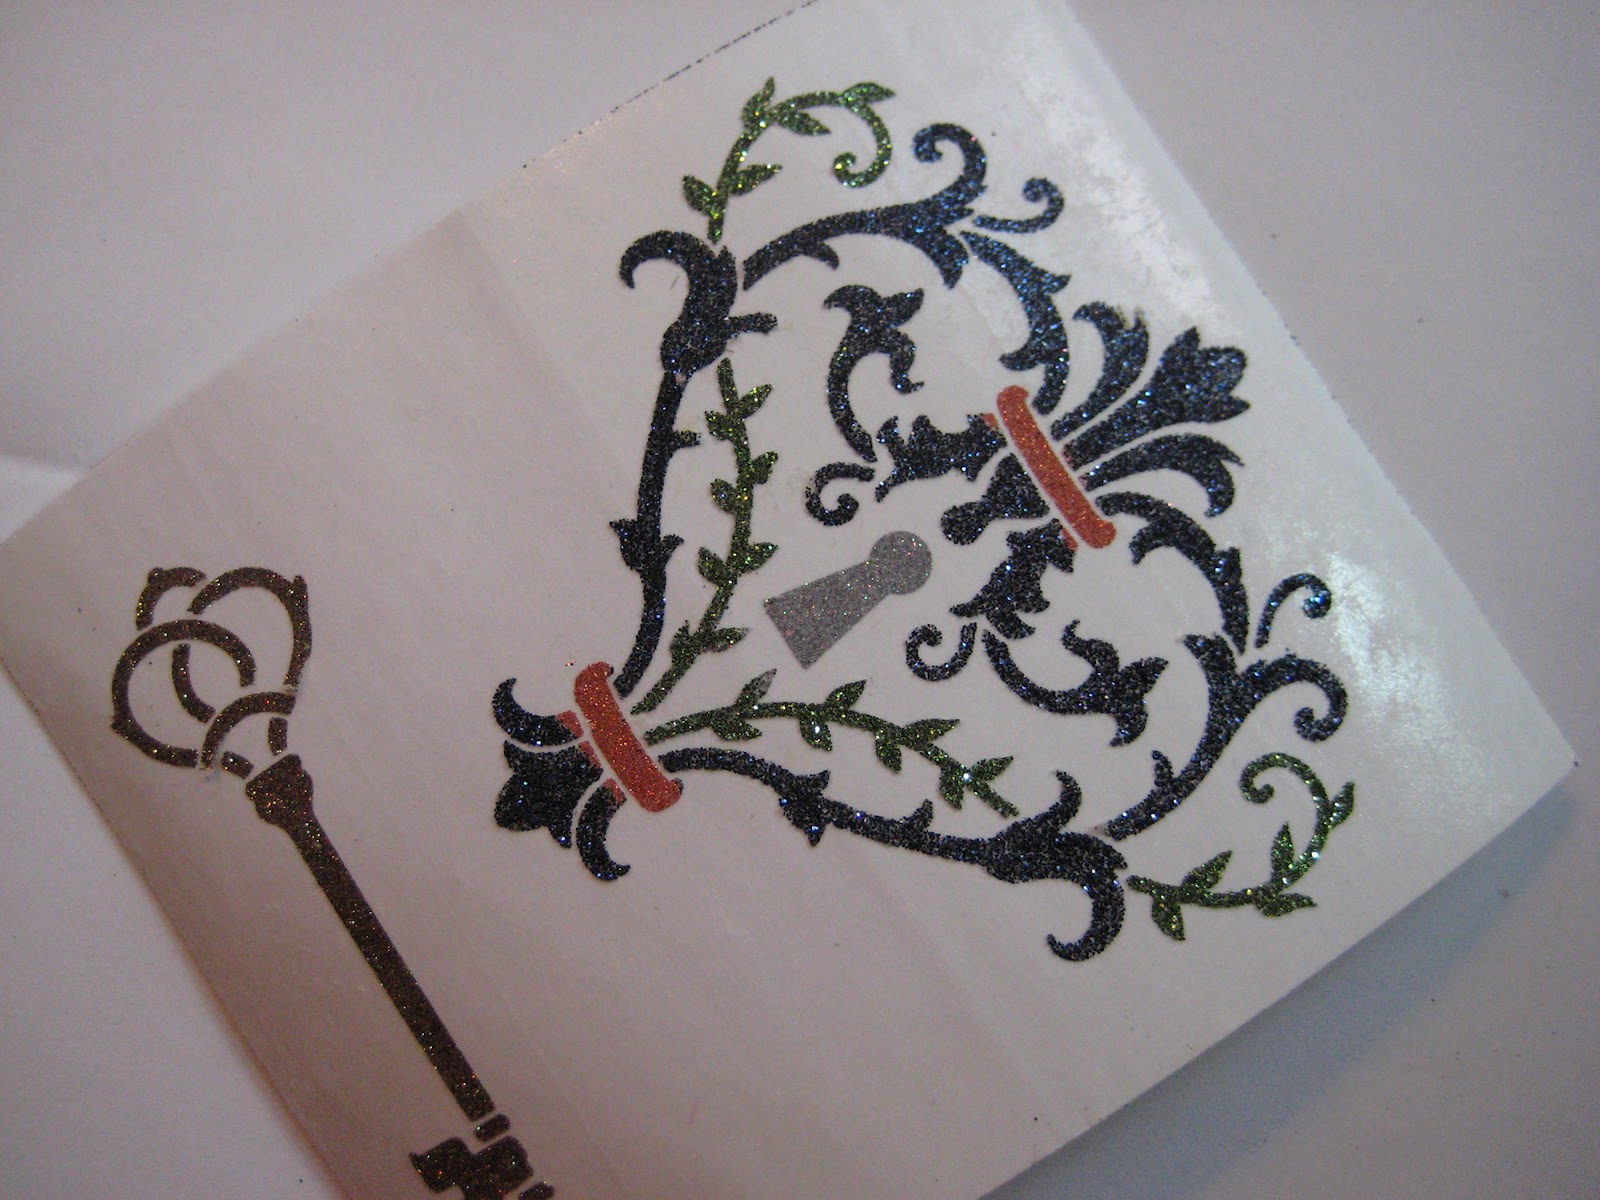
I continued the masking process until I had all my colors down
– trust me, this gets easier with practice. The vine is done with Martian
Ultrafine Opaque Hologram, 369 and the key hole uses Glade Microfine
Transparent, 718.

The top portion of this stencil is finished off with Navy
Ultrafine Opaque, 27 the I used Aged Gold Microfine Opaque, 517 for the key.
Then I brushed away all excess glitter and flipped the stencil over so it was
on the clean table and I was looking at the backing paper. I gently lifted the
paper off the stencil to prevent the stencil from bending. This is a very important step. If the stencil bends it makes it more difficult to reuse for this and other techniques.

I then trimmed and mounted my design onto cardstock to
create a card.

Happy glittering! Linda

this is really gorgeous!!
ReplyDeleteLinda, what a fabulous job you did with the Double Glitter technique! Love the colors of glitter that you chose for this. It's been so fun to play with your team this month!
ReplyDelete