Showing posts with label Scrapbook Layouts.. Show all posts

Thursday, April 3, 2014

Art Glitter Accents

Supply List
Art Glitter Green Gala Glitz
Art Glitter Gold Gala Glitz
Art Glitter Dries Clear Glue
Art Glitter Ultra Fine Tip
Art Glitter 79 Ultrafine Opaque Black Glitter
Art Glitter92 Ultrafine Transparent Bananan Glitter
Graphic 45 Curtain Call Collection paper (sheet music)
Crate Paper Random Collection Victorian paper (chevron)
Teresa Collins Stationary Noted (Notebook Owl paper & saying)
Dew Drop The Robin's Nest
Zva Creative (yellow swirl bling)
Forever in Time Gem Swirls (green swirl bling)
Jolee's BBK Silver Mini Flowers (flowers on chevron Strip)
Liquid Glass
Copic Markers (R27, YR18, 100, G24, G94)
Coffee Filters
Sizzix Susan's Garden Poppy Die
Black Card Stock
Yellow Card Stock
Green Card Stock
Red Card Stock
Ball Stylus
Tweezers
Cricut (Boy Die cut)

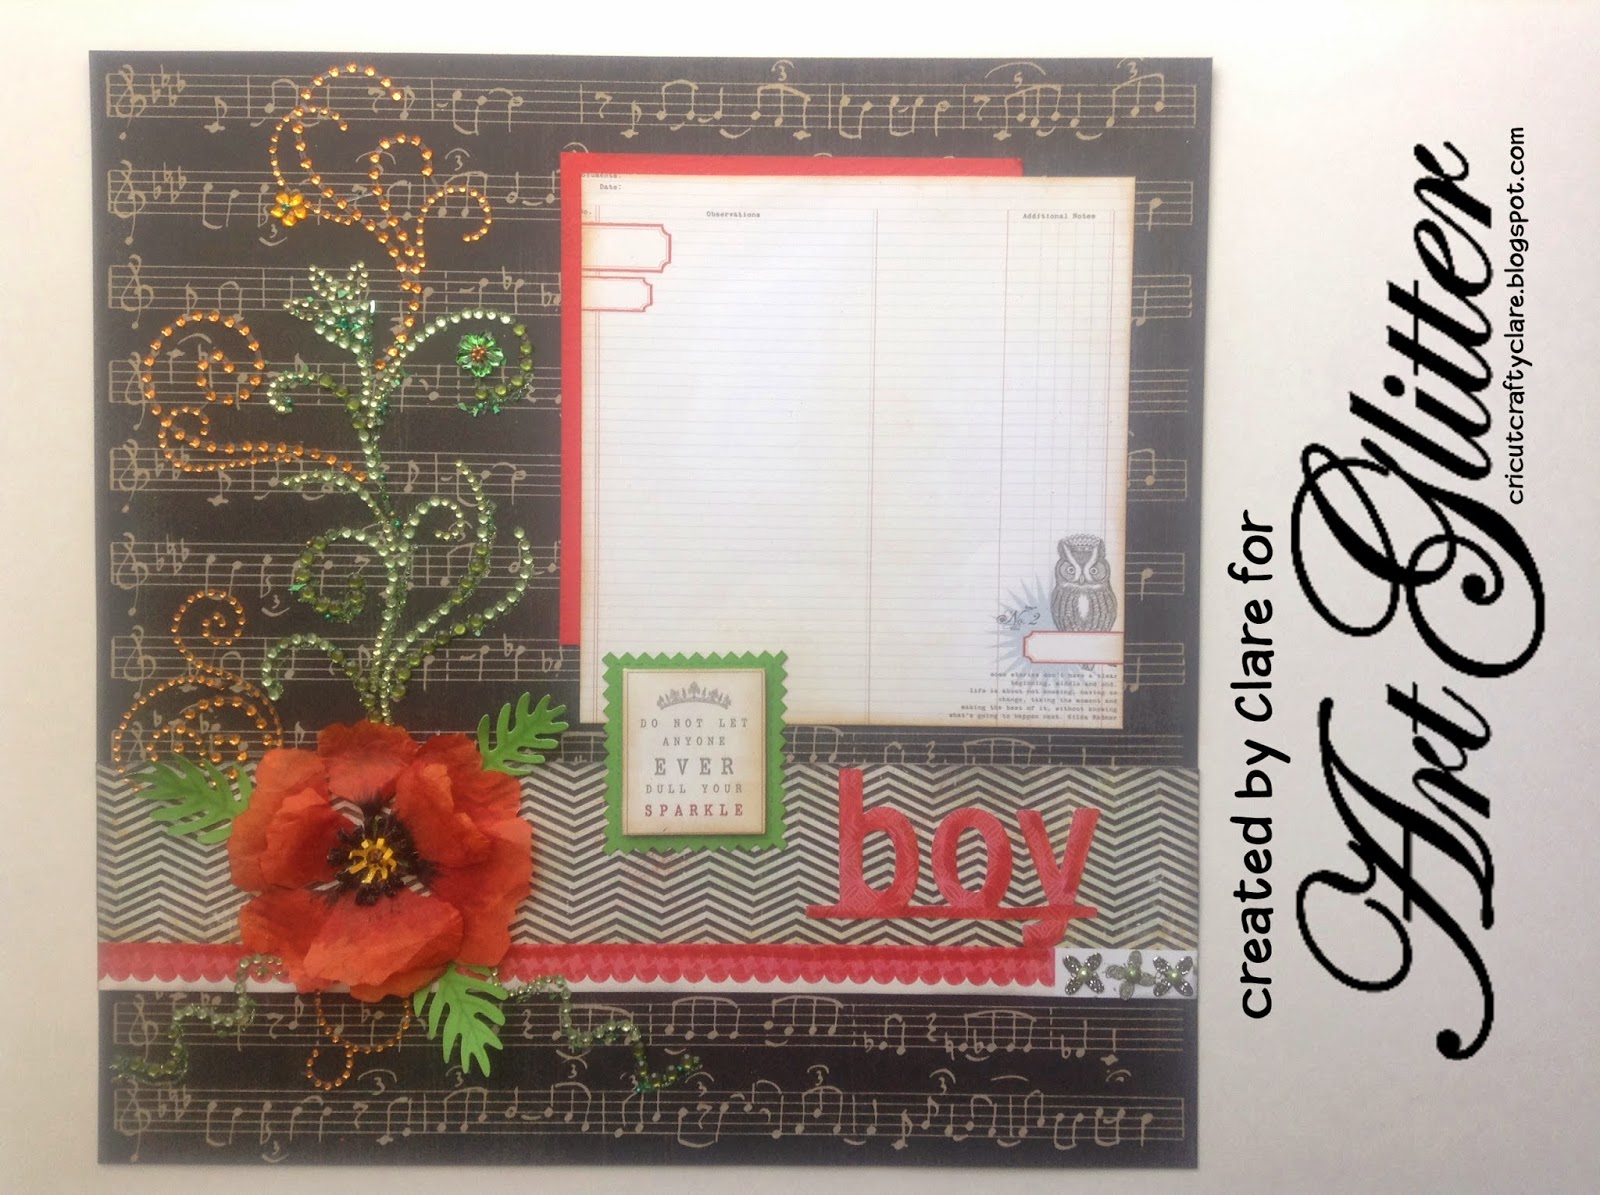
One of Clare's all time favorite flowers is a Poppy.  She has been wanting to make a paper poppy forever, and she finally found a Poppy die she wanted by Sizzix.  She cut three of each petal shape using coffee filters, because she wanted to capture the fragility of the Poppy Petal and make it realistic.  Since she used a die, she cut all three layers in one pass.  She then colored the petals with Copics in YR18 Sanguine, R27 Cardinal Red and 100 Black.  Once the petals were dry, Clare used a ball stylus to shape the petals.  For the center of the poppy, she cut the black and yellow pieces and curled them per the instructions (with a tweezer) that came with the Sizzix Susan's Flower Garden Die and then added Bananan Ultrafine Tranparent glitter using the Art Glitter Ultrafine Glue tip and Art Glitter Dries clear glue.  She used the same method to apply Black Ultrafine Opaque Art glitter to the black center die cut pieces. 
For the very center of the flower she layered a Robin's Nest Dew Drop over the Art Glitter Bananan using the Liquid Glass between the dew drop and the glitter.  This is such a fabulous sparkly look!  On top of the dew drop, Clare used the Art Glitter Ultra Fine tip to add a fine detail of black Art Glitter. 
For the teeny tiny bling flowers on the rhinestone bling, Clare used a few grains from the Art Glitter Gala Glitz, Gold Gala Glitz for the green flower center, and Green Gala Glitz for the yellow flower center.  


She loves that she can't get add such a pretty tiny finishing detail with Art Glitter products!  The Green Gem Swirl was getting lost on the black Graphic 45 patterned paper, so to make it stand out a bit more, Clare used the Art Glitter Ultrafine Glue tip and Green Gala Glitz.  This is a great way to add more weight to an embellishment and sparkle!
Here is another tip Clare loves to use: match your colors perfectly by using your markers!  The boy die cut and the Crate Paper were not exact matches to the orange red of the poppy, so Clare used the same Copics she used in the Poppy to color the die cut and the paper a bit to match and pull the whole page together!

To see more of Clare's work, please visit her blog Cricutcraftyclare.BlogSpot.com.

Thursday, March 13, 2014

Art Glitter


Spring Break with Art Glitter


Supplies:
Journaling Cards

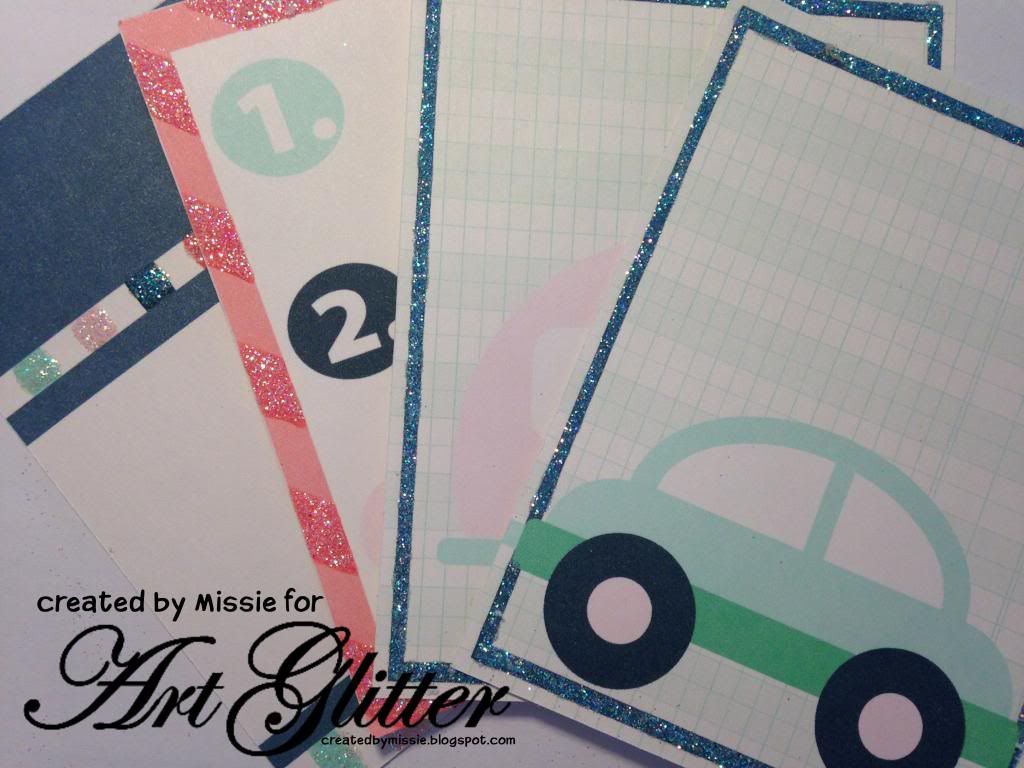
This year I am striving to expand my scrapbooking from traditional pages and add the project life style of pages to my skill list.  So, today, I want to share a fun project life style layout I created for spring break.  The graphics for this page are from Lettering Delights.  They offer a variety of SVG, graphic, and font files.  For this project I used the Spring Break Graphic set.  As you can see a few of the journaling cards above are strait from the graphic set. I then created a few unique journal cards to coordinate with the set (I created the car and camper cards, the cards that have just a background and frame, and the 2014 card.  The images were sized to 4x6 and 3x4, and printed on my home computer using white cardstock.


Here you can see the printed cards just waiting for glitter!


Art Glitter Dries Clear adhesive is selectively applied to the journal cards and then Art Glitter Crystal Glitter is added.

 Beautiful Glittered Journal Cards


Thanks for stopping by to see my creations.
Missie Todd
createdbymissie.blogspot.com


Wednesday, January 8, 2014

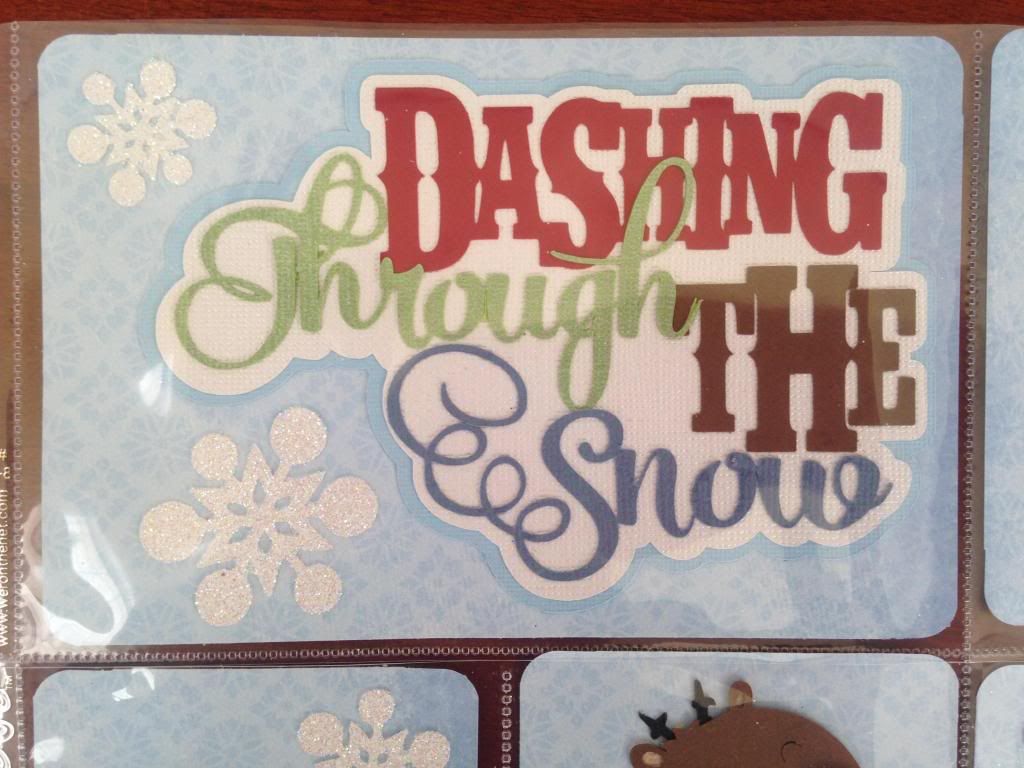
Dashing Through The Snow


Supplies:
Assorted Scrapbook Paper
Die Cut title, reindeer, and snowflakes- these are from MissKateCuttables.com
Art Glitter Crystal Glitter  #85

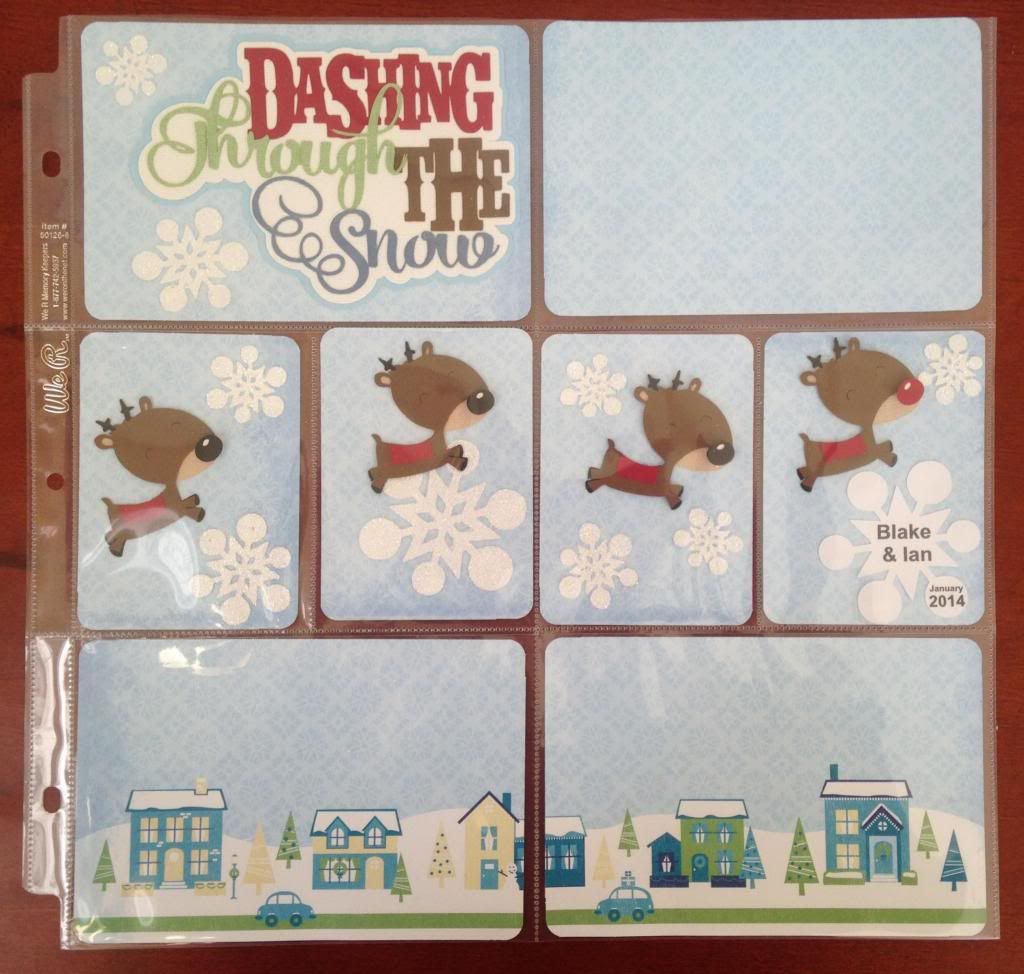
Starting out the new year by getting organized? This year it is my hope to begin using the "project life" style of scrapbooking for at least some of my photos. While I don't plan to give up traditional scrapbooking, I'm finally ready to give this a try. I have over 3000 photos living in my iPhone and I want to do a better job of getting the photos of my kids into albums.  This layout is my very first attempt at a project life layout and I have to say- I am quite pleased.


Begin by cutting patterned scrapbook paper into 3x4 and 4x6 inch pieces.  For this layout one sheet of scrapbook paper was used for the entire background.


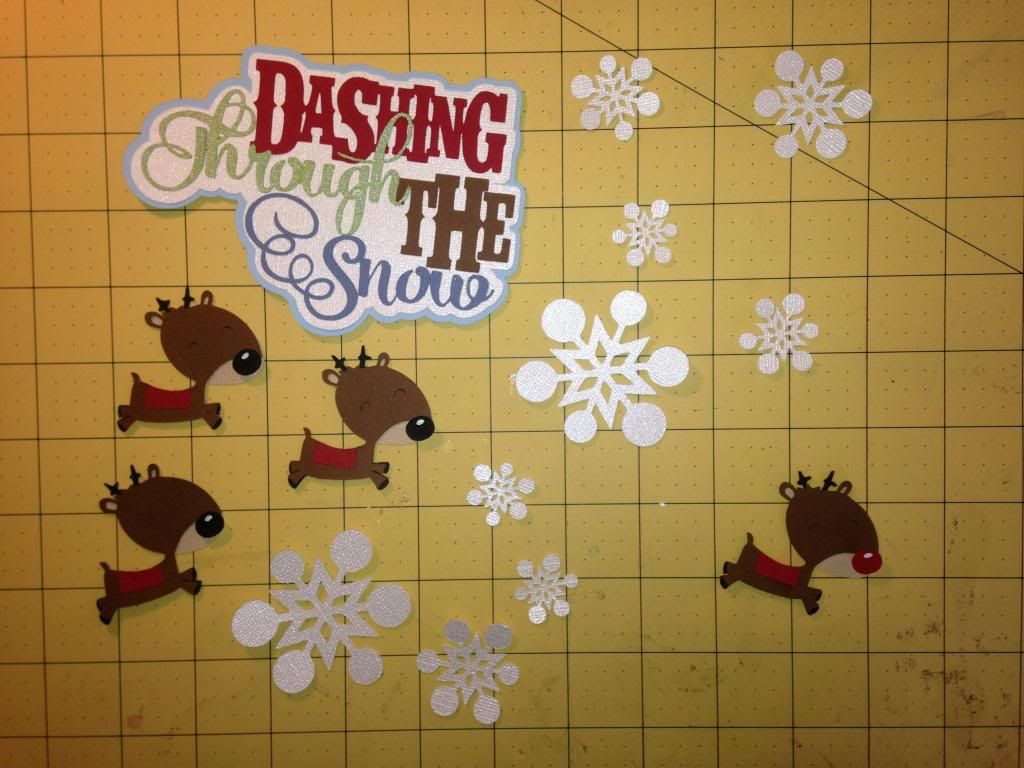
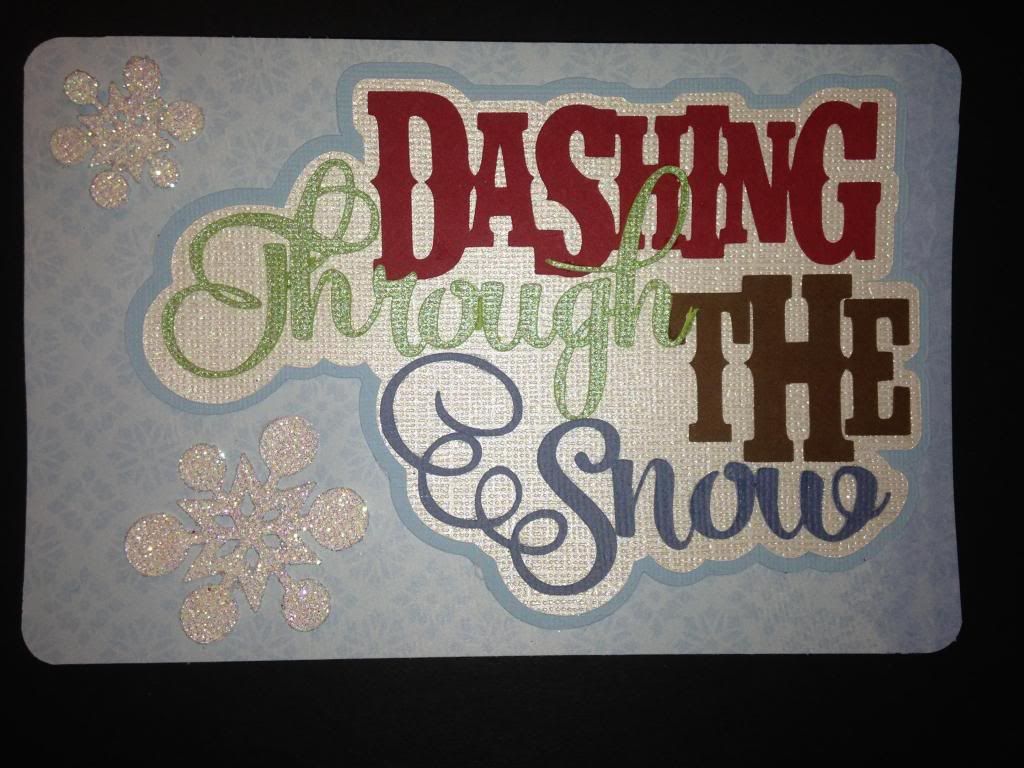
Using the SVG cut files "Dashing through the Snow" from misskatecuttables.com make snowflakes, a title and reindeer for the layout.


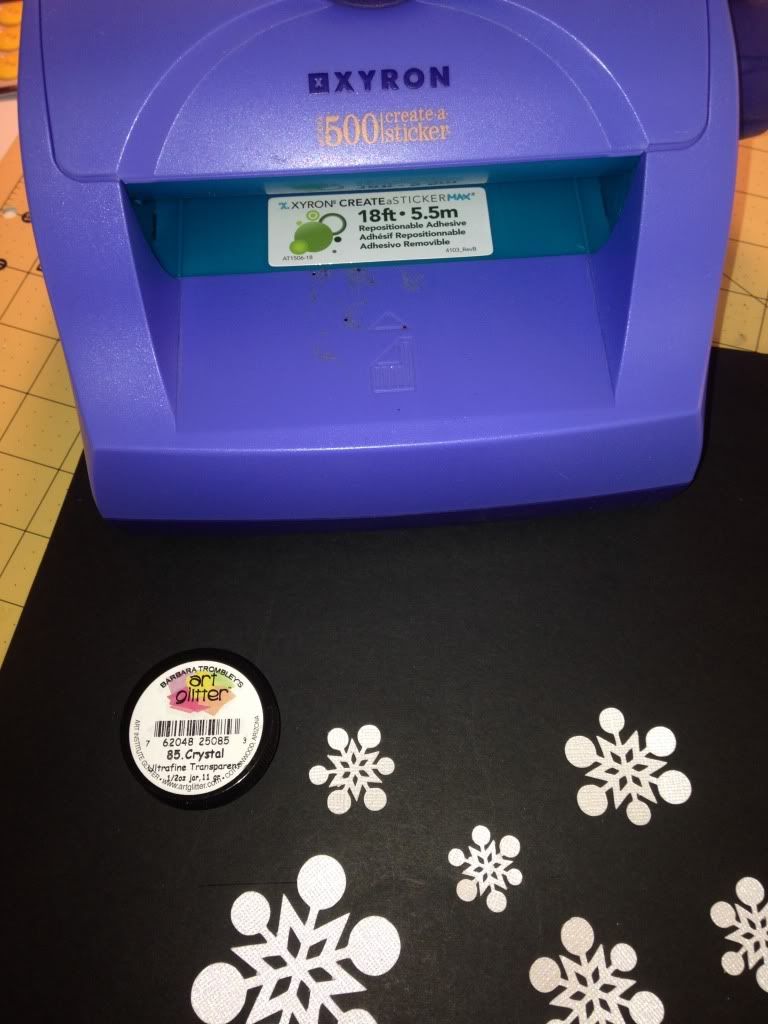
Add double sided adhesive to the snowflakes (this was done using a xyron sticker maker) then add Art Glitter Crystal Glitter to the snowflakes. 


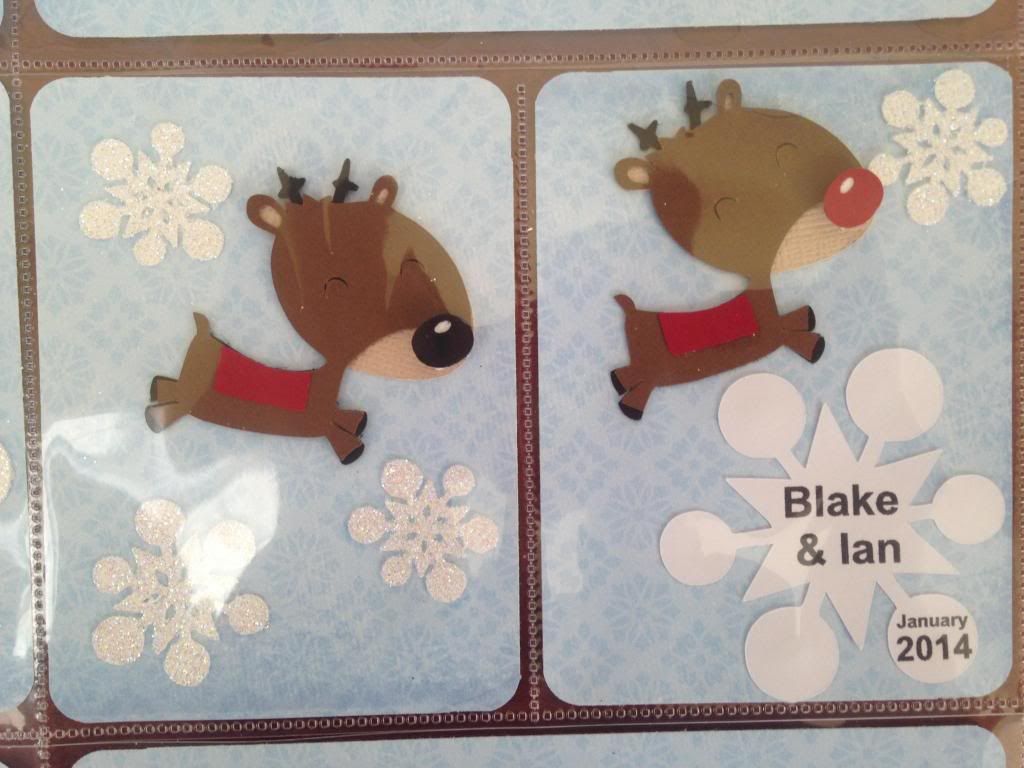
Add the die cut pieces to the journal cards to begin assembling the layout.

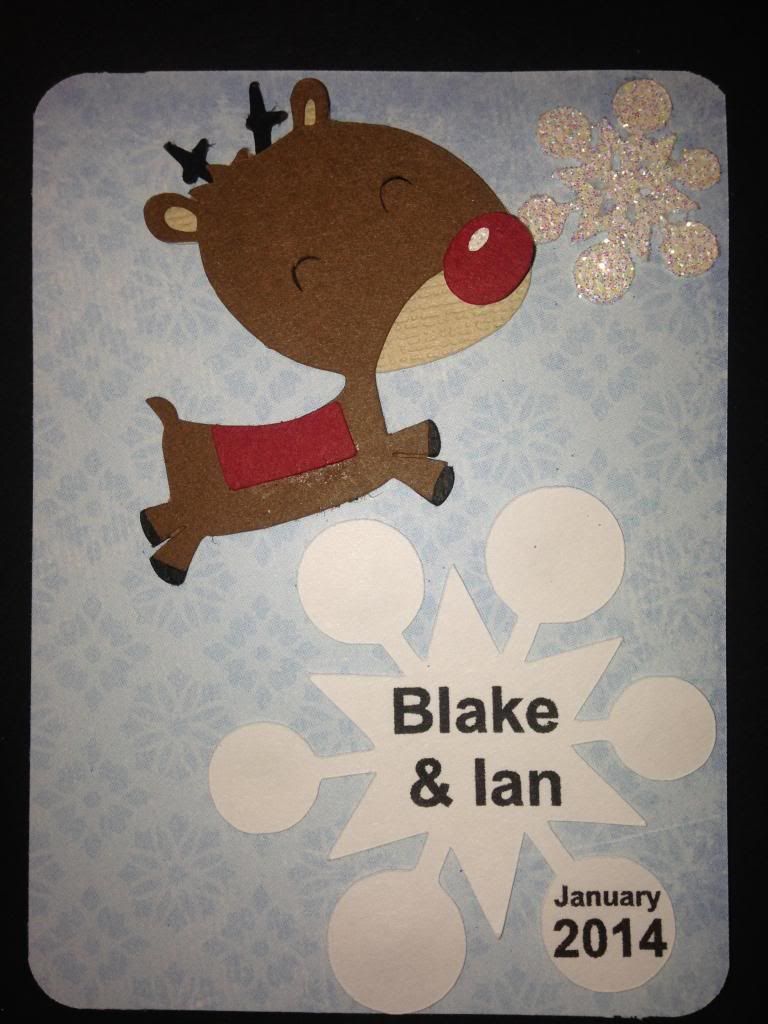
You can use the Silhouette Cameo's print and cut feature to add names and dates to a snowflake shape to be used as a journaling card.

Here are some close ups of the finished layout.


Thanks for stopping by to see my creations.
Missie Todd
createdbymissie.blogspot.com


Monday, September 30, 2013

Stunning Wedding Page


This month Art Glitter is teaming up with Dreamweaver Stencils.   Art Glitter is offering 20% off retail for $25 purchase is good with the code DW20 at their online store.  

Supply List

Art Glitter 343 Chestnut Ultrafine Opaque Glitter
Art Glitter 110 Taupe Ultrafine Opaque Glitter
Art Glitter 56 Pumpkin Ultrafine Opaque Glitter
Art Glitter 92 Bananan Ultrafine Tranparent Glitter
Art Glitter 280 Lime Rind Ultrafine Opaque Glitter
Art Glitter 79 Black Ultrafine Opaque Glitter
Art Glitter 85 Crystal ULltrafine Transparent Glitter
Art Glitter Designer Dries Clear Glue
Dreamweaver Metallic Gold Embossing Paste (leaves)
Dreamweaver LG 616 Leaf Texture Stencil
Dreamweaver Palette Knife
Dreamweaver LM2010 Paste Spreader
Dreamweaver Homemade Hawaiian Soap
Dreamweaver Stencils-  "Autumn"-LM 295
Dreamweaver Double-sided Mounting Paper
Dreamweaver Metallic Fix 11 Ivy Garden
Dreamweaver Metallic Fix  02 Amber Glow
Dreamweaver Metallic Fix 15  Kimono Red
Basic Grey Take Note Journaling Card with Transparencies
Basic Grey Origins Authentic paper
Basic Grey Origins Revitalize paper
Cricut George Basic Shapes Cartridge
Cricut Art Nouveau Cartridge
Cricut CTMH Artist Cartridge
Cricut Craft Room Software
Flower bling
Yellow Card Stock
Black Card Stock
White Card Stock
Brown Card Stock

Clare Dempsey made this fabulous page to celebrate a niece's wedding using Art Glitter and Dreamweaver products to capture the beauty of Autumn!  Clare started by using the Dreamweaver Leaf Texture template with Dreamweaver Embossing paste.  To get the ombre look she mixed the Gold embossing past with the Amber Glow Metallic Fix and spread it over roughly half of the leaf stencil. She then mixed the Gold embossing paste with the Kimono Red Metallic fix and spread this over the half of the stencil not yet filled.  Once the stencil was filled she sprinkled the Ivy Garden powder ONLY on the right half of the stencil (Clare says to be sure to do this while paste is still wet!) and allowed this to dry overnight.  In the morning, Clare used a Swiffer cloth to buff off the excess green metallic paste.  Clare then trimmed the card stock and cut the piece in half to make a border strip.  By slipping the border strip under the circular die cut, no one can see that Clare had some missing leaves on the border strip and that it has a seam!


Clare created the oak leaf and acorn circle die cut using the Cricut Craft Room software to weld a circle from George, Basic Shapes and Art Nouveau.  She hand cut the white mat. Clare used the Dreamweaver template and some ink with a sponge dauber.

For the Autumn title Clare used the Dreamweaver double sided mounting paper and cut the frame with the Cricut.  To make the application of the Art Glitter neat and accurate, Clare set the blade depth to a 3 and cut ONLY the inside line of the ribbon frame.  She then set the blade depth back to a 6 and cut the outside layer of the frame all the way through the double sided mounting tape.  Clare carefully pealed up the outside top layer ONLY and applied the Art Glitter with a fine tipped dry brush (see photo below).  Maybe it is the painter in Clare, but she likes the control a brush gives her when applying the glitter.  She says to use a dry brush and to clean the brush off between colors on some scrap fabric. See how Clare also soaped up the back of the Dreamweaver template and taped it in place before removing the center portion? 

 Clare flipped down the template and painted the word Autumn in Art Glitter.  She carefully cleaned off excess glitter on the template, her hands and her work station and then flipped up the template to apply the white glitter.  For the bottom portion of the title "Wedding", Clare cut the title using the Dreamweaver double sided mounting paper, a heavy duty blade, and the Cricut CTMH Artiste Cartridge.  She used the dry paint brush technique for applying the different colors again.  She then matted it on white paper and hand cut the offset white area.  


You can find more of Clare'e work at her blog:  Cricutcraftyclare.blogspot.com. 


Wednesday, June 12, 2013

Authentique, Art Glitter, POOH & TIGGER!

  The month of June Art Glitter is partnering with Authentique Papers. The papers are so pretty and the addition of Art Glitter Makes them POP!

Here is what I made with the gorgeous Summer Collection:

It is actually a two page spread for my Disney scrapbook.  As you can see, I used the front and back of several of the beautiful papers.  As for the glitter, I used four different techniques: "painting" with glitter on acetate, glittering letters using Xyron adhesive on the front, the Double Glitter Technique from Dreamweaver Stencils, and the application of Ultrafine Transparent 85 Crystal glitter directly to the page using Designer Dries Clear Adhesive.
To "paint" on the acetate, I first copied the images from a $1 coloring book onto regular paper in various sizes.  Then, I chose a size and copied it onto acetate.  I used the Designer Dries Clear and the Fine Metal Tip on all of it. You need to start with the color in the front first.  In all occasions, I used the transparent colors first.  If you want to see a tutorial on how to paint with glitter, check out the post HERE.  The best part about it is that you can always match the colors you need with the variety you can find at Art Glitter.  I have listed the colors that I used under the pictures of the final product.
Winne the Pooh
          Art Glitter Ultrafine Transparent 103 Jonquil
          Art Glitter Ultrafine Opaque 347 Golden Orange
          Art Glitter Microfine Opaque 521 Cayman
     Shirt
          Art Glitter Utlrafine Opaque 155 Red Velvet
          Art Glitter Ultrafine Opaque 278 Poppy
          Art Glitter Microfine Opaque 500 Ruby Red
     Flowers
          Art Glitter Ultrafine Opaque 41 Green Goddess
          Art Glitter Ultrafine Transparent 306 Mystery
          Art Glitter Ultrafine Opaque 296 Baltic
          Art Glitter Ultrafine Opaque 233 Blue Hawaii
          Art Glitter Ultrafine Opaque 32 True Blue
          Art Glitter Microfine Opaque 521 Cayman
          Art Glitter Ultrafine Transparent Neon 239 Lemon Drop


Tigger

          Art Glitter Microfine Transparent 744 Arctic
          Art Glitter Microfine Opaque 507 Black Wing
          Art Glitter Ultrafine Transparent 243 Gingerbread
          Art Glitter Microfine Pearlescent 533 Mini Pearl
          Art Glitter Ultrafine Transparent 90 Melone
          Art Glitter Ultrafine Opaque 231 Copper Harbor
          Art Glitter Ultrafine Opaque 56 Pumpkin
Letters
          Art Glitter Ultrafine Opaque 296 Baltic

Double Glitter Technique Mickey Head
          Art Glitter Microfine Opaque 507 Black Wing
          Art Glitter Ultrafine Opaque 231 Copper Harbor
          Art Glitter Ultrafine Opaque 56 Pumpkin

Glittered Background
          Art Glitter Ultrafine Transparent 85 Crystal

I hope you enjoyed my posting with the wonderful Authentique papers and Art Glitter.  You can visit my blog anytime at www.rememberinglifesmoments.blogspot.com.  Thanks for coming by!


Remember, for the entire month of June any order you place at http://artglitter.com/ of $25 or more you can use the coupon code of AQ20 for a 20% discount! You can also be entered in a prize drawing at the end of the month by commenting on this blog all month long! One comment per person per post! Also, every Wednesday for the month of June Authentique Paper will be featuring Art Glitter on there blog with a prize package offered also.  Check them out at http://blog.authentiquepaper.com/

Saturday, June 1, 2013

Art Glitter and Authentique Paper Team up!

&

We are teaming up to bring you some wonderful and creative projects.  Seasons: Summer and Pride collections will be used from Authentique and lots of fun Art Glitter.  Here are a couple of projects from our Design Team Lead Kristi Parker Van Doren using Seasons: Summer! 
 Kristi used some of the fun papers to do a two page layout of a fun family gathering.  She got some fun laser cut wooden words from a hobby store and covered them with Designer Dries Clear Adhesive.  Kristi then used a variety of microfine/ultrafine opaque glitters.  She mounted the photos of coordinating WorldWin card stock.
 A Closer Look


This is a Bonus Card using the leftover pieces! Stamped image is by Penny Black and ink from Tsukineko - VersaFine Blue Lagoon

Remember, for the entire month of June any order you place at http://artglitter.com/ of $25 or more you can use the coupon code of AQ20 for a 20% discount!  You can also be entered in a prize drawing at the end of the month by commenting on this blog all month long!  One comment per person per post!  Sparkle on!