
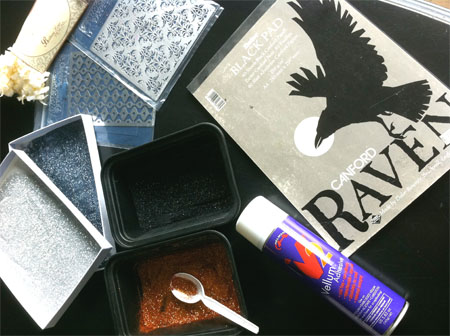
This month the Art Glitter Design Team is doing a blog hop with Helmar, an Australian manufacturer of premium aerosol and adhesive products for the arts & craft and DIY hardware market with distribution around the world. So when I received my package with my Helmar products I decided to try my hand at creating my own adult-style of a Vintage paper cone. I received an aerosol adhesive for vellum.
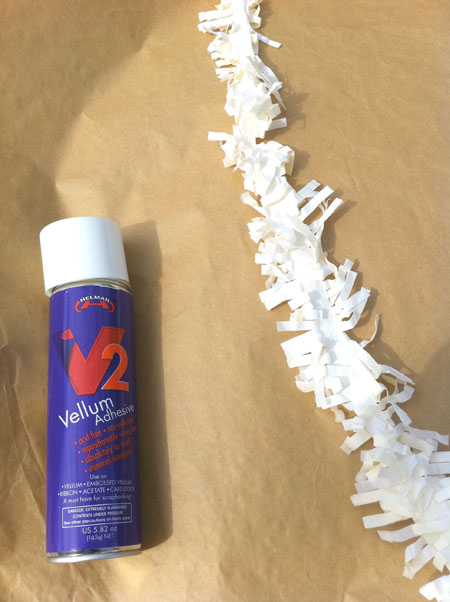
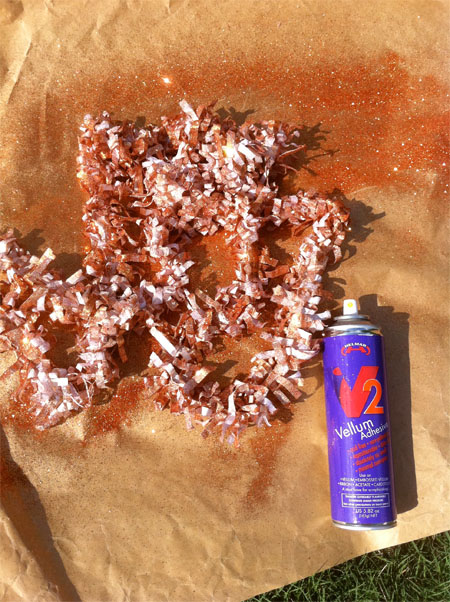
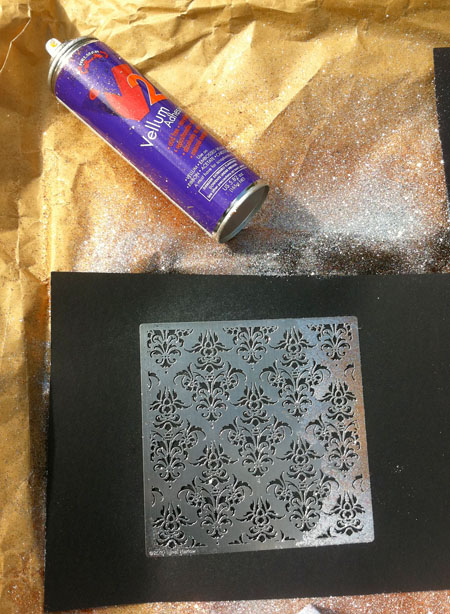
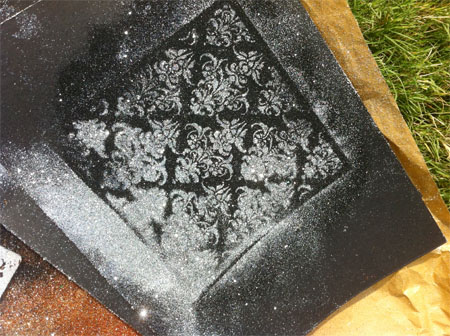
I've never used spray adhesive before and even though it was for vellum, I decided to see how it would work for glitter. I started with a store-bought paper cone and some old sheet music pages. After reading the directions on the can, I sprayed the paper cone with the V2 Vellum Adhesive and rolled it onto the sheet music. I let the glue set up then inked the sheet music with a light coating of Vintage Photo Distress Ink. It was looking pretty good, but, I'm also on Art Glitter's Design Team so had to incorporate that gorgeous glitter! I sprayed the inked cone and rolled it in Poupon Microfine Transparent glitter. My favorite glitters seem to be in this Microfine line. They're just so delicate and
light!

To decorate the opening edge of the cone I cut white cardstock using the Sizzix on the Edge Die - Tattered Doily. I cut four of these doily pieces and sprayed them as well with the V2 (one at a time) and sprinkled the Poupon Microfine Transparent glitter.


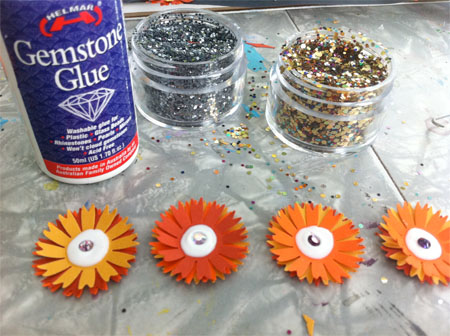
These are overlapped and glued to the edge with Helmar's 450 Quick Dry Adhesive. I used a lacy, open-weave ribbon to cover the seaming at the top. I used three rosettes to decorate the front of the cone. After they were assembled I sprayed them with the V2 as well and sprinkled with the Poupon Microfine Transparent glitter. Everything just sparkles!

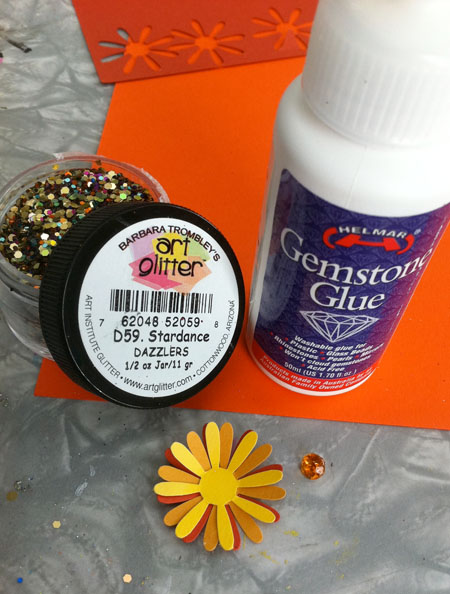
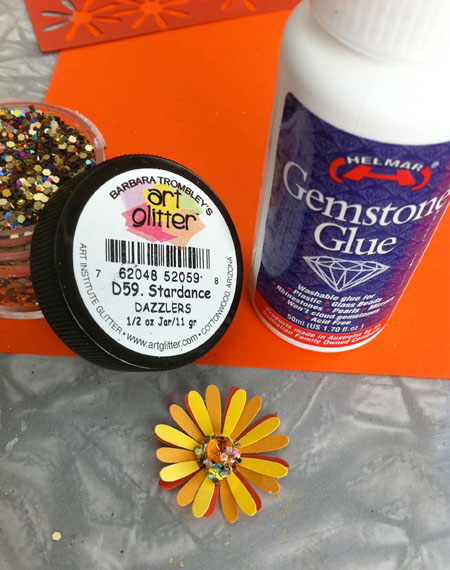
The rosettes are attached to the paper cone with Helmar's 450 Quick Dry Adhesive and finished with a Vintage button in the center. I used Helmar's Gemstone Glue to adhere the buttons.

To jazz the cone up a bit more I added rhinestone sprays from Want2Scrap. These are secured with Helmar's Gemstone Glue as well.

I added a pre-made tassel to the bottom and a wire handle for hanging. These look so pretty holding fresh flowers. I picked some end-of-summer flowers and added a few sprigs of dried grasses and weeds for this photo. I'll be adding some dried or silk florals for an Autumn theme and hanging it indoors to admire!

-- Linda Neff


