
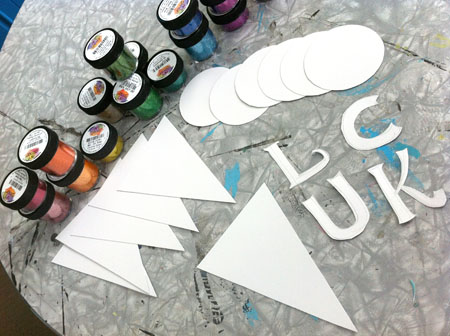
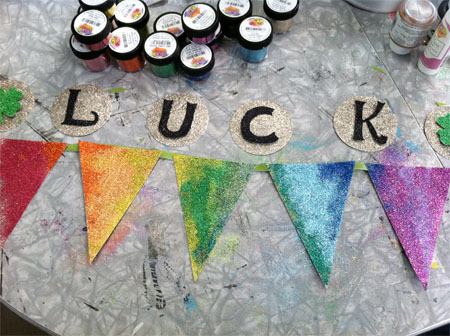
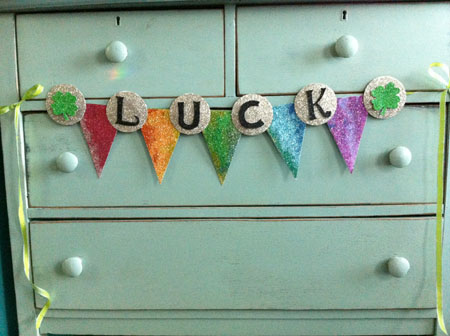
- Lots of card stock to cut out the pennant triangle shapes, the circles, the letters and a couple of shamrocks
- A few yards of green ribbon
- Glue gun
- #7 - Red Rose - Ultrafine Opaque Glitter
- #349 - Garnet Red - Ultrafine Opaque Glitter
- #56 - Pumpkin Orange - - Ultrafine Opaque Glitter
- #350 - Butterscotch - Ultrafine Opaque Glitter
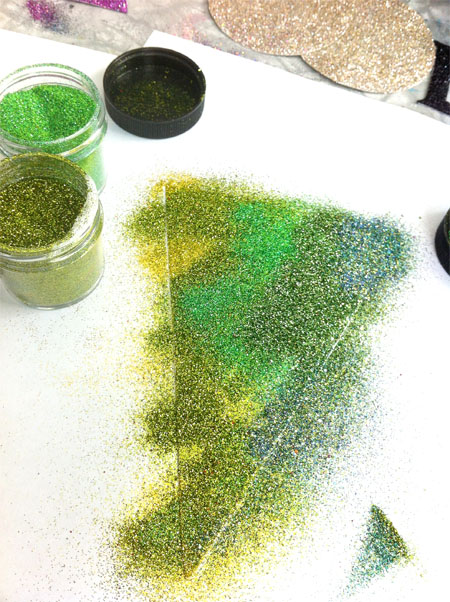
- #361 - Cat Eyes Yellow - Ultrafine Opaque Glitter
- #280 - Lime Rind Green - Ultrafine Opaque Glitter
- #109 - Cavalado Green - Ultrafine Opaque Glitter
- #234 - Turquoise Blue/Green - Ultrafine Opaque Glitter
- #113 - Sky Blue - Ultrafine Opaque Glitter
- #270 - Chesapeake Blue - Ultrafine Transparent Glitter
- #24 - Royal Wink Blue - Ultrafine Opaque Glitter
- #13 - Plum Pink (Purple) - Ultrafine Opaque Glitter
- #71 - White Gold - Ultrafine Opaque Glitter
- #79 - Black - Ultrafine Opaque Glitter

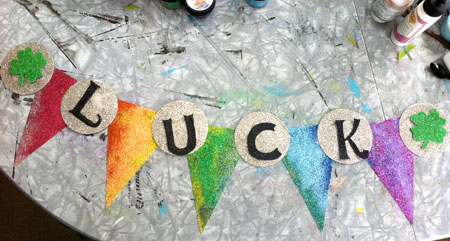

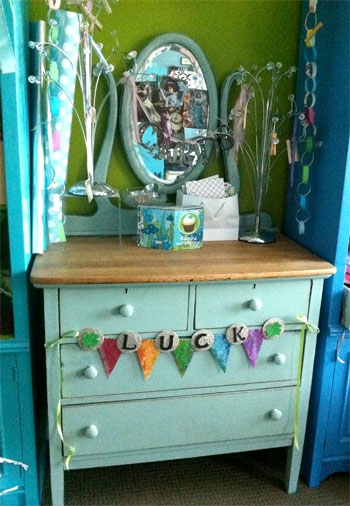
And I know this is lucky because a little rainbow prism showed up in this shot!


|
 To see more projects and art by Carrie, check out her blog Violet Cottage. |
No comments:
Post a Comment